ProSpray 3.20
13
GB
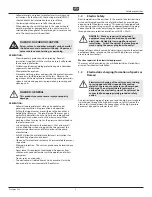
Repairs at the unit
14
18
19
20
18
20
21
26
22
16
15
17
25
23
24
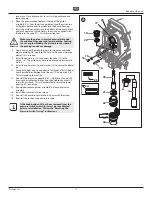
into place. Once tightened as far as it will go, unthread and
remove again.
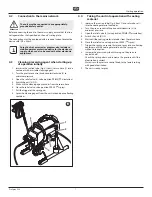
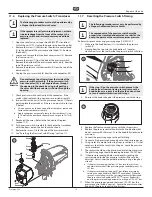
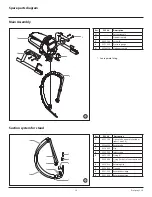
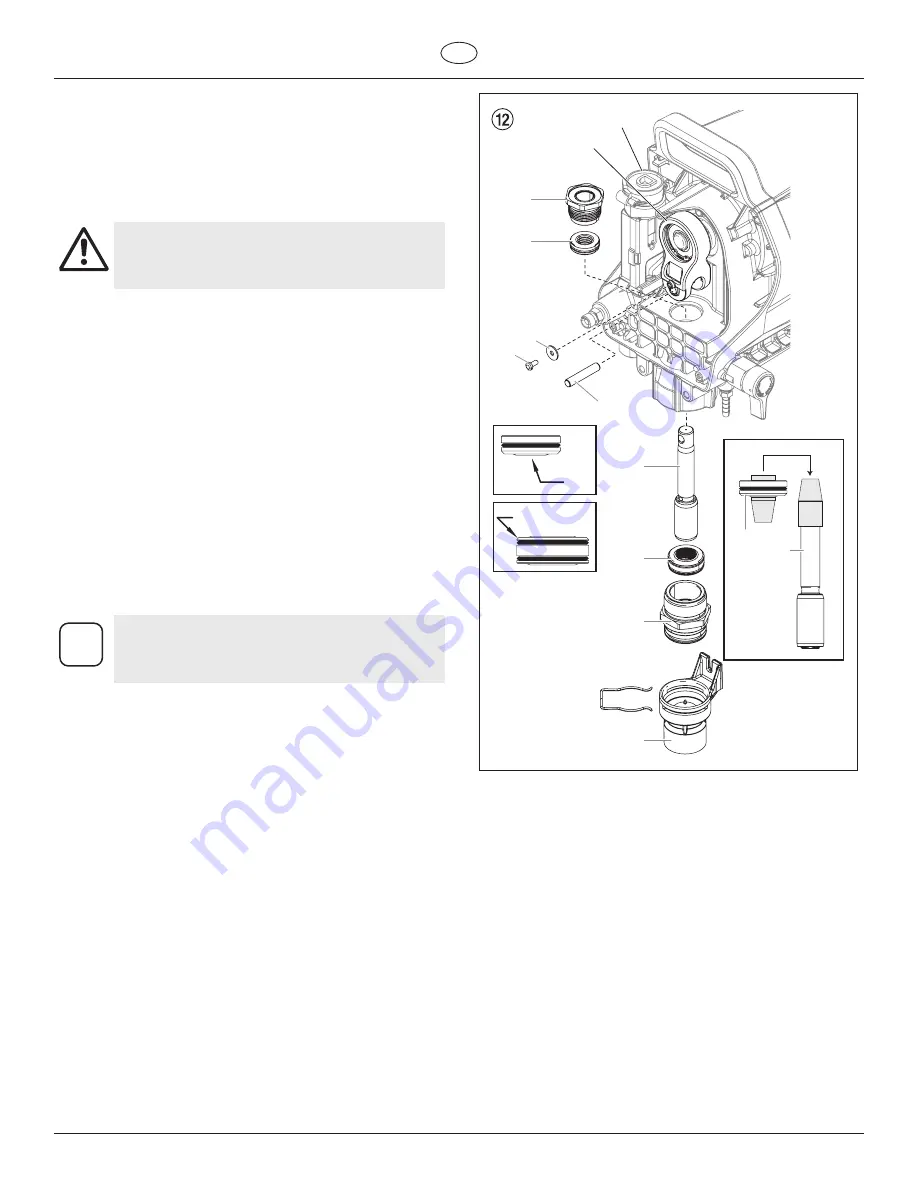
6. Place the grey insertion tool over the top of the piston
assembly (18). Coat the piston guide tool and the piston rod
with grease before inserting them into the pump housing.
7. Insert the piston assembly into the bottom of the pump block
and push upward until the hole in the piston is aligned with
the hole in the yoke (17). Discard insertion tool.
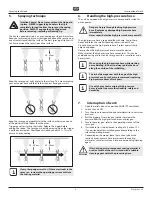
Attention
Make sure the piston is inserted precisely through
the middle of the upper and lower packing. Coming
in at an angle will bump the piston into the sides of
the packings and cause damage.
8. Apply any type of household grease to the piston and yoke
area to prolong life. Apply to the holes in the yoke where the
dowel (16) is inserted.
9. Install the dowel pin (16) to connect the yoke (17) to the
piston (18). The piston may have to be moved up or down to
do this.
10. Install the yoke screw (14) and washer (15) to secure the dowel
pin.
11. Turn pump right side up and apply a few drops of EasyGlide or
light household oil between the top nut (19) and piston (18).
This will prolong the seal life.
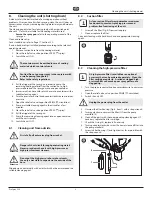
12. Reinstall the inlet valve assembly (22). Tighten by hand until
it cannot be tightented further, and then tighten another 1/2
turn with a wrench. This will automatically secure the lower
packing (21) into place.
13. If equipped, replace pusher assembly (26) onto inlet valve
assembly.
14. Install front cover and three screws.
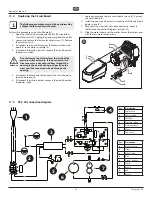
15. Reinstall the pressure control knob. Secure with the screw.
16. Reinstall the suction tube and return tube.
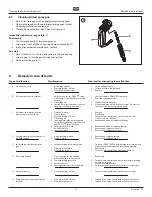
i
If the knob bottom (25) has been removed from the
pressure switch assembly, it must be re-calibrated
prior to reinstallation. Follow the “Resetting the
Pressure Switch Timing” instructions.

