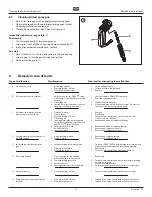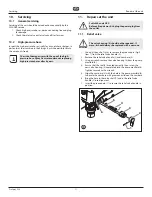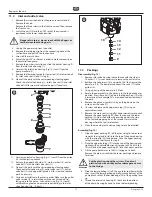
ProSpray 3.20
15
GB
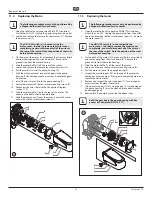
Repairs at the unit
11.6 Replacing the Pressure Switch / Transducer
i
The following procedure must only be performed by
a Wagner Authorized Service Center.
i
If the sprayer loses all pressure adjustment, or there
is paint leakage from the front of the sprayer, the
pressure switch and/or transducer may need to be
replaced.
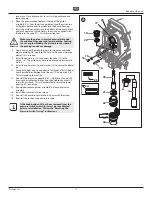
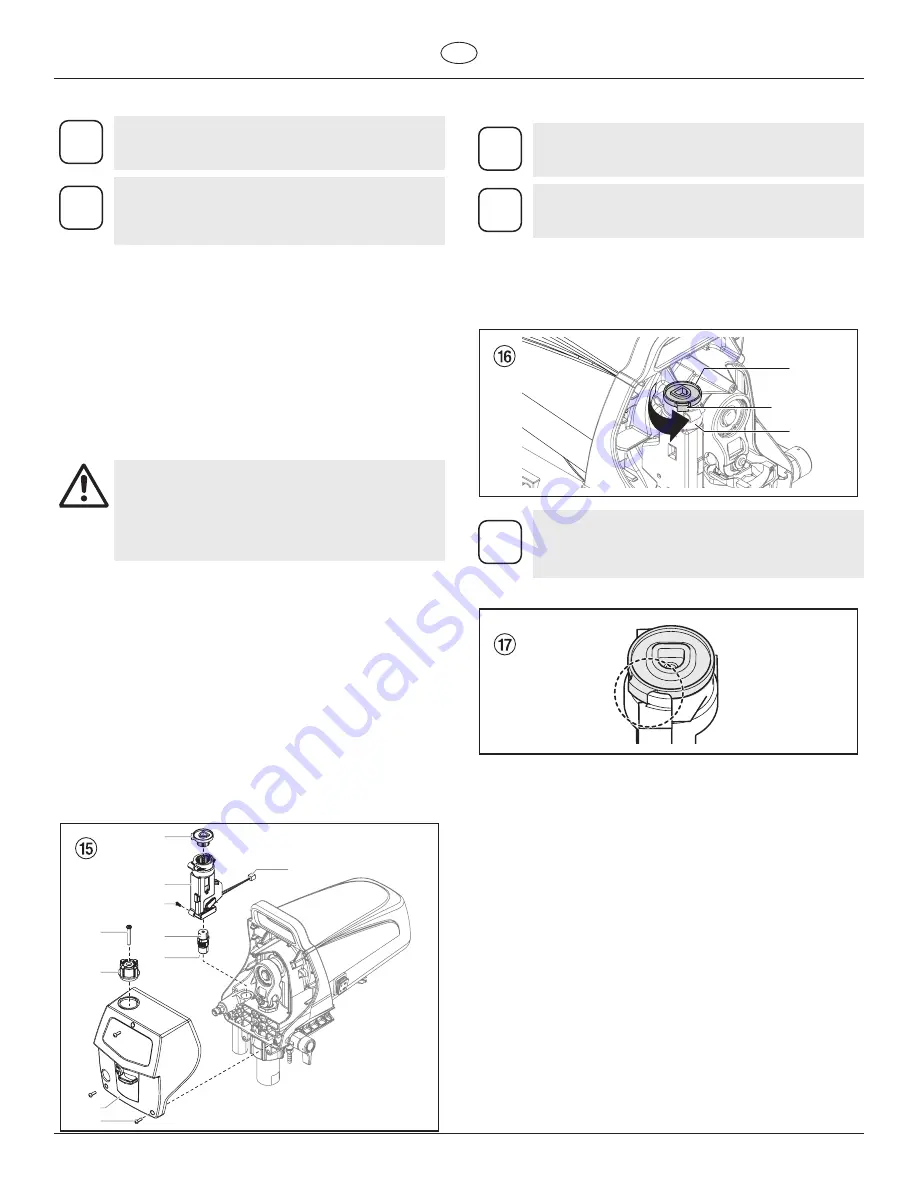
1. Open the relief valve, valve position PRIME (
k
circulation).
Switch the unit OFF. Unplug the power plug from the outlet.
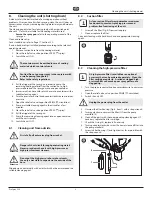
2. Remove the screw (1) that secures the pressure control knob
(2) to the bottom of the pressure control knob (3). Remove
the knob (2).
3. Loosen and remove the three front cover screws (4). Remove
the front cover (5).
4. Remove the screw (7) from the side of the pressure switch.
Remove the bottom of the pressure control knob (3) from the
top of the pressure switch.
5. Remove the pressure switch assembly (6) from the top of the
transducer (8).
6. Unplug the pressure switch (6) from the wire connector (10).
Attention
Do not attempt to pull wires from the inside of the
pressure switch assembly. If the pressure switch
wire connector (10) is not exposed from through
the opening in the pump housing, pull gently on
the wires until the connector is shown through the
opening.
7. Check pressure switch continuity at the connector. If the
switch is bad replace with a new pressure switch assembly.
8. Inspect the transducer (8) for the presence of paint. If there is
paint, replace the transducer. If there is no paint, skip to step
9, below.
a. Using a wrench on the hex head of the transducer, loosen and
remove the transducer assembly.
b. Apply a generous amount of grease to the transducer O-ring
(9). Reinstall the transducer assembly and torque to 70-75 in/
lbs.
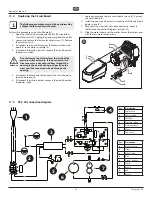
9. Reconnect the wires (Refer to the Connection Diagram,
section 11.9).
10. Push pressure switch assembly (6) back onto the transducer
until it bottoms out on the transducer hex head.
11. Replace the screw (7) into the side of the pressure switch.
12. See “Resetting the Pressure Switch Timing”, section 11.7.
1
3
6
8
10
9
7
2
5
4
11.7 Resetting the Pressure Switch Timing
i
The following procedure must only be performed by
a Wagner Authorized Service Center.
i
The components of the pressure switch must be
properly reassembled and adjusted in order for the
pump to operate at the correct maximum pressure.
Perform this procedure using pressure gauge P/N 0521229.
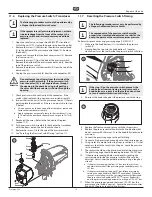
1. Make sure the knob bottom (1) is installed in the pressure
switch (2).
2. Viewing from the top, turn the knob bottom (1) counter-
clockwise as far as the teeth inside the pressure switch will allow.
1
3
2
i
If the stop (3) on the pressure switch prevents the
knob bottom from continuing to turn, remove the
knob bottom, re-orient it on the teeth and continue
to turn it counterclockwise until it stops.
3. Re-orient the knob tab against the pressure switch tab stop.
4. Replace the front cover and secure with the three screws.
5. Replace the pressure control knob into the knob bottom but
do not secure with the screw. Turn the knob fully clockwise to
maximum.
6. Connect the pressure gauge to the outlet fitting.
7. Connect a high-pressure hose and gun to the pressure gauge.
8. Using water as a media, follow the steps in section 4.4. It is not
necessary to attach a spray tip to the gun. Leave the pressure
set to maximum.
9. The sprayer should now be pressurized at maximum pressure.
The pressure gauge should be reading between 193-207 bar.
10. If the pressure reading is below or above this reading, the
set screw down inside the pressure switch will have to be
adjusted. Adjust it per the guidelines below using a long hex
wrench.
a. If the pressure reading is below 193 bar, turn the set screw
counterclockwise until the pressure gauge reads between 193-
207 bar.
b. If the pressure reading is above 207 bar, relieve pressure by
turning the valve handle to PRIME (
k
circulation). While the
sprayer is circulating, turn the set screw clockwise slightly and
then turn the valve handle to SPRAY (
p
spray). Repeat this
until the pressure reading decreases to a range of 193-207 bar.
11. When the pressure gauge reads between 193-207 bar, the
pressure control knob is now set. Secure the pressure control
knob with the pressure control knob screw.

