5
9.
DO
use GunJet® in a well-ventilated area and make sure spray gun is
grounded properly when used in a possibly explosive or inflammable
environment. A grounded-type hose should be used.
IMPORTANT: In case of the slightest appearance of skin penetration from
spray, CONSULT A PHYSICIAN IMMEDIATELY!
INSTALLATION
1.
Before installing GunJet
®
to hose, select WashJet
®
tip or, if desired, an
appropriate extension and WashJet nozzle for your application. Install
on gun with nozzle positioned for your particular spraying needs and
tighten.
2.
Make sure all power is turned off to the pump. Attach GunJet to
high-pressure hose with rating to meet or exceed the maximum
operating pressure to be used. When spray gun is being used in a
possible explosive or flammable environment, a grounded-type hose
should be used.
3.
Follow your pump and component parts manufacturer’s
recommendations for operation, but in any case, do not exceed
the pressure or temperature of the lowest rated component within the
system.
4.
Make sure all power to the pump is turned off and there is no pressure
in any part of the system. Examine all connections, making sure they
are of the proper type and are secure.
5.
Before turning on the pump and holding the GunJet in downward
vertical position pointed away from body, familiarize yourself with the
operation of the Trigger Lock (17)
6.
Make sure Trigger Lock (17) is in “locked” position. Do not turn on the
pump power or operate spray gun if Trigger Lock is not operating
properly.
Summary of Contents for GunJet PW4000A
Page 1: ...PW4000A GunJet Spray Gun USER GUIDE spray com MI PW4000A...
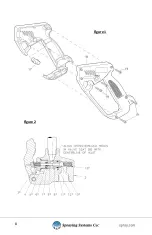
Page 8: ...8 Figure 1 Figure 2...
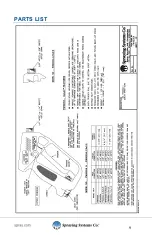
Page 9: ...9 PARTS LIST...
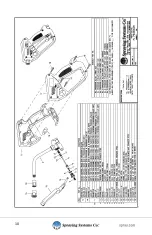
Page 10: ...10...
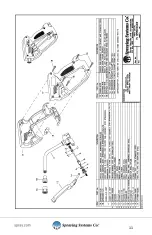
Page 11: ...11...

