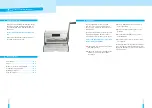
background image

6

7

Configuration

Configuration, preperations & binding 

Binding a document

Correcting & punching waste

A) 

Make sure that the unit is placed on a

  stable surface.

B) 

Check that the waste drawer is empty 

  and correctly inserted.

A

B

C

D

C) 

Plug the transformer into the power socket.

D) 

Mount the punch lever with screws.

A) 

Use the document scale to select the 

  correct diameter of the binder spine.

B) 

Test a few sheets to check the edge guide 

 setting.

A

B

C

C) 

Adjustable margin setting for the back 

  fence. Adjust set the guide to the desired 

  size of the rear margin (2.5 - 6.5 mm), e.g. 

  2.5 mm for small documents (2-50 sheets), 

  5.5 mm for the largest documents (200-

  450 sheets).

Preperations

A) 

Punch the front and back first.

B) 

Punch only a few sheets at a time that 

  will not overload the machine or the user.

E) 

Hold the document in both hands with 

  the spine on the right. The binding spine 

  is on the right side. Place the spiral 

  against the feed roller to bind the 

 document.

F) 

Use the binding pliers to cut and bend 

  the end of the binding spiral. Cut off the 

  excess spiral binding.

A

E

B

F

C

G

D

H

C) 

Install the foot pedal.

D) 

Assemble the document. Insert the coil into 

  the first 3 holes. 

G) 

Turn the document over.

H) 

Cut off the excess spiral.

Additional sheets can be inserted or removed at any time by first removing the old binding 

  spiral. Correct the document as necessary and then bind it again as described.

The waste bin is located under the appliance and is accessible from the front.

  For best results, empty the bin regularly. 

Summary of Contents for PC360

Page 1: ...PC360 Complete Manual for PC360 English www sprintis eu Manual punch and binding machine for coil spiral binding ...

Page 2: ...lutely neces sary to comply the safety notes in this manual The mentioned warnings describe possible injuries and damages which are due to wrong usage or maintenance of the device Please read and follow these safety notes before reading the manual 1 Always make sure that the unit is placed on a stable surface 2 Make a few test punches and adjust the machine before punching the final documents 3 Re...

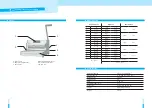
Page 3: ...Edge depth adjustment 3 Punch lever 4 Back margin adjustment 5 Coil diameter selector 6 Waste bin Paper amount Diameter Edge distance A 2 20 6 mm 1 4 2 mm 5 64 B 21 40 8 mm 5 16 C 41 55 10 mm 3 8 D 56 65 12 mm 1 2 2 5 mm 6 64 E 66 100 14 mm 9 16 F 101 115 16 mm 5 8 G 116 135 19 mm 3 4 3 5 mm 9 64 H 136 180 22 mm 7 8 I 181 210 25 mm 1 J 211 240 28 mm 1 1 8 4 5 mm 1 1 64 K 241 280 32 mm 1 1 4 L 281 ...

Page 4: ...eets Preperations A Punch the front and back first B Punch only a few sheets at a time that will not overload the machine or the user E Hold the document in both hands with the spine on the right The binding spine is on the right side Place the spiral against the feed roller to bind the document F Use the binding pliers to cut and bend the end of the binding spiral Cut off the excess spiral bindin...

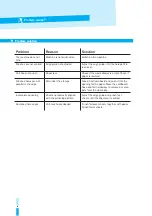
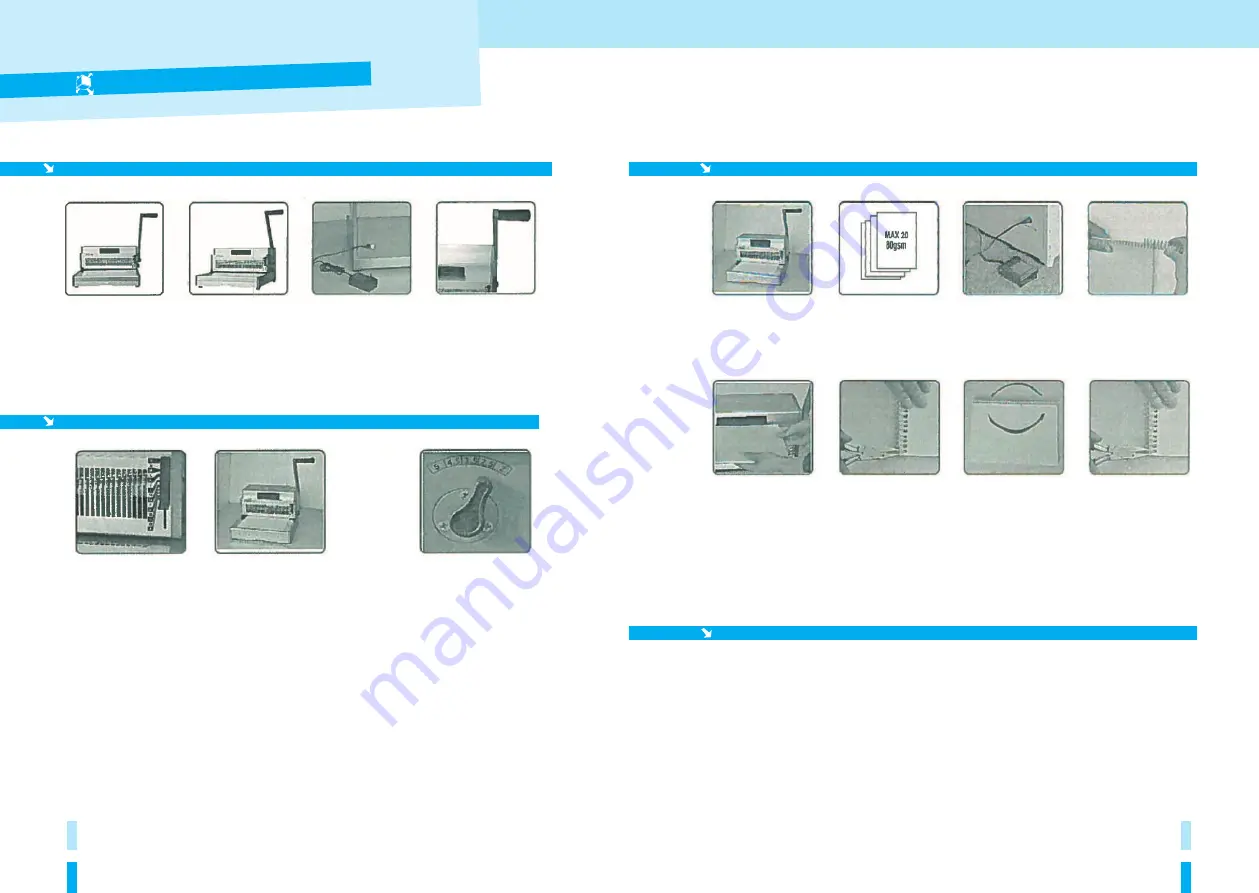
Page 5: ...mpty Check if paper is jammed Punched holes are not parallel to the edge Dirt under the stamps Take a hard cardboard and push it into the opening for the paper Move the cardboard back and forth sideways to remove any snip pets from the waste tray Incomplete punching Sheets not correctly aligned with the punching pattern Adjust the edge guide and punch test sheets until the alignment is correct Dam...

Reviews: