10
11
English
English
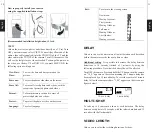
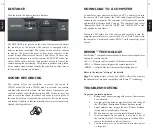
How to properly install your camera
using the supplied installation strap:
(Recommended installation height: about 3 feet).
VIEW
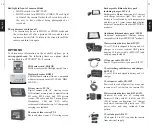
Allows the user to view photos and videos directly on a TV set. Turn
OFF your camera and select VIEW. Connect the yellow end of the
audio-video cable (supplied) into the VIDEO IN of the TV and the
other end into the TV OUT of the camera. Turn ON the camera. You
will see the last picture or video recorded. To change the picture or
the video, use the key UP or DOWN. If you press MENU/OK, the
following options will appear:
View Date/
Time:
To view the date and time printed on the
picture.
Erase one:
To erase the photo or the video on the screen.
Erase All:
To erase all stored photos and videos, with the
exception of protected photos and videos.
Format:
To format memory card and to erase all
protected photos and videos.
Protect:
To protect the photo or video on the screen.
Language:
To select language.
Exit:
To return to the viewing screen.
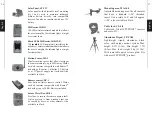
New moon:
Waxing Crescent:
First Quarter:
Waxing Gibbous:
Full moon:
Waning Gibbous:
Last Quarter:
Waning crescent:
DELAY
Allows to choose the time interval to wait between each detection
before the camera records the next photo or video.
Additional setting
: It is possible to decrease the delay between
detections to 10 seconds (instead of 1 minute) by using the
following procedure. Note that the battery life will be affected
.
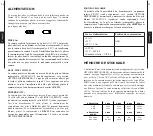
Turn OFF the camera. Press and hold the UP button, turn the camera
on. "10_S" appears on the screen meaning the 1 minute delay has
been replaced by a 10 second delay. To reset the camera to 1 minute
delay, follow the same procedure. "1_M" appears on the screen (see
figures below).
MULTI-SHOT
To take up to 4 consecutive shots at each detection. The delay
between each photo is 10 seconds with the infrared module and 15
seconds with the flash module.
VIDEO LENGTH
Allows you to select the recording duration of videos.
10_5
10 sec. delay
1 min. delay

