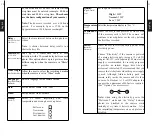
8
9
English
English
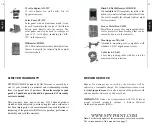
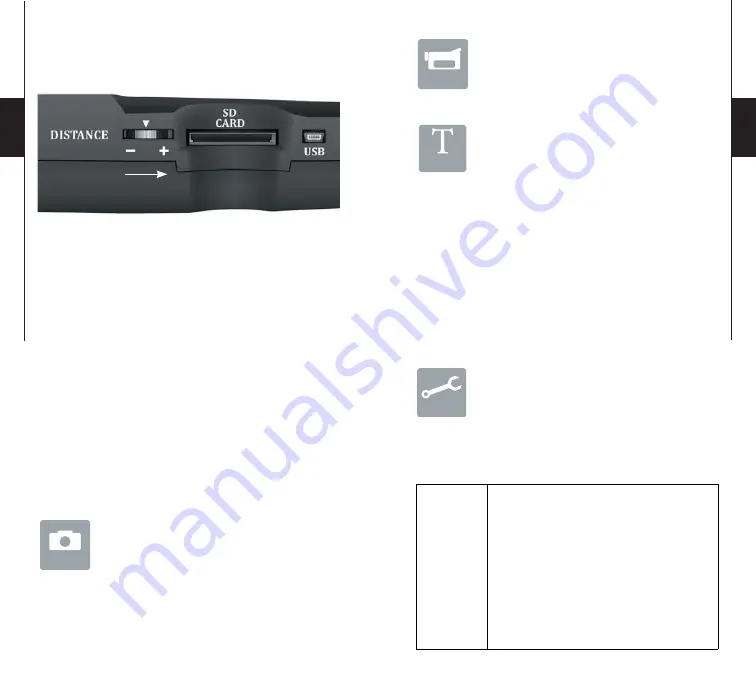
DISTANCE
Turn the dial to the right to increase distance.
The « DISTANCE » dial (placed on the right side of the
internal camera) can adjust the sensitivity of the detector.
The camera is equipped with a detector sensitive to infrared.
The system will only detect heat source in motion. The
greater the mass of heat, more sensitive is the system. The
range of detection is between 5 and 50 feet. The best way
to adjust the distance is to set the camera in « TEST » mode
(see below). Make sure to have the least possible objects in
front of the camera during the positioning. This will prevent
picture to be taken by the camera when oriented towards the
sun while an object moves in front of the camera (eg. a branch).
SETTINGS
Turn the camera to « ON » and navigate in the interface
by pressing «
»
, «
»
, «
»
or «
»
, press « OK »
for selection. To modify the selection, press «
»
and «
» again and press « OK » to confirm. To return to the
previous menu press « BACK ».
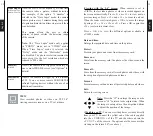
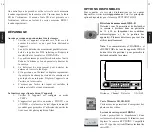
PHOTO
To take pictures. The « PHOTO » mode must be
selected by pressing « OK »; the test light in the
front of the camera will wink for 60 seconds to
allow the operator to walk away from the camera.
Video
T
Test
Photo
VIDEO
To take videos. The « VIDEO » mode must be
selected by pressing « OK »; the test light in the
front of the camera will wink for 60 seconds to
allow the operator to walk away from the camera.
TEST
To set the camera or the distance. The « TEST »
mode must be selected, no picture or video will
be recorded. Walk perpendicularly in front of the
camera. When the camera detects movement, the light winks
to indicate that normally, a photo or video would have been
recorded. If the system does not detect the movement, increase
the distance detection using the wheel « DISTANCE » or realign
the system differently. Once you understand how the device
responds to detections, you can better adjust the direction or
the height of the camera
(Recommanded installation height:
about 3 feet).
In “Test” mode, it is possible to take a picture by pressing
the “OK” button. The photo is saved and appears in “View”
mode.
SETTINGS
Serves to allow own operator settings. To configure
the system in English, hold the button
«
»
until
« Language » is highlighted. Press « OK », select
« English » with the button
«
» or «
» and confirm your
choice with « OK ». The system will change all the menus in
English by itself.
Time Start /
Time Stop:
Allow the user to set the period of operation
of the camera. The start and stop time are the
hours during the camera is in action and records
pictures or videos. Example: if the user selects
a start time “7:00 am” and a stop time “11:00
am”, the camera will only detect for that period
of time and will stay inactive for the remaining
hours. Press “OK” and use “
” or “
” to adjust
the hour. Press again “OK” to set the minutes.
When the time is properly set, press “OK” once
more to go back to other settings.
Settings


