Series WTH
Page 44
LT105 Feb. 2019
Installation Checklist
1.
Did you install the first hanger no more than 8 inches from the burner and tighten with the “J” bolt? (“J” bolt
only required for the first hanger).
2.
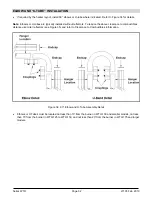
Is the weld seam facing down?
3.
Is the tube system levelled?
4.
Did you mount the tube couplings with the band clamp lock bolts oriented at the 10 o
’clock or 2 o’clock
position?
5.
Did you robustly tighten the band clamps on the tube couplings? Recommended method is to alternate
back and forth between two band clamps to ensure even torque on tube couplings.
6.
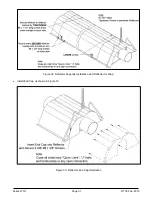
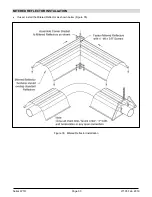
Did you alternately overlap reflectors up and down as shown in the manual? Minimum overlap is 4 inches.
7.
Did you close
all “S” hooks or Quick links?
8.
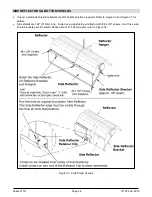
Did you install all of the reflector support brackets supplied as shown in the manual?
e.g. One at each overlap, and one in the middle of each reflector.
9.
Did you place the turbulator/flue baffle in the flue end of the heater as mentioned in the manual? Is the
baffle tab located at 6 o’clock and bent as mentioned in the manual.
10.
Did you install end caps?
11.
Did you observe clearance to combustibles for this model according to the manual? This can also be found
on the burner box.
12.
Is venting in accordance with the National Fuel Gas Code, ANSI Z223.1 (NFPA 54) in the USA and CSA
B149.1 and B149.2 Installation Codes in Canada?
13.
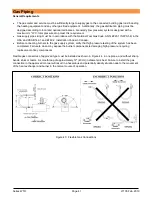
Did you install flex duct according to the installation manual if outside combustion air is used?
14.
Did you install the gas flex connector as shown in the manual? The legally required method
– is to ensure it
is arranged as shown to allow for proper expansion and contraction.
15.
Did you check gas pressure at inlet of gas valve? Your heater will not perform properly if the pressure is not
correct. Please check manual for reference
Attention to detail will result in a professional installation that reflects on all of us.
Please help us keep our customers satisfied which will result in a minimum of nuisance call backs!


