7-9
2.
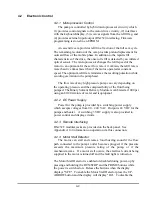
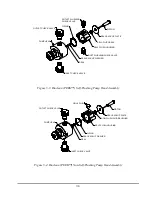
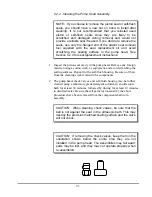
Place a self-flush replacement seal on the seal insertion/removal tool
so that the spring in the seal is visible when the seal is on the tool. As
in the previous step, insert the tool and seal into the seal cavity on the
flushing housing, taking care to line up the seal with the cavity, and
then withdraw the tool. When the seal is fully inserted only the
polymer part of the seal will be visible in the seal cavity.
3.
Place seal back-up washer over the high-pressure seal. Place seal
back-up plate back into pump housing if it was removed. Orientation
is not important in these cases.
4. Attach the pump head as described in Section 5.2.5. Use caution so as
not to damage the sapphire piston.
5. Condition the new seal as described in Section 5.3.
5.2.4 Changing the Piston
1. Remove the pump head as described in Section 5.2.1. Use caution so
as not to damage the sapphire piston.
2. Grasp the metal base of the piston assembly so that you avoid exerting
any side load on the sapphire rod, and remove the piston from the slot
in the carrier by sliding it up.
3. Grasp the metal base of the replacement piston assembly, and insert it
into the slot in the piston carrier until it bottoms in the slot.
4. Attach the pump head as described in Section 5.2.5. Use caution so as
not to damage the sapphire piston.
Summary of Contents for BINARY SOLVENT DELIVERY MODULE
Page 2: ......

