99
KNX addresses
(
continued)
Procedure
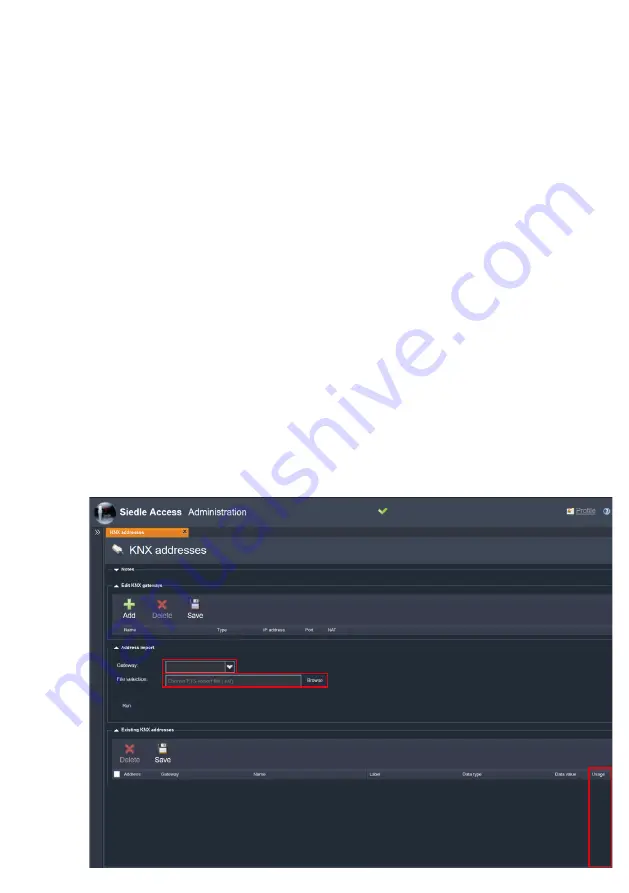
Step 2 – Add KNX address(es):
14
In the
Address import
area,
select the KNX gateway.
15
In the
Address import
area,
click on
Browse
.
16
In the Windows Explorer, select
the ESF export file (KNX address con
-
figuration) you wish to import.
17
Confirm your input by clicking
on
Open
.
18
The ESF export file is displayed in
the
File selection
field.
19
Click on
Execute
.
20
After completed import, all
imported KNX addresses are shown
in an overview table.
21
In the
Existing KNX addresses
area, in the
Use
column, activate the
checkboxes of the KNX addresses
which may be used for Access device
configuration.
22
If required, carry out
Step 3
.
Remarks
• Only one KNX gateway per Access
system can be created.
• In the
Existing KNX addresses
area, the imported KNX addresses
are shown in an overview table,
from where they can be individually
deleted.
• In the
Use
column, you can deter
-
mine which of the imported KNX
addresses are available in the device
configuration for switching and
control tasks.
• The possible number of usable
KNX addresses is dependent on the
purchased Access application licence
package for the KNX connection.
14.
15.
21.
Step 3 (optional) – Manage KNX
address(es):
23
In the
Existing KNX addresses
area, carry out the necessary
changes in the relevant column (e.g.
Use
).
24
In the
Existing KNX addresses
area, click on
Save
in order to adopt
the changes.
Note
To allow the newly added KNX
gateway to be used, you must
restart the Access server services.
25
Carry out a restart of the Access
system (menu:
System mainte-
nance > Restart
).


