18
•
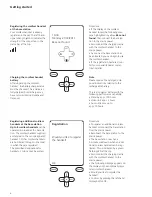
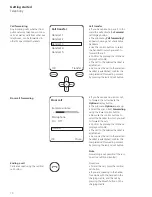
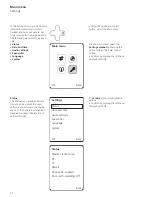
In the main menu, select the
Intercom settings
using the control
buttons.
• Confirm by pressing the left-hand
display button OK.
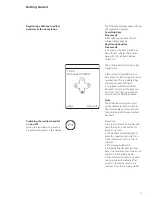
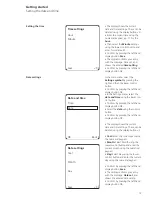
•
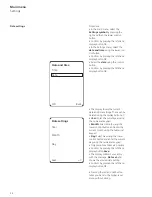
The
Doormatic
entry is selected.
• Confirm by pressing the left-hand
display button OK.
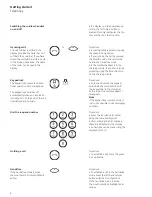
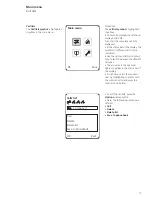
•
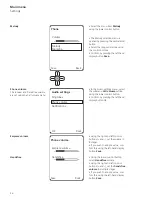
Using the right or left control
button, select Yes or No. Your selec-
tion is highlighted in yellow.
• Confirm by pressing the left-hand
display button OK.
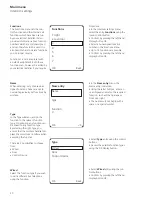
•
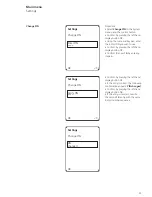
The following message appears in
the display:
Doormatic enabled/
disabled.
• Confirm by pressing the left-hand
display button OK.
Note
Despite the Doormatic function
being enabled, the door call con-
tinues for around 40 secs.
If you wish to switch off the call,
then set the front door volume to 0.
This is done in the
Main menu >
Settings > Audio settings > Front
door,
or
alternatively mute your Scope cord-
less handset using the Star button.
However, please note that this will
also mute all other incoming calls.
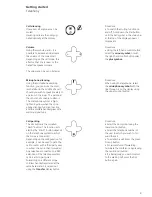
•
Using the right-hand control
button, select the main menu.
•
The main menu offers quick access
to:
•
Call lists
•
Intercom settings
•
General settings
•
Phonebook
Intercom settings
The Intercom settings menu is used
to carry out user-specific inputs for
switching and control operation with
your Scope cordless handset. These
functions have to be set by your
electrician.
Main menu
OK Back
Doormatic
The Doormatic menu is used to acti-
vate and deactivate the Doormatic
once this function has been enabled
by your electrical installer.
If the Doormatic function is enabled,
in the ready status the Doormatic
symbol appears in the status bar of
the display.
The Doormatic setting applies to all
the cordless handsets registered to
the base station and is displayed in
the display status bars of the dif-
ferent handsets.
Intercom settings
Doormatic
Door call forwarding
Functions
OK Back
Doormatic
Enable Doormatic?
Yes No
OK Back
Main menu
Intercom settings
Summary of Contents for Siedle Scope S 850-0
Page 1: ...S 850 0 EN Operating Instructions Siedle Scope ...
Page 43: ...41 ...


