


4
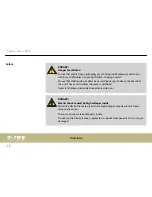
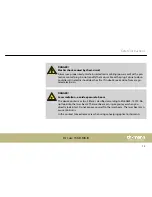
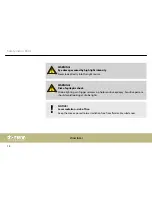
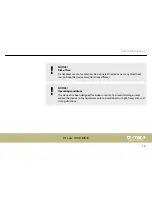
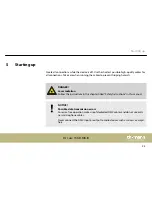
Installation
Unpack and carefully check that there is no transportation damage before using the unit. Keep
the equipment packaging. To fully protect the device against vibration, dust and moisture
during transportation or storage use the original packaging or your own packaging material
suitable for transport or storage, respectively.
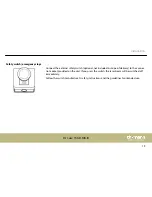
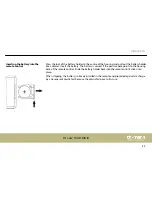
You can install the device standing or hanging. When in use, the device must be mounted at a
solid surface or clamped to an approved truss.
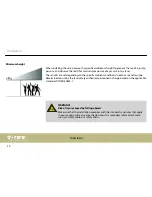
Work from a stable platform whenever you install or move the device or when you perform
any kind of maintenance. Block access under the work area.
Installation
showlaser
18
Summary of Contents for DJ Lase 150-R MK-III
Page 1: ...DJ Lase 150 R MK III showlaser user manual ...
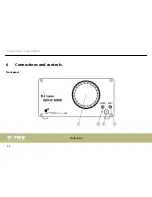
Page 28: ...6 Connections and controls Front panel Connections and controls showlaser 28 ...
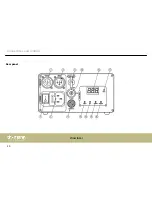
Page 30: ...Rear panel Connections and controls showlaser 30 ...
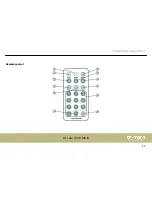
Page 33: ...Remote control Connections and controls DJ Lase 150 R MK III 33 ...
Page 44: ...7 5 Pattern list Operation showlaser 44 ...
Page 45: ...Operation DJ Lase 150 R MK III 45 ...
Page 55: ......
Page 56: ...Musikhaus Thomann Hans Thomann Straße 1 96138 Burgebrach Germany www thomann de ...


