background image

How you begin your exercise program depends on your physical condition. If you have been inactive for 

several years or are severely overweight, start slowly and increase your workout time gradually. Increase 

your workout intensity gradually by monitoring your heart rate while you exercise.

Initially you may only be able to exercise within your target zone for a few minutes; however, your aerobic 

capacity will improve over the next six to eight weeks. It is important to pace yourself while you exercise 

so you don't tire too quickly.

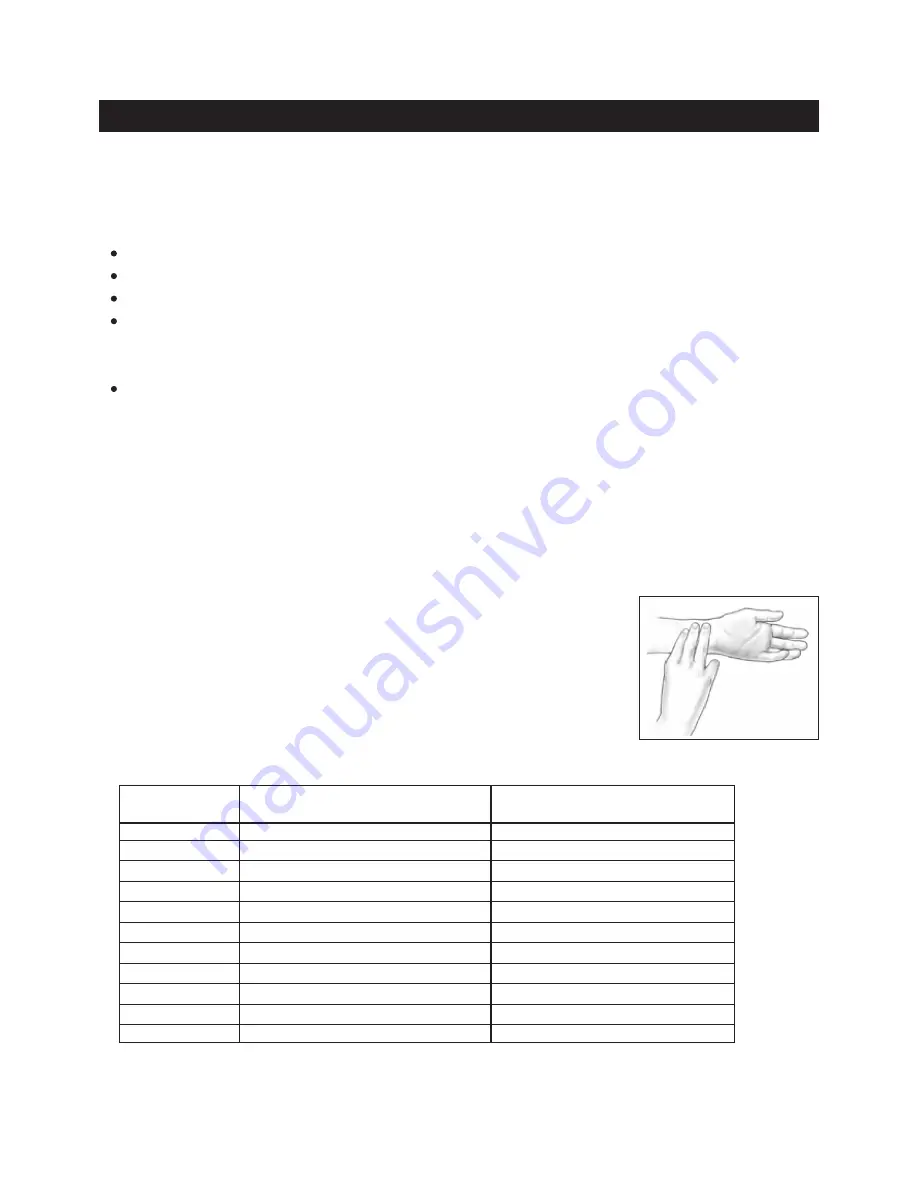
Measure your heart rate periodically during your workout by stopping the 

exercise but continuing to move your legs or walk around. Place two or 

three fingers on your wrist and take a six second heartbeat count. Multiply 

the results by ten to find your heart rate. For example, if your six second 

heartbeat count is 14, your heart rate is 140 beats per minute. A six second 

count is used because your heart rate will drop rapidly when you stop 

exercising. Adjust the intensity of your exercise until your heart rate is at the 

proper level.

wrist pulse

Remember to follow these essentials:

  Have your doctor review your training and diet programs.
  Begin your training program slowly with realistic goals that have been set by you and your physician.
  Warm up before you exercise and cool down after you work out.
  Take your pulse periodically during your workout and strive to stay within a range of 60% (lower 

intensity) to 90% (higher intensity) of your maximum heart rate zone. Start at the lower intensity, and 
build up to higher intensity as you become more aerobically fit.

  If you feel dizzy or lightheaded you should slow down or stop exercising.

To determine if you are working out at the correct intensity, use a heart rate monitor or use the table 

below. For effective aerobic exercise, your heart rate should be maintained at a level between 60% 

and 90% of your maximum heart rate. If just starting an exercise program, work out at the low end of 

your target heart rate zone. As your aerobic capacity improves, gradually increase the intensity of your 

workout by increasing your heart rate. 

CONDITIONING GUIDELINES

Target Heart Rate Zone Estimated by Age* 

* For cardiorespiratory training benefits, the American College of Sports Medicine recommends 

working out within a heart rate range of 55% to 90% of maximum heart rate. To predict the 

maximum heart rate, the following formula was used:  220 - Age = predicted maximum heart rate

20 years
25 years
30 years
35 years
40 years
45 years
50 years
55 years
60 years
65 years
70 years

Average Maximum

Heart Rate 100%

Age

110-180 beats per minute

107-175 beats per minute
105-171 beats per minute
102-166 beats per minute

99-162 beats per minute
97-157 beats per minute
94-153 beats per minute
91-148 beats per minute
88-144 beats per minute
85-139 beats per minute
83-135 beats per minute

200 beats per minute
195 beats per minute
190 beats per minute
185 beats per minute
180 beats per minute
175 beats per minute
170 beats per minute
165 beats per minute
160 beats per minute
155 beats per minute
150 beats per minute

Target Heart Rate Zone

(55%-90% of Maximum Heart Rate)

14

Summary of Contents for 15-0199

Page 1: ...inning any exercise program with this equipment If you feel faint or dizzy immediately discontinue use of this equipment Serious bodily injury can occur if this equipment is not assembled and used cor...

Page 2: ...eat per instructions on page 12 13 Do not attempt to adjust the seat while you are on the STAMINA Folding Exercise Bike 14 Make sure the Seat Post 3 is locked properly by the Adjustment Knob 15 15 Mak...

Page 3: ......

Page 4: ...e Before reading further please review the drawing below and familiarize yourself with the parts that are labeled Read this manual carefully before using the STAMINA Folding Exercise Bike Although Sta...

Page 5: ...ded to help identify the warning caution and notice labels on the STAMINA Folding Exercise Bike Please take a moment to familiarize yourself with all of the warning caution and notice labels EQUIPMENT...

Page 6: ...ts and screws are measured from the top of the head to the end of the bolt or screw After unpacking the unit open the hardware bag and make sure that you have all the following items Some hardware may...

Page 7: ...8x1 25 46 and ARC WASHERS M8 47 Insertthepinintotheupper hole to lock the frames in unfolded position Place all parts from the box in a cleared area and position them on the floor in front of you Remo...

Page 8: ...holes in the SEAT POST 3 The ADJUSTMENT KNOB 15 should be screwed in tight to make the SEAT POST 3 fit securely in the MAIN FRAME 1 STEP 5 Attach the BACK FRAME 4 to the SEAT POST 3 with CARRIAGE BOLT...

Page 9: ...Refer to the detail view below The shoulder of the PEDALS 31 32 should be in contact with the CRANKS 33 34 when securely tightened Repeat on the left side in order to attach the LEFT PEDAL 31 to the...

Page 10: ...AMINA Folding Exercise Bike sits on the floor without rocking MOVING The STAMINA Folding Exercise Bike must be lifted to be moved Two people are required to grasp the HANDRAIL 5 and the front STABILIZ...

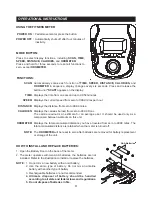
Page 11: ...ETER Pedal movement or press the button Automatically shuts off after four minutes of inactivity POWER ON POWER OFF MODE BUTTON Press to select display functions including SCAN TIME SPEED DISTANCE CAL...

Page 12: ...out locking your knees or shifting your hips on the seat The seat is too close to the pedals if you have more than a slight bend in your knees at the bottom of the pedal stroke The seat is too far fro...

Page 13: ...e user owner to ensure that regular maintenance is performed 6 Worn or damaged components shall be replaced immediately or the STAMINA Folding Exercise Bike removed from service until repair is made 7...

Page 14: ...of your maximum heart rate zone Start at the lower intensity and build up to higher intensity as you become more aerobically fit If you feel dizzy or lightheaded you should slow down or stop exercisin...

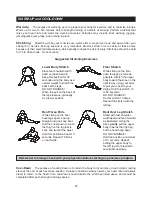
Page 15: ...cool down should include the stretches listed above and should be completed after each strength training session Lower Body Stretch Place feet shoulder width apart and lean forward Keep this position...

Page 16: ...PRODUCT PARTS DRAWING 16 FRONT BACK...

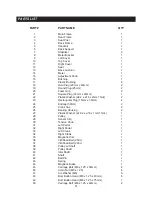
Page 17: ...hick 2 23 Rectangular Plug 15mm x 30mm 4 24 Endcap 50mm 2 25 Crank Cap 2 26 Bearing Housing 2 27 Plastic Washer 10 2 x 16 x 1mm Thick 1 28 Pulley 1 29 Sensor Clip 1 30 Tension Knob 1 31 Left Pedal 1 3...

Page 18: ...25 7 61 Screw Round Head M4 x 0 6 x 10mm 1 62 Washer M8 12 63 Nylock Nut M10 x 1 5 1 64 Washer M10 1 65 Washer M6 1 66 Idler Wheel 1 67 Ball Bearing 6000ZZ 3 68 Ball Bearing 6003RS 2 69 Bearing Housi...

Page 19: ...1 YEAR AFTER DELIVERY OF THE PRODUCT TO THE PURCHASER This limited warranty is not transferable IF ANY PART OF THE PRODUCT IS NOT IN COMPLIANCE WITH THIS LIMITED WARRANTY OR ANY IMPLIED WARRANTY THE...

Page 20: ...NOTES 20...

Page 21: ...NOTES 21...

Page 22: ...nvenience Stamina s customer care representatives can be reached by email at customer care staminaproducts com or by phone at 1 800 375 7520 in the U S Our customer care representatives are available...

Reviews: