11Beamage-3 User
’s Manual Revision 4.0
26
Standa Ltd. All rights reserved
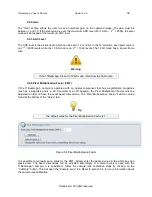
4.5.4. Show/Hide Options
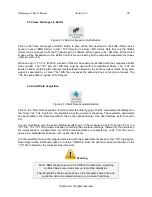
Figure 4-31 Show/Hide Options Button
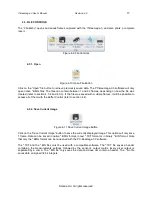
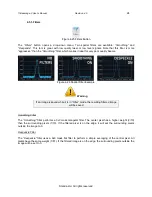
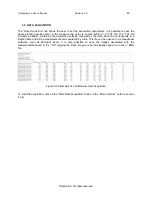
The
“
Show/Hide Options
” button will show or hide the “
Divergence
”, the “
Relative Position
” and “Camera
Lens Calibration” panels beside the “
Data Acquisition
” tab. By clicking on “
Show
All’ or “Hide All”
, one can
show or hide both tabs at the same time.
Figure 4-32 Show/Hide Options
4.5.4.1.
Divergence
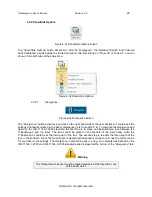
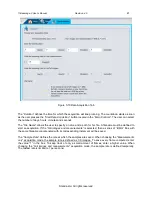
Figure 4-33 Divergence Button
The “
Divergence
” button activates a new tab on the right-hand side of the user interface. It contains all the
settings and results relative to the beam divergence (refer to section 5.4). To compute the divergence and
abide by the ISO-11146-1:2005 standard, the first step is to place an aberration-free lens between the
11Beamage-3 and the laser. The lens should be placed in the far-field of the laser beam while the
11Beamage-3 should be at the focal point of the lens. The second step is to enter the focal length of the
lens in the software. Since the focal length is wavelength dependent, make sure to use the correct value
for your laser in the settings. The divergence in both main axes (x and y) are computed as defined by the
ISO-11146-1:2005 and ISO-11146-2:2005 standards and displayed at
the bottom of the “
Divergence”
tab.
Warning
The 11Beamage-3 sensor must be placed precisely at the focal point, not
at the beam waist.

