11SOLO2 User’s Manual Revision 0.9
14
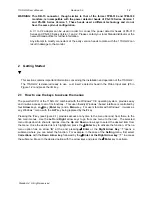
Version 7 energy heads
These heads have been calibrated with and without the attenuator at a chosen wavelength. When the
connector is attached, a message appears, asking you if the attenuator is in place. If the attenuator is in
place, the wavelength menu disappears. If no attenuator is in place, the wavelength menu appears. The
attenuator switch is a toggle switch. Select Ctrl / Attenuator to turn it on or off. See Appendix A for more
details.
Quick power and energy measurement procedure:
1- Install the power or energy detector head on its optical stand.
2- First, slide the connector latch to the right to unlock the connector.
3-
Turn the 11SOLO2 off
and connect a version 5 (or higher) power or energy detector head to
the 11SOLO2 using the
PROBE INPUT JACK
(see Fig. 1-2). It is recommended to turn the
11SOLO2 off before connecting a new head in order to prevent any lost of information from the
detector head EEPROM.
4- Slide the latch to the left to lock the connector into place.
5- Switch the 11SOLO2 ON using the
I/O
key.
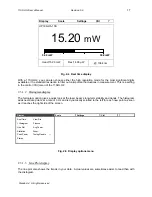
6- Power heads will default the 11SOLO2 to power measurement; energy heads will default the
11SOLO2 to energy measurement. The monitor will default to autoscale. If you have a
photodiode, to obtain measurements in dBm, select Settings / Power Unit / dBm.
7- Remove the head’s protective cover.
Put the detector head into the laser beam path. Leave it there for a few minutes, until the
detector has reach an equilibrium temperature. The entire laser beam must be within the
sensor aperture. Do not exceed maximum specified densities, energies or powers. For the
most accurate measurement, spread the beam across 60% to 80% of the sensor area.
Attention: Power heads can be used with both CW and pulsed lasers.
- Energy heads can only be used with pulsed lasers.
For power heads, go to step 8. For energy heads, go to step 11.
Adjusting the zero (steps 8 to 10)
8- Block off laser radiation to the detector.
The power read by the 11SOLO2 when no laser beam is incident on the detector may not be
exactly zero. This is due to the fact that the detector is not thermally stabilized OR there is a
heat source in the field of view of the detector when you turned on the 11SOLO2.
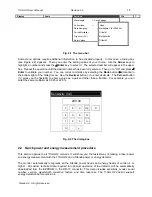
9- To reset the zero, wait until the reading has stabilized and select
Zero Offset
in the
Ctrl
(Control) menu. Then select
Rezero
. You are now ready to make an accurate
measurement. To turn the
Zero Offset
off, select
Off
, to reselect the previous offset, select
Undo
.
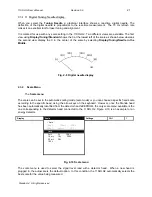
10- To set the diode to zero, select Ctrl / Set Diode Zero, and press the
↵
Enter
key. A message
appears requesting you to put the black cover on your photodiode and press the
↵
Enter
key
after you have done so. The 11SOLO2 passes through all the scales to determine the zero
diode for each scale. The message “Diode Zero Done” appears when the 11SOLO2 has
determined the zero diode.
Notes:
Standa Ltd. All rights reserved

