11SOLO2 User’s Manual Revision 0.9
22
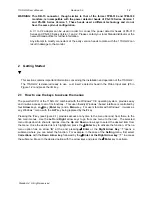
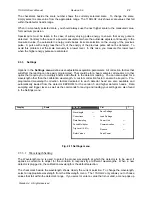
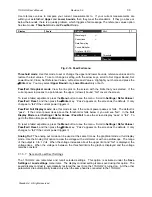
The checkmark beside the scale number shows the currently selected scale. To change the scale,
simply select a scale value from the appropriate range. The 11SOLO2 only shows scale values that fall
within the detector head’s range.
When in a manually selected scale, you should always use the next higher scale to the measured value,
for maximum precision.
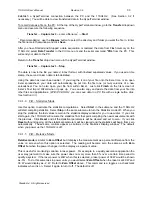
Special care must be taken in the case of widely varying pulse energy to ensure that every pulse is
detected. Contrary to the case of a power measurement where the autoscale adjusts continuously to the
measured value, the autoscale in energy mode bases its scale selection on the energy of the previous
pulse. A pulse with energy less than 2% of the energy of the previous pulse will not be detected. To
avoid this problem, set the scale manually to a lower level. In this case, you measure this lower level
when the higher energy pulses are saturated.
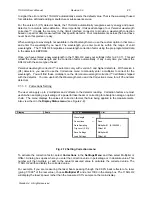
2.3.3 Settings
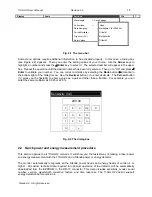
Options in the
Settings menu
define user-adjustable acquisition parameters. All correction factors that
will affect the reading can be easily programmed. That could be for a beam sampler, attenuator, or other
optics that require you to multiply and/or add offsets to the detector reading. You can also adjust for a
wavelength other than the calibration wavelength. A custom correction factor can also be keyed in. Pre-
programmed wavelength correction factors dedicated to each detector head are also available and
automatically loaded from the detector EEPROM, for the version 5 and higher detector heads. Data
sampling and trigger level, as well as the commands for saving and loading your settings are also found
in the Settings menu.
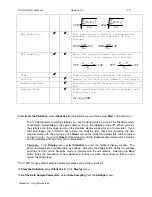
Display Scale
Settings
Ctrl ?
Wavelength
Save Settings
Corrections
Load
Settings
Data Sampling
Power Unit
Period Multiplier
Communication
Trig Level (2.0%)
Fluence
Refer Values
Peak Power
Fig. 2-11 Settings menu
2.3.3.1 Wavelength
Setting
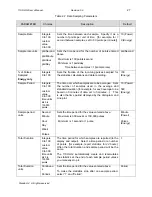
The Wavelength menu is used to select the proper wavelength at which the detector is to be used. It
applies a correction to adjust for the variation in responsivity at different wavelengths. When a new
detector is plugged in, the calibration wavelength is the default selection.
The checkmark beside the wavelength shows clearly the current selection. To change the wavelength,
select an appropriate wavelength from the Wavelength menu. The 11SOLO2 only allows you to choose
values that fall within the detector’s range. If you select or enter a value that is not valid, a menu pops up
Standa Ltd. All rights reserved


