11SOLO2 User’s Manual Revision 0.9
28
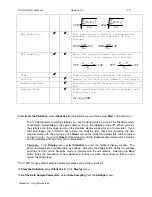
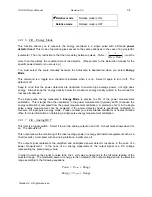
Weeks
Days
Hours
Minutes
Seconds
Maximum of 100 “periods” can be as high as 100
weeks.
Minimum is 1 second.
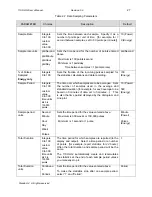
Time Stamp
Yes
No
To have a
time stamp
appear with the data and go
directly to the exit mode, select “yes” by pressing the
down arrow key until “Yes” appears on the screen,
then press the right arrow key.
Selecting “Yes” writes a time stamp with each data
point. This is a relative time stamp that always begins
with zero. Using the time stamp facilitates data
analysis but consumes the 11SOLO2 memory much
faster, thus limiting the total number of data points that
can be taken.
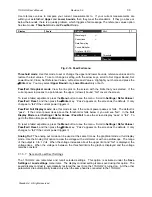
To set the
Time Stamp
, press the down arrow key until
“Yes” appears on the screen, then press the
Enter
key.
The “set 11SOLO2 time” dialog box appears.
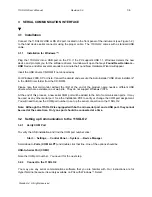
Set Date: To set the date, use the right and left arrow
keys to select the date in the format M D Y. The
UP
arrow
adds units while the
DOWN arrow
subtracts
units. To return to the Time dialog box, press the
Menu
key.
Set Time: To set the time, use the
right
and
left
arrow
keys to select the time (hours or minutes) using the 24
hour clock. The
UP
arrow
adds units while the
DOWN
arrow
subtracts units.
Press the
Enter
key to validate the selection.
11SOLO2 time will remain as long as the battery lasts.
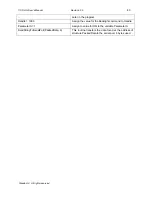
To save your selection, press
Done
.
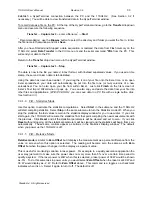
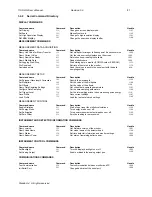
No
Exit Mode
Close
Close &
start
Statistics
The user must make a selection here in order to exit
the data sampling parameters input window.
Close
To close, select
Close
and press Enter.
To calculate the statistics, select the
Close and Start
Statistics
option, and press Enter.
Close &
Start
Acquisition
To save the acquisition parameters and activate the
data sampling, select the
Close and Start
Acquisition
option, and press Enter. The 11SOLO2 begins storing
data in memory.
Close &
Start Both
To calculate the statistics and save the raw data to
memory at the same time, select the
Close and Start
Both
option.
Standa Ltd. All rights reserved


