Page 33
GX1700
channel.
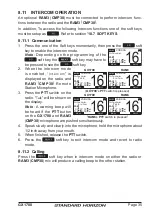
6. Repeat step 5 for all the desired channels to be scanned.
7. To DELETE a channel from the list, select the channel then press the
soft key. “
MEM
” icon disappears from the display.
8. When you have completed your selection, press the
soft key sev-
eral times to return to radio operation.
8.9.3 Memory Scanning
(
M-SCAN
)
1. Adjust the
SQL
knob until background noise disappears.
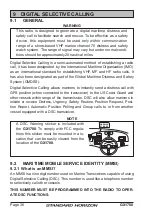
2. Press the one of the Soft keys momentarily, then press the
soft
key. “
M-SCAN
” appears on the display. Scanning will proceed from the
lowest to the highest programmed channel number
and Preset channel (described in the next chapter)
and will stop on a channel when a transmission is
received.
3. The channel number will blink during reception.
4. To stop scanning, press the
key.
8.9.4 Priority Scanning
(
P-SCAN
)
By default, Channel 16 is set as the priority channel. You may change the
priority channel to the desired channel from Channel 16 by the Radio Setup
Mode, refer to section “
11.5 PRIORITY CHANNEL
”.
1. Adjust the
SQL
knob until background noise disappears.
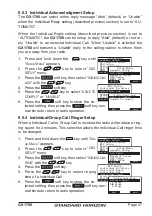
2. Press the one of the Soft keys momentarily, then press the
soft
key. “
P-SCAN
” appears on the display. Scanning
will proceed between the memorized channels and
Preset channel (described in next chapter) and
the priority channel. The priority channel will be
scanned after each programmed channel.
3. To stop scanning, press the
key.
M-SCAN
SOG:25.0
COG:123
12:56
LOC
AM
25W USA
MP
N
W
T
DISTRESS
33 37.120
118 09.580
P-SCAN
SOG:25.0
COG:123
12:56
LOC
AM
25W USA
MP
N
W
T
DISTRESS
33 37.120
118 09.580


