1.3 First example: turning on the instrument
1 – 3
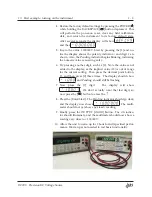
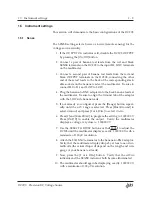
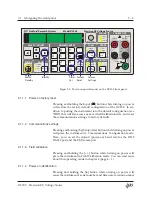
4. Restore the factory default settings by pressing the POWER [ ]
while holding the BACKSPACE [
] button depressed. This
will perform the power-on reset, clear any field calibration
data, and return the instrument to its factory default state.
After several seconds, the display will show
,
and then
.
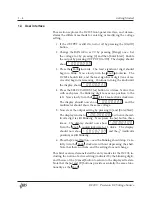
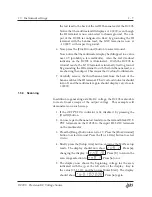
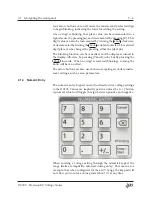
5. Key in the value 1.000000 V. Start by pressing the [1] and no-
tice the display shows the polarity indicator
+
and digit
1
are
shown. Also, the
Pending
indicator begins blinking, indicating
the numeric value is awaiting entry.
6. Try pressing another digit, such as [3]. Note the value is not
added to the display, as the implied value (13) is out of range
for the current setting. Then press the decimal point button,
[.], and then press [0] three times. The display should show
and
Pending
should still be flashing.
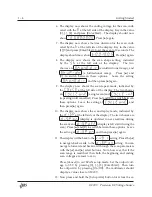
7. Now press the [7] digit.
The display will show
. We don’t actually want that last digit, so
now press the [
] button to erase the
.
8. Press the [Enter
/
Start]. The
Pending
indicator should go dark,
and the display now shows
. The multi-
meter should not yet show any steady reading.
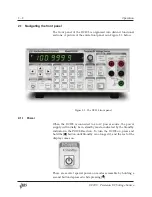
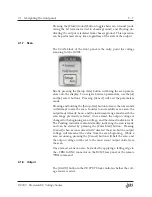
9. Finally, press the OUTPUT [On
/
O
ff
] button. The
On
indica-
tor should illuminate, and the multimeter should now show a
reading very close to
+
1.00000 V.
10. Allow the unit to warm up for 2 hour for full specified perfor-
mance. Warm up is not needed to test basic functionality.
DC205 Precision DC Voltage Source


