2.1 Navigating the front panel
2 – 7
Pressing the [Float
/
Ground] button toggles between
Ground
(indi-
cating the LO terminal is tied to chassis ground), and
Floating
(in-
dicating the output is isolated from chassis ground. This operation
can be performed at any time, regardless of the state of the output.
2.1.7
Scan
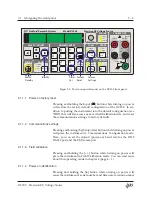
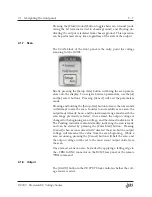
The SCAN block of the front panel is the entry point for voltage
scanning for the DC205.
Briefly pressing the [Setup Arm] button will bring the scan param-
eters onto the display. To navigate between parameters, use the [
]
and [
] select buttons. Pressing [Cancel] will exit the parameters
mode.
Pressing and holding the [Setup Arm] button for more than 2 seconds
will attempt to arm the scan. In order to successfully arm a scan, the
output must already be on, and the instrument range must match the
scan range previously selected. Once armed, the output voltage is
changed to the beginning scan voltage, and the
Armed
indicator is lit.
The
Pending
indicator is also lit steadily, indicating the scan is ready
and can be started by pressing the [Enter
/
Start] button. Pressing
[Cancel] when a scan is armed will “disarm” the scan, but the output
voltage will remain at the value from the scan beginning. While a
scan is running, pressing the [Cancel] button will halt the scan, and
the output voltage will be set to the most recent output value from
the scan.
Once armed, scans can also be started by applying a falling edge to
the
−
TRIG In BNC connector on the DC205 rear panel, or the remote
*TRG
command.
2.1.8
Output
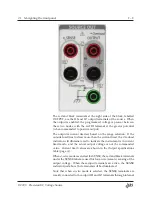
The [On
/
O
ff
] button in the OUTPUT block controls whether the volt-
age source is active.
DC205 Precision DC Voltage Source

