20
INSTALLING NEW REPLACEMENT ABRASIVE STRIPS
WARNING:
To prevent possible serious personal injury, always disconnect the
Wide Drum Sander from the power source before serving the unit or changing
the abrasive strips.
Abrasive strips are available from local dealer in precut strips which require no
special
measuring
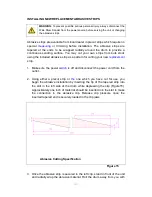
or trimming before installation. The abrasive strips are
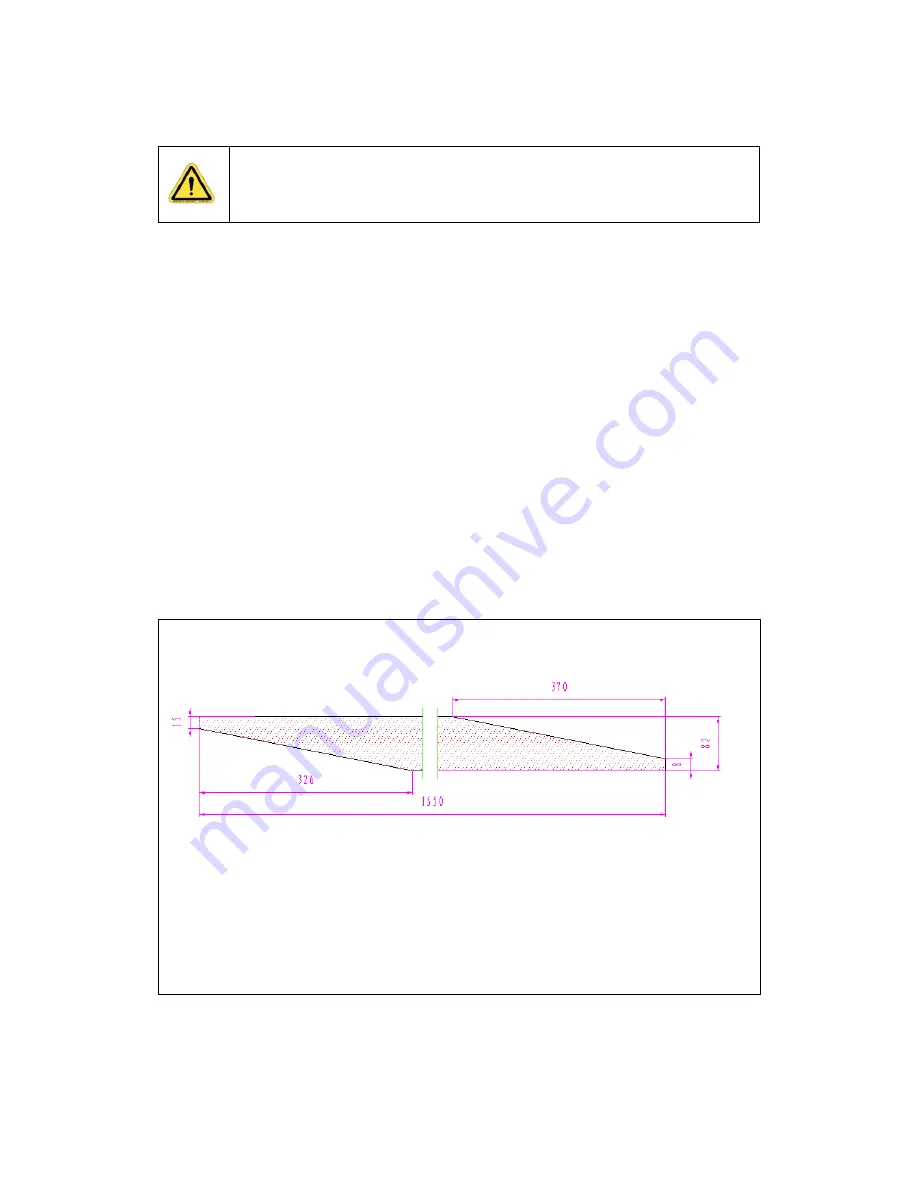
tapered at the ends to be wrapped radially around the drum to provide a
continuous sanding surface. You may cut your own strips from bulk stock
using the included abrasive strip as a pattern for cutting your new
replacement
strip.
1. Make sure the power
switch
is off and disconnect the power cord from the
outlet.
2. Using either a precut strip or
the
one which you have cut for use, you
begin the abrasive installation by inserting the tip of the tapered strip into
the slot in the left side of the drum while depressing the clip (Figure15).
Approximately one inch of material should be inserted into the slot to make
the connection in the abrasive clip. Release clip pressure once the
inserted tapered end is securely loaded in the clip jaws.
Abrasive Cutting Specification
Figure 15
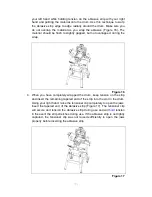
3. Once the abrasive strip is secured in the left clip, stand in front of the unit
and radially wrap the abrasive material. Roll the drum away from you with
Summary of Contents for MM3126
Page 31: ...30 DIAGRAM 1 ...
Page 32: ...31 DIAGRAM 2 ...


