25
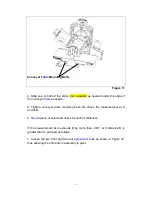
4. Using the supplied 6 mm
hex
wrench key, remove both conveyor table
mounting bolts on the outboard open side of the wide drum sander (See
Figure
11
in the Drum Alignment section for reference.)
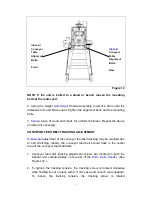
5. Reduce tension on the conveyor feed belt by rotating both the inboard and
outboard
conveyor
feed belt tracking adjustment screws in a
counterclockwise direction. (See Figures 14 and 15 in the
Conveyor
Feed
Belt Tracking Adjustment section for reference.)
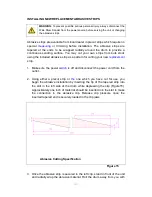
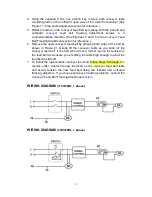
6. Remove the used conveyor feed belt by grasping both sides of the belt as
shown in Figure 21. Gently lift the conveyor table as you slide off the
conveyor feed belt. If the belt will not move, further
reduce
the tension on
the feed belt and ensure you are lifting the table high enough to allow the
feed belt to slide off .
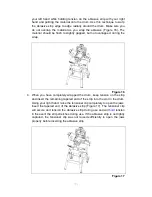
7. To install the replacement conveyor feed belt, follow Steps 6 through 3 in
reverse order. Center the new feed belt on the conveyor feed belt table
and evenly tension the new feed belt using the inboard and outboard
tracking adjusters. If you have experience tracking problems, consult the
Conveyor
Feed Belt Tracking Adjustment
section
.
WIRING DIAGRAM
(110V/60Hz, 1 phase)
WIRING DIAGRAM
(230V/50Hz, 1 phase)
Summary of Contents for MM3126
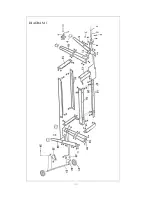
Page 31: ...30 DIAGRAM 1 ...
Page 32: ...31 DIAGRAM 2 ...


