10
11
u
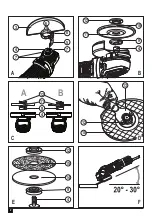
Depress the spindle lock button and tighten clamp nut with
included wrench.
u
To remove the wheel, depress the spindle lock button and
loosen the threaded clamp nut with included wrench.
Warning!
Do not use edge grinding/cutting wheels for surface
grinding applications because these wheels are not designed
for side pressures encountered with surface grinding. Wheel
breakage and injury may result.
u
Allow tool to reach full speed before touching tool to work
surface.
u
Apply minimum pressure to work surface, allowing tool to
operate at high speed. Cutting rate is greatest when the
tool operates at high speed.
u
Once a cut is begun and a notch is established in the
workpiece, do not change the angle of the cut. Changing
the angle will cause the wheel to bend and may cause
wheel breakage.
u
Remove the tool from work surface before turning tool off.
Allow the tool to stop rotating before setting it down.
Use
Warning!
Let the tool work at its own pace. Do not overload.
u
Carefully guide the cable in order to avoid accidentally
cutting it.
u
Be prepared for a stream of sparks when the grinding or
cutting disc touches the workpiece.
u
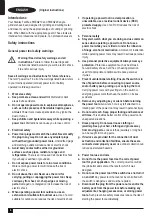
Always position the tool in such a way that the guard
provides optimum protection from the grinding or cutting
disc.
Switching on and off
u
To switch the tool on, press the on/off switch (1).
u
To switch the tool off, release the on/off switch (1).
Warning!
Do not switch the tool off while under load.
Hints for optimum use
u
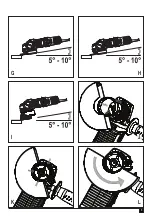
Firmly hold the tool with one hand around the side handle
and the other hand around the main handle.
u
When grinding, always maintain an angle of approx. 15°
between the disc and the workpiece surface.
Maintenance
Your Stanley Fat Max corded/cordless appliance/tool has
been designed to operate over a long period of time with a
minimum of maintenance. Continuous satisfactory operation
depends upon proper tool care and regular cleaning.
Warning!
Before performing any maintenance on corded/
cordless power tools:
u
Switch off and unplug the appliance/tool.
u
Or switch off and remove the battery from the appliance/
tool if the appliance/tool has a separate battery pack.
u
Or run the battery down completely if it is integral and then
switch off.
u
Unplug the charger before cleaning it. Your charger does
not require any maintenance apart from regular cleaning.
u
Regularly clean the ventilation slots in your appliance/tool/
charger using a soft brush or dry cloth.
u
Regularly clean the motor housing using a damp cloth. Do
not use any abrasive or solvent-based cleaner.
u
Regularly open the chuck and tap it to remove any dust
from the interior (when fitted).
Mains plug replacement (U.K. & Ireland only)
If a new mains plug needs to be fitted:
u
Safely dispose of the old plug.
u
Connect the brown lead to the live terminal in the new
plug.
u
Connect the blue lead to the neutral terminal.
Warning! No connection is to be made to the earth terminal.
Follow the fitting instructions supplied with good quality plugs.
Recommended fuse: 13 A.
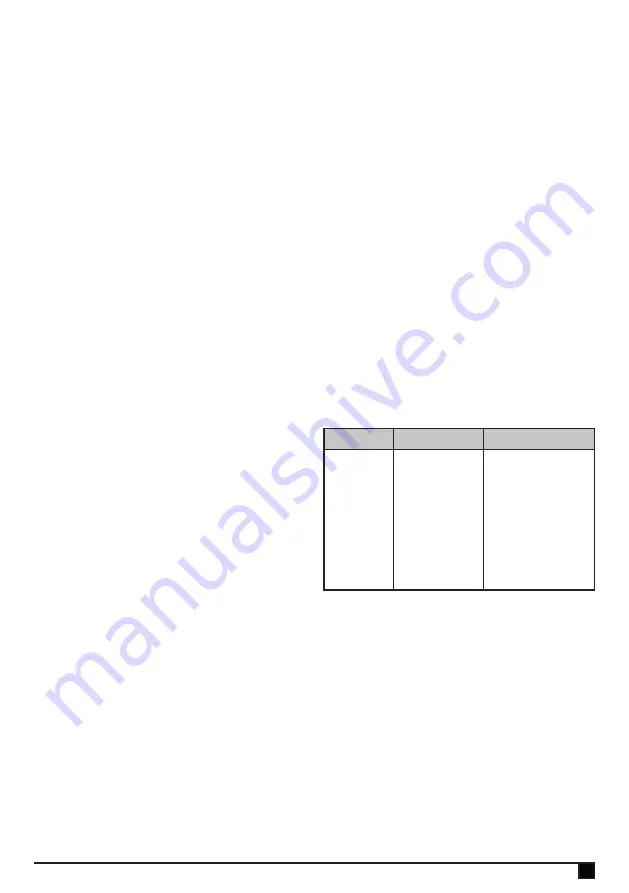
Troubleshooting
Problem
Possible cause
Possible solution
Unit will not
start.
Cord not plugged
in.
Cord or switch is
damaged.
Plug tool into a
working outlet.
Have cord or switch
replaced at a Stanley
FatMax service center
or authorized
servicer.)
Summary of Contents for FATMAX FMEG210
Page 1: ...www stanley eu FMEG210 FMEG220 1 13 4 2 3 ...
Page 2: ...2 13 12 10 3 4 7 5 8 7 6 12 15 14 9 4 4 9 11 12 4 9 10 12 11 A E B C D F A B ...
Page 3: ...3 G H I J K L ...
Page 134: ...134 ...
Page 135: ...135 ...


