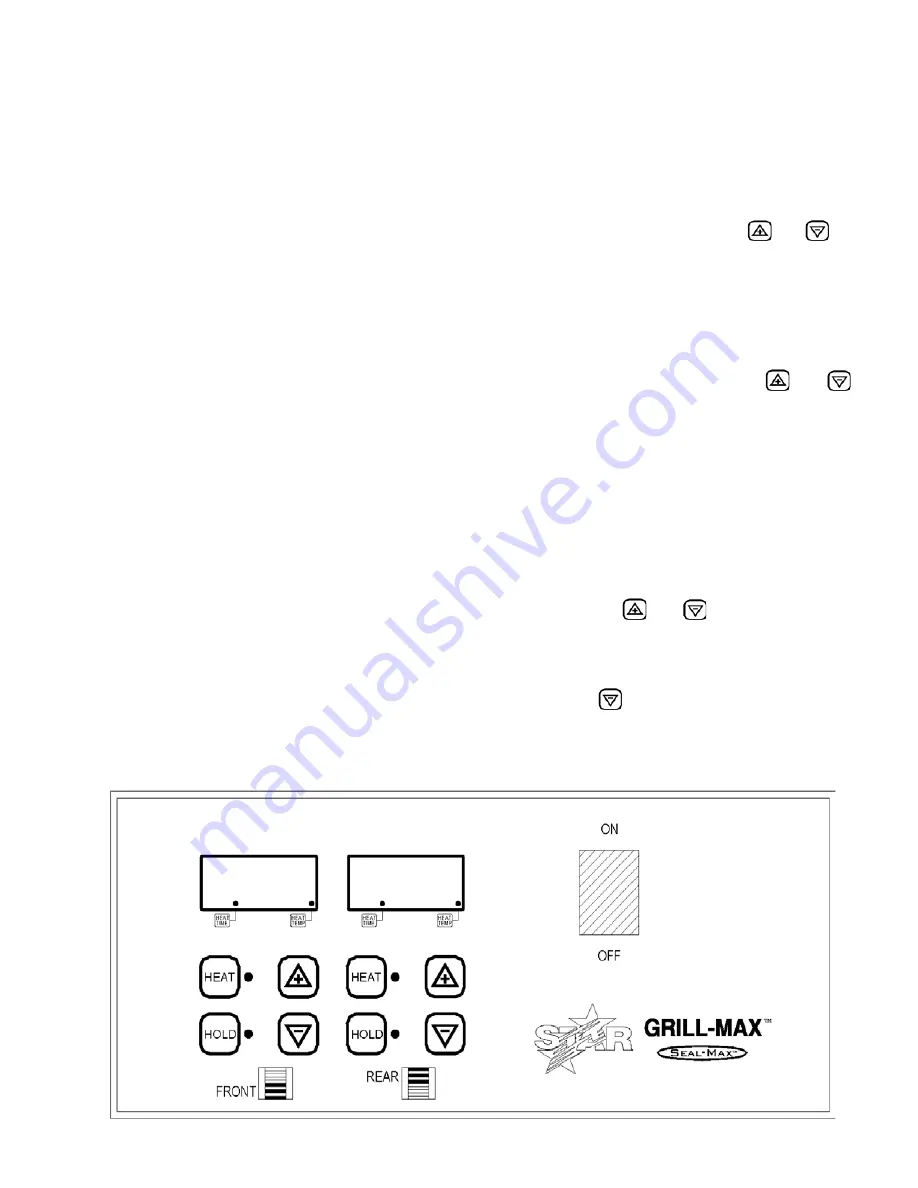
4
START-UP
When initially turning on power to the grill, the grill
will be in the HOLD mode. The displays will flash
until the setpoint temperature is reached. The grill
will beep once when it is up to temperature. When
the grill is initially turned on, the displays will flash
the HOLD temperature until the grill reaches that
setpoint.
HEATING
The electronic controls provide programmable
HEAT and HOLD settings for a variety of food prod-
ucts and installation conditions. The size, content,
and shape of the product and the installation of any
sanitary food shields or sneeze guards will deter-
mine the proper heat setting. The National Sanita-
tion Foundation requires that all perishable foods
be kept at 140°F or above during serving periods.
The product should be kept refrigerated until ready
to use. Heating times vary depending on the start-
ing temperature and the qualities of the product.
For best results, use a hot dog made for grilling.
Before cooking for the first time, wash the rollers
with mild soap and water using a soft cloth. When
the grill is initially turned on, the displays will flash
the HOLD temperature until the grill reaches that
setpoint.
With the grill preheated to the hold temperature,
load with the desired product and press the HEAT
button. The grill will then go into the heat mode
and the displays will flash until the HEAT tempera-
ture is reached. After the heating cycle, the grill will
beep four times and the food product will be at the
serving temperature.
NOTE: Based on the product being heated, some
experimentation is required to find the optimal
HEAT temperature and HEAT time to bring the
product up to temperature in an acceptable amount
of time.
PROGRAMMING
To program the electronic roller grill:
1. With the grill on, push and hold the
and
on
the side you wish to program together for three
seconds until the alarm beeps once and the display
blanks.
2. To set the heat temperature and/or heat time, push
the heat button. The last saved heat time will be
displayed and the HEAT LED will flash and HEAT
TIME indicator will be ON. Use the
and
buttons to adjust to the desired time, then press
the HEAT button again. The HEAT TIME LED
indicator will turn off and the HEAT TEMP LED
indicator will now be lit. When programming the
HEAT temperature is complete, push the HEAT
button one more time to exit the programming
mode.
3. To set the hold temperature, repeat step 1 above
then push the HOLD button. The last saved hold
temperature will be displayed and HOLD LED will
be ON. Use the
and
buttons to adjust to
the desired temperature, then press the HOLD
button again to exit programming mode.
4. To turn the heat off to the front or rear section, press
and hold the
for that section for 3 seconds.
"OFF" will be displayed. To turn the section back
on, press the HEAT or HOLD button.


