PAIR
RST
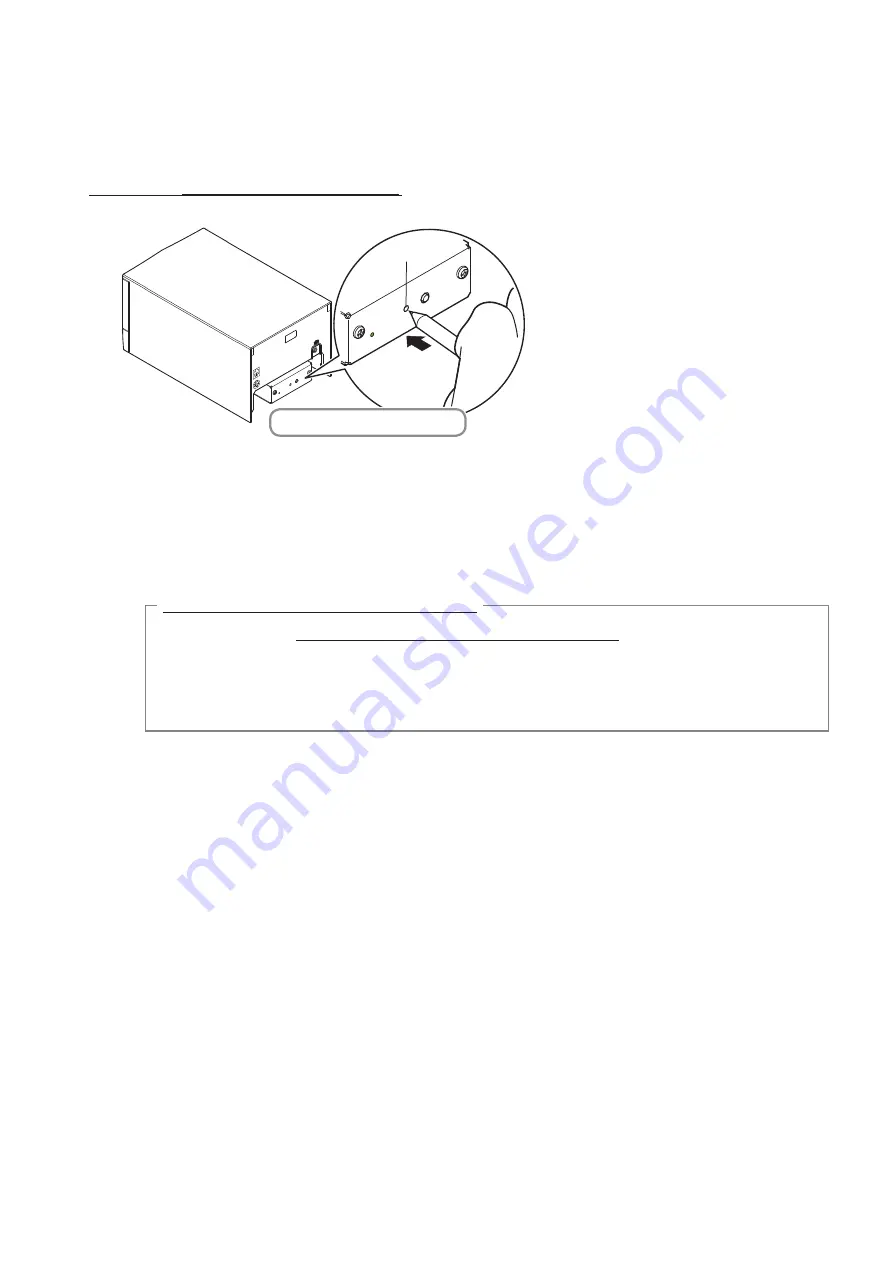
RST button
Hold down for 4 seconds or more
3-7-5. Resetting Bluetooth Settings
The following procedure explains how to initialize settings that you have changed such as the PIN code, device name, and so on.
(1) While inserting a thin object such as the tip of a pen and holding down the RST button on the rear of the printer, turn on
the printer's power switch. The POWER LED (green) and the ERROR LED (red) on the front of the printer start flashing.
(2) Hold down the
RST button for 4 seconds or more
(note 1), and then release it.
(3) After you release the RST button, if the LED stops flashing and the POWER LED remains lit green within 12 seconds,
initialization is complete. If the LED continues to flash for longer than 12 seconds after releasing the RST button, this indi-
cates that initialization was not successful. Turn off the printer's power and then try again from step 1.
(4) Turn off the printer's power switch and delete the pairing setup with the master device.
Note 1: In step 2, if you do not hold down the RST button for long enough, initialization will not complete correctly.
For F/W Ver2.0, Ver3.0a, and Ver3.0b interfaces
In step 2, you need to hold down the RST button for 8 seconds or more.
Also, after finishing steps 1 to 3, to check that initialization was completed correctly, perform self-
printing. If the second sheet (*** Bluetooth Information ***) is not printed, initialization has not been
completed correctly. If this happens, turn off the printer's power, and then try again from step 1.
(You can check the firmware version from the self-printing results. See page 13 for the self-printing
procedure.)
2: Do not turn off the printer during initialization; otherwise initialization will not complete correctly.
3: If initialization is not completed correctly, turn off the printer's power and then try again from step 1.
- 16 -


