93
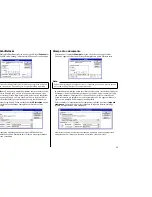
Preparing to print
Often you can simply select the
command in the application you are using,
click the
OK
button, and your document will be printed out. However, sometimes
you may need to change certain settings beforehand, such as the default printer,
which port a printer uses, which printer driver it uses, the paper size, the paper
source etc.
Settings are made by checking radio buttons, entering numbers into fields or by
clicking on the arrow by the side of a field and selecting an option from the list that
appears. All these settings, and how to make them, are fully explained in the
Microsoft Windows 95 User’s Guide.
Some settings, e.g. paper size and paper source, can be made within an application
when you select the
command (see the next section: Printing a document).
However, settings made within an application only affect printing from that
application.
To change the default printer and to make general settings that will apply to any
application, proceed as follows:
❏
Click on the
Start
button in the bottom lefthand corner of the screen.
❏
Select
Settings
.
❏
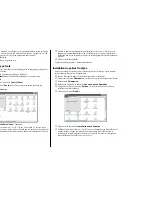
Release the mouse button on
Printers
.
❏
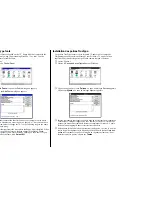
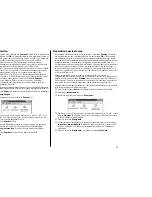
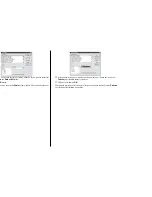
Double-click on the icon bearing the name of the printer (Star LC-100+) in the
Printers
window. A window appears listing any documents that are currently
being printed on the printer.
❏
Click on the
Printer
menu.
❏
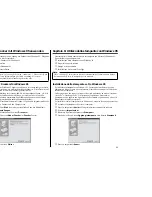
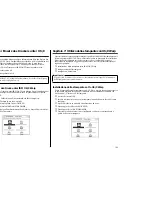
To set the printer as the default printer, click on the
Set
As Default
command
so that a tick mark appears in the check box. This denotes that the selected
printer is the default printer.
❏
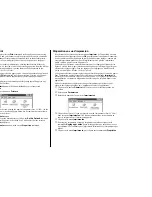
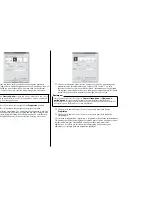
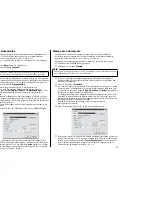
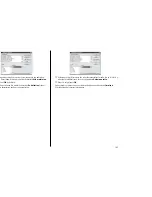
Click on the
Printer
menu and click on the
Properties
command.
Préparation en vue d’impression
Il suffit souvent de sélectionner la commande
Imprimer
de l’application en cours
d’utilisation et de cliquer sur le bouton
OK
pour imprimer le document. Néanmoins,
il vous faudra tout d’abord changer de temps à autre certains réglages, comme par
exemple imprimante par défaut, port d’imprimante utilisé, pilote d’imprimante
utilisé, taille du papier, source du papier etc.
Validez les boutons ronds, entrez les numéros dans les champs ou cliquez sur les
flèches à côté du champ, puis sélectionnez une option sur la liste qui apparaît pour
effectuer les réglages requis. Tous ces réglages sont expliqués en détails dans le
Guide d’utilisation de Windows 95 de Microsoft.
Vous pourrez effectuer certains réglages du genre taille de papier et source du papier
dans l’application utilisée lorsque vous sélectionnez la commande
Imprimer
(se
référer à la section suivante: Impression de document). Les réglages effectués dans
une application ont toutefois uniquement un effet lorsqu’on imprime depuis cette
application.
Suivez les instructions ci-après pour changer l’imprimante par défaut et pour
exécuter des réglages généraux qui s’appliquent à toutes les applications:
❏
Cliquez sur le bouton
Démarrer
qui se trouve au coin inférieur gauche de
l’écran.
❏
Sélectionnez
Paramètres
.
❏
Relâcher le bouton de la souris sur
Imprimantes
.
❏
Cliquez deux fois sur l’icône qui porte le nom de l’imprimante (Star LC-100+)
dans la fenêtre
Imprimantes
. Une fenêtre indiquant tous les documents en
cours d’impression sur l’imprimante apparaît.
❏
Cliquez sur le menu
Imprimantes
.
❏
Pour régler l’imprimante en tant qu’imprimante par défaut, cliquez sur la
commande
Réglage par défaut
pour faire apparaître une coche dans la case
de validation. Ceci confirme que l’imprimante sélectionnée est l’imprimante par
défaut.
❏
Cliquez sur le menu
Imprimante
, puis cliquez sur la commande
Propriétés
.


