63
Starting up the User Setup Utility
❏
After you install the User Setup Utility, you can start it up any time by moving to
the directory you specified under “Installing the User Setup Utility” on page 59
and inputting the following:
STARSET
↵
When you start the User Setup Utility, it reads and displays the last settings that
were sent to the printer by the utility.
❏
Now you can use the User Setup Utility to make the setup changes you want.
❏
You can press
F1
at any time to access the on-screen help for the setup utility.
Changing the General, Font, Paper and Adjust Settings
The following are basic operations to change settings in the General, Font, Paper and
Adjust windows.
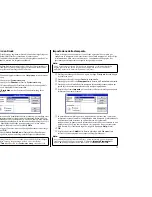
To select a window
❏
Click on the name of the window you want to select (General, Font, Paper,
Adjust, Port) by clicking on its name at the top of your computer’s screen. When
you do, the corresponding window appears on the screen. You can also select a
window by pressing a function key from
F4
to
F8
.
Note:
The utility does not read the settings from the printer. It reads the settings from a file
that was created the last time the utility was run, which are stored on your
computer’s hard disk. If the EDS settings have been changed using the printer’s
control panel, those control panel settings will not be shown by the utility, and they
will be replaced by the current User Setup Utility settings if you specify that current
settings should be sent to the printer (page 69) when you exit the utility.
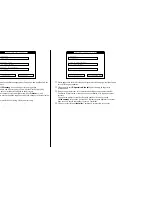
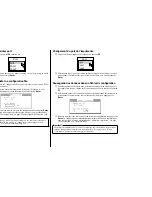
General
Standard
*
Emulation
Input Buffer
*
RAM usage
Disabled
*
Quiet mode
Bi-direction
*
NLQ Direction
Disabled
*
CR Centering
Help
F1
Exit
F2
File
F3
General
F4
Font
F5
Paper
F6
Adjust
F7
Port
F8
LC9CL
*
Ribbon Select
Exploitation de l’utilitaire d’impression
❏
Une fois que vous avez installé l’utilitaire d’impression, vous pouvez l’utiliser
quand vous voulez en allant dans le répertoire choisi dans “Installation de
l’utilitaire d’impression” à la page 59 et en entrant la commande suivante:
STARSET
↵
Quand vous lancez l’utilitaire d’impression, il lit et affiche les réglages courants
de l’imprimante.
❏
A présent, vous pouvez utiliser l’utilitaire d’impression pour faire les
changements souhaités.
❏
Vous pouvez appuyer sur
F1
à tout moment pour afficher sur l’écran le menu
d’aide pour l’utilitaire d’impression.
Changement des réglages de généralités, de la police, du
papier et des paramètres
Effectuez les opérations de base suivantes pour changer les réglages de généralités,
de la police, du papier et des paramètres
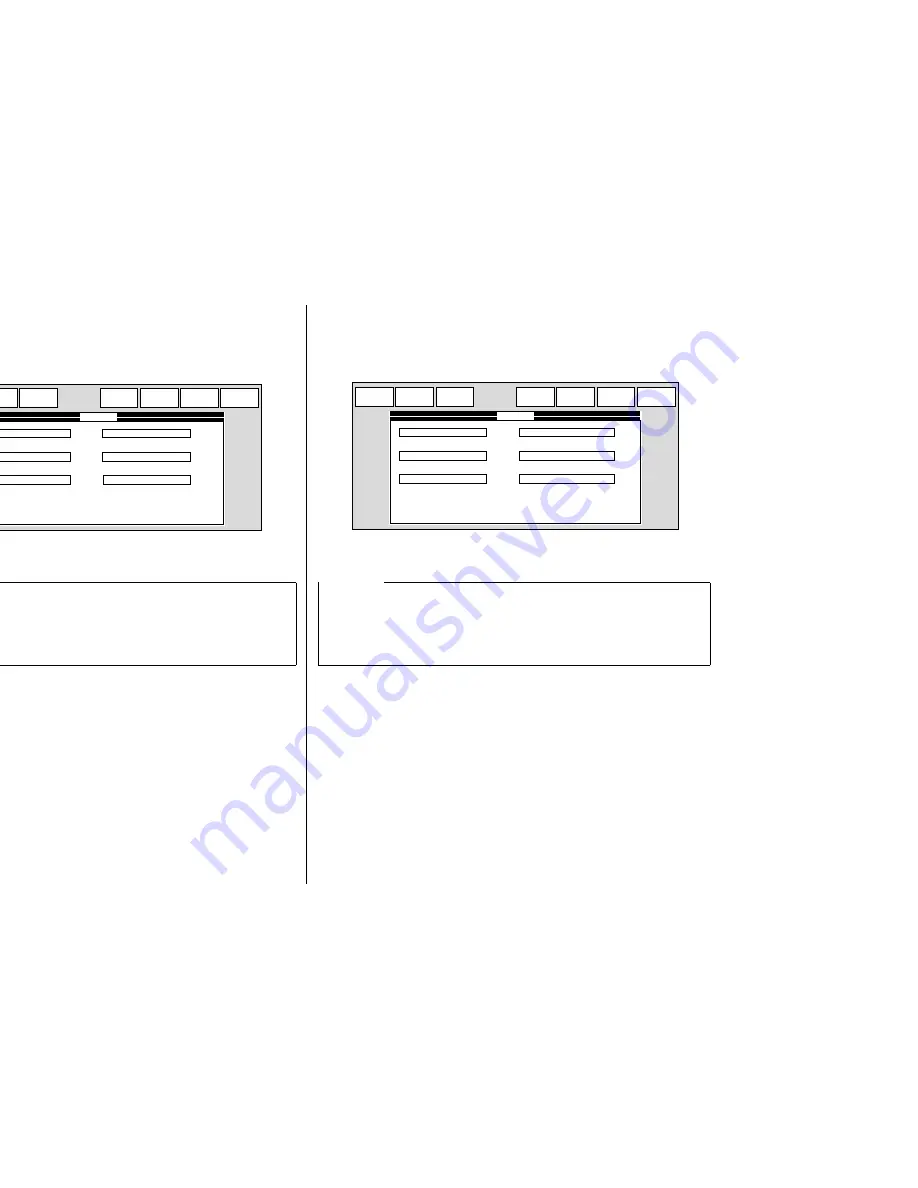
Sélection d’une fenêtre
❏
Cliquez sur le nom de la fenêtre que vous voulez sélectionner (Général, Police,
Papier, Ajust., Port) en haut de l’écran de l’ordinateur. La fenêtre correspondante
apparaît sur l’écran. Vous pouvez également sélectionner une fenêtre en
appuyant sur une touche de fonction
F4
à
F8
.
Remarque:
L’utilitaire ne lit pas les réglages de l’imprimante. Il lit les réglages mémorisés sur
le disque dur la dernière fois qu’il a été mis en route. Si les réglages EDS ont été
changés sur le panneau de commande de l’imprimante, ils ne seront pas indiqués
par l’utilitaire et ils seront remplacés par les réglages de l’utilitaire d’impression si
vous spécifiez l’envoie des réglages actuels à l’imprimante (page 69) quand vous
sortez de l’utilitaire.
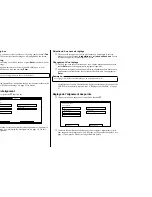
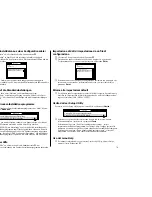
Général
Standard
*
Emulation
Tampon
*
Mémoire
Désactivé
*
Mode silenecieux
Uni-directionnelle *
Direction NLQ
Désactivé
*
Position du centrage
Aide
F1
Quitter
F2
Fichier
F3
Général
F4
Polices
F5
Papier
F6
Ajust.
F7
Port
F8
LC9CL
*
Sélection du ruban


