


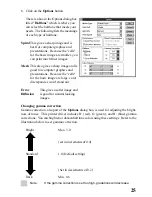
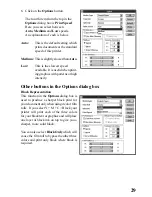


24
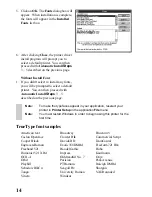
There are other selections in the Options dialog box that can enhance the performance
and color graphics quality of your printer. These selections - changing halftones, image
quality, gamma correction, color balance and high speed printing - are described in the
following sections.
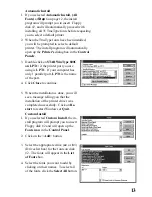
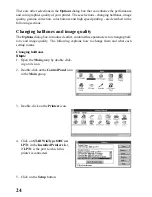
Changing halftones and image quality
The Options dialog box, introduced earlier, contains three parameters for changing half-
tone and image quality. The following explains how to change them and what each
setting means.
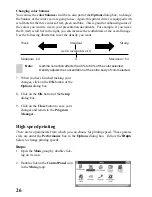
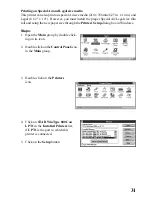
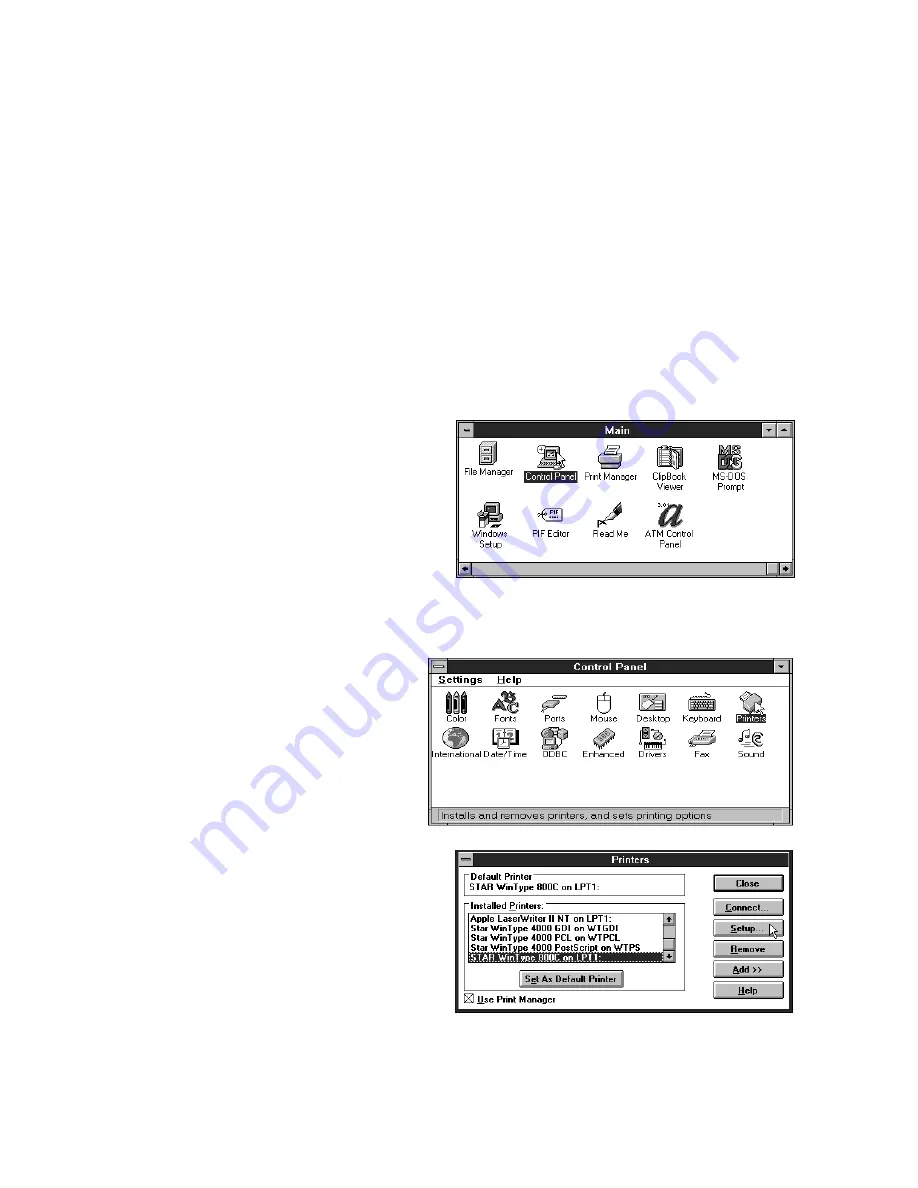
Changing halftones
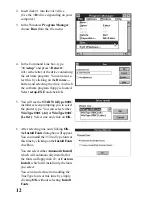
Steps:
1. Open the Main group by double click-
ing on its icon.
2. Double-click on the Control Panel icon
in the Main group.
3. Double-click on the Printers icon.
4. Click on STAR WinType 800C on
LPT1 in the Installed Printers list,
if LPT1 is the port to which this
printer is connected.
5. Click on the Setup button.
Summary of Contents for WinType 800C
Page 1: ...The Windows Color Presentation Printer WinType 800C Users Manual 80825100 ...
Page 19: ...10 ...
Page 49: ...40 ...


