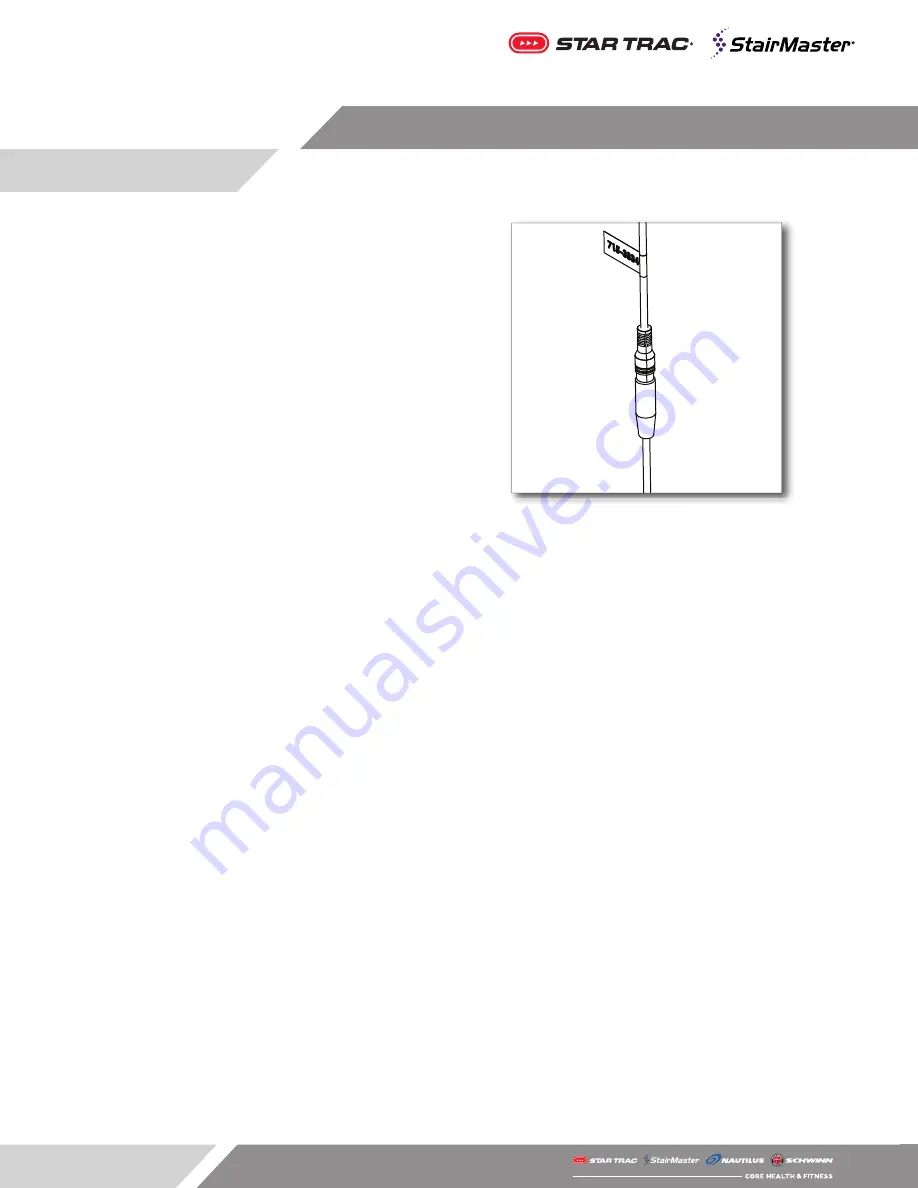
background image

Page 12

4. 

Connect the straight side of the same cable to 
the 3.5mm audio cable 

(3)

 from the screen.

5. 

Carefully close the console and refer to the 
owner’s manual for programming and operation 
instructions.

From Screen

To Panel

Summary of Contents for 8-RB

Page 1: ...Assembly MANUAL 8 10 Series PVS Core Health Fitness...

Page 2: ...es PVS Tools Required 2 Phillips Screwdriver 5mm Allen Key Please note that some additional tools will be required for HDMI cable routing Route the HDMI cable through the machine before beginning the...

Page 3: ...Page 2 8 VS 8 CT 8 RDE 8 TR x 10 TRx...

Page 4: ...hroud Take note of console connections disconnect wiring from mast to console and remove console front TECH TIP Take a picture of the connections before removing them 2 Use a 2 phillips screwdriver to...

Page 5: ...oax cable from the PVS bracket and use a 2 phillips screwdriver to secure the PVS top cover to the console rear shroud 5 Slide the PVS bracket grommet down the PVS bracket and into position so a seal...

Page 6: ...er removed in Step 6 with the PVS controller then secure using the same screw removed in Step 6 11 Use the diagram right and the table below to connect the PVS cabling to the appropriate location 1 PV...

Page 7: ...he front of the console For units with Gen 1 hotbar go to Page 7 to continue installation For units with Gen 2 hotbar go to Page 9 to continue installation For units without a hotbar go to Page 11 to...

Page 8: ...jack in the hotbar The following steps must be completed after primary installation of the PVS and controller 1 Connect the 3 5mm audio cable from the PVS 3 to the hot bar audio cable 2 Remove the ph...

Page 9: ...e console Disconnect the USB cable from the USB board 5 Connect the USB cable and HDMI cable to the new panel apply the overlay to the panel then reinstall panel into the console 6 Carefully close the...

Page 10: ...the Gen 1 hotbar insert then install it into Gen 2 hotbar insert 3 Use a 3mm allen key to remove the M4 x 16mm socket head cap screw securing the headphone cap into the hotbar then remove the headphon...

Page 11: ...e console Discon nect the USB cable from the USB board 6 Connect the USB cable and HDMI cable to the new panel apply the overlay to the panel then reinstall panel into the console 7 Carefully close th...

Page 12: ...se a 2 phillips screwdriver to remove the two screws from original USB panel remove the panel then disconnect the USB cable from the USB board 2 Connect the USB cable and HDMI cable to the new panel c...

Page 13: ...onnect the straight side of the same cable to the 3 5mm audio cable 3 from the screen 5 Carefully close the console and refer to the owner s manual for programming and operation instructions From Scre...

Page 14: ...2019 CORE HEALTH FITNESS LLC PART NUMBER 620 8373 REV D...

Reviews: