Page 10
5.
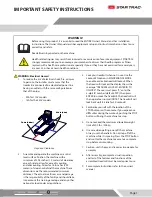
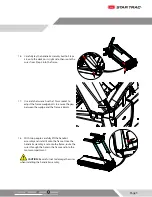
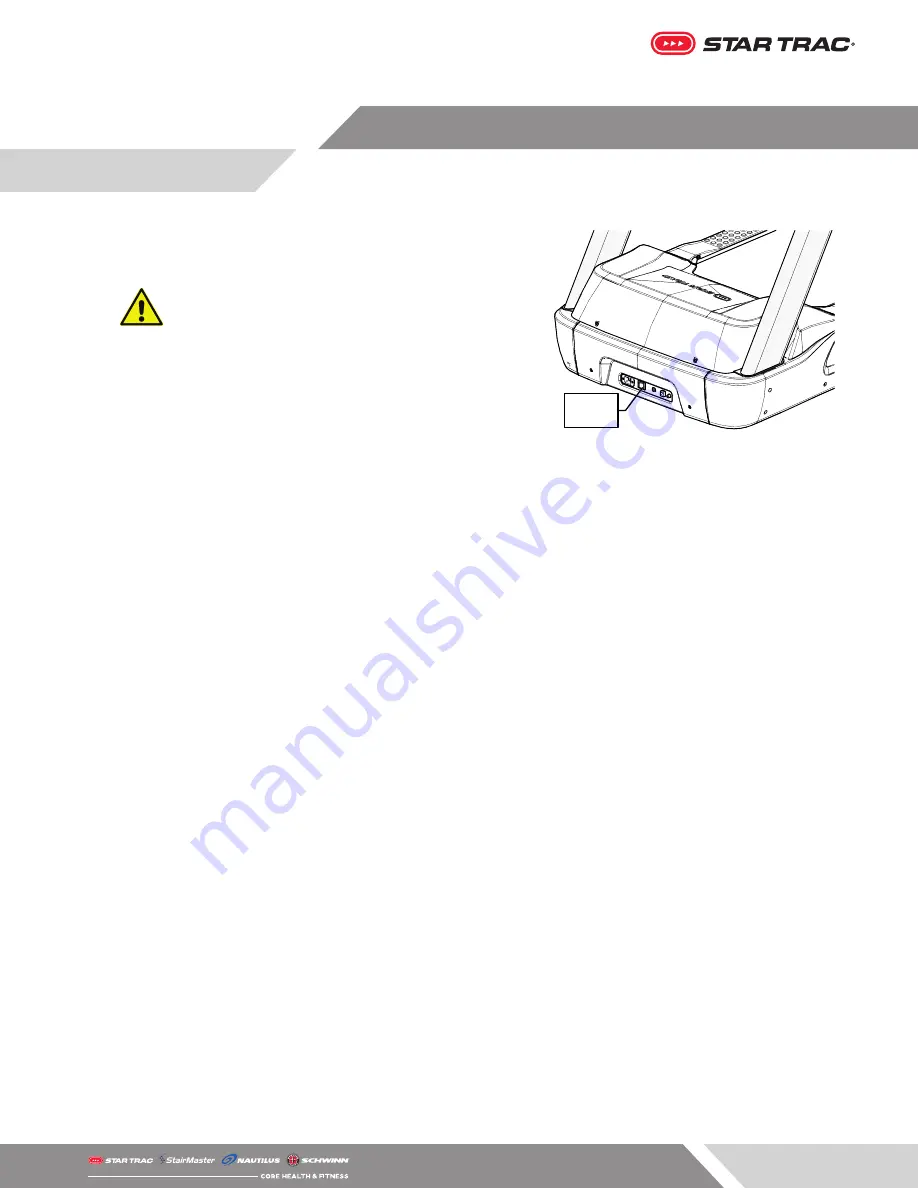
Install the power cord into the machine and plug
the other end into the wall outlet, then push the
power breaker to the on position.
WARNING:
To reduce the risk of electrical
shock, fi re, or injury to persons, the installer
must ensure that the treadmill is connected to a
dedicated power line having an outlet with the same
confi guration as that of the plug:
•
20A for 110V model (9-9271)
•
15A for the 230V model (9-9274)
NOTE:
When the power breaker is in the off position,
movement of the running belt is prevented.
ON/OFF
POWER
BREAKER
6.
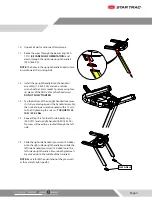
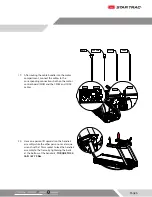
Press 0+2+OK at the same time to enter the
service menu, then use Elevation Up key to select
“MODEL”, then use the Speed Up key to select
“10-TRx” then press “OK”.
NOTE:
One some older consoles, “10-TRx” will not be
a selectable option, please use “8-TRx” - this will not
eff ect treadmill performance.
7.
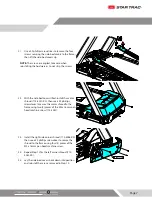
Ensure nothing is on the belt, then use the
Elevation Up key to select “ELEV CALIBRATION”
and press “OK” twice to run the elevation
calibration. Once the calibration has passed,
press the stop key on the hotbar to go back to
the service menu.
8.
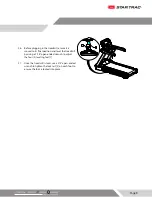
Ensure nothing is on the belt, then use the
Elevation Up key to select “MOTOR CALIBRATION”
and press “OK” twice to run the elevation
calibration. Once the calibration has passed,
press the stop key on the hotbar twice to go back
to the main workout menu.


