


CrossTrainer Service Manual
22
CrossTrainer Service Manual Rev A 620-7575
Part Installation Procedure - Keypad (cont.)
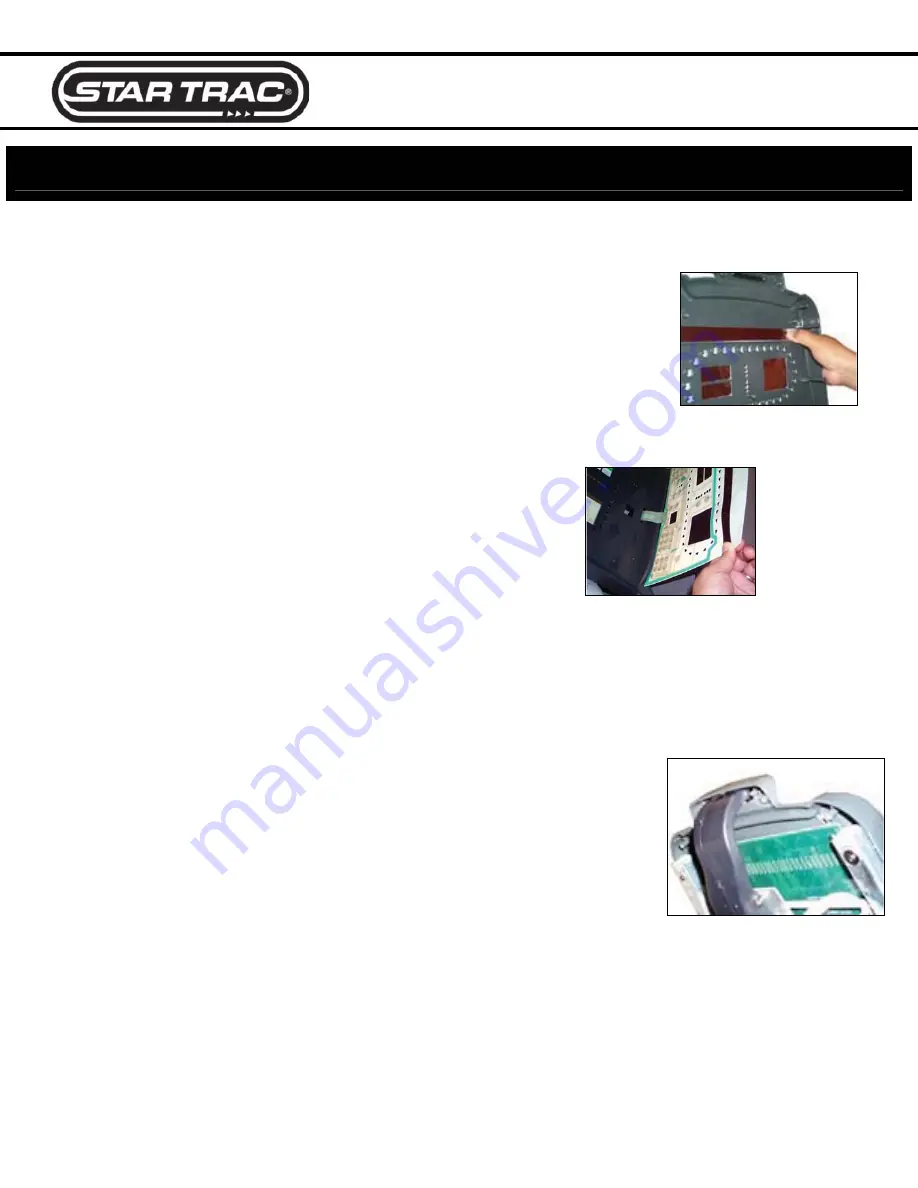
4. Remove the old keypad.
x
Gently push from behind one corner of the information window until it comes loose from the
display panel.
x
Carefully peel away the old keypad.
Install the New Keypad
1. Prep the keypad. Clean off excess adhesive on the
display panel water and soap.
2. Install the new keypad onto the display panel.
x
Remove the protective paper from the back of the keypad to expose the adhesive.
x
Slide the keypad ribbon cable through the display panel.
x
Carefully line up the keypad with the housing.
x
Once it is lined up, press the keypad in place. Firmly rub the keypad to ensure the entire
adhesive is making contact with the display panel.
Note: If the keypad is not properly lined up with the display panel, some of the lights may not
be visible.
3. Install the display electronics.
x
Carefully pull the keypad ribbon cable through the hole on the display electronics.
x
Install the 5 screws that hold the display electronics to the panel.
x
Plug the cables into the electronics. Be sure to plug all cables in.
4. Install the fan bracket onto the display housing.
x
Plug the fan cable into the display electronics.
x
Align the fan with the fan vent in the display panel.
x
Install the 4 screws for the fan bracket.
5. Install the back housing.
x
Align the back housing to the display and install the 7 screws that hold the housing to the
panel.
Test for Function
1. Ensure all keys are functional by using the Keypad Test in the Maintenance mode.
2. Be sure all lights are visible by using the LED Test in the Maintenance mode.


