background image

11

OPERATION

General

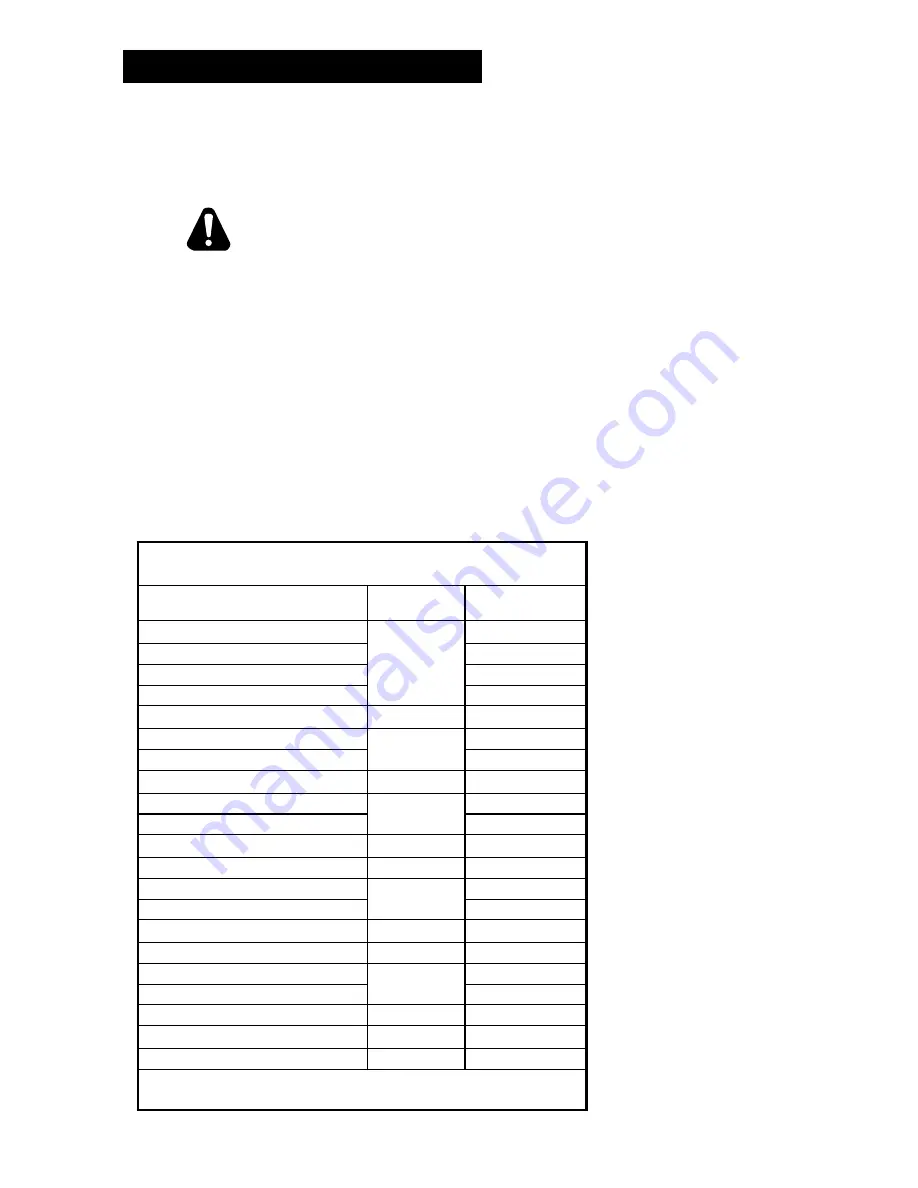
The suggested time and temperature chart (below) is provided as a guide for the products listed only. 
If different temperature settings are to be used, select one side of the griddle and operate at the lowest 
temperature.  Adjoining sections should be set at progressively higher temperatures.  Do not try to 
operate the end sections hot and the center sections cool.


ALWAYS KEEP THE AREA NEAR THE APPLIANCE FREE FROM 
COMBUSTIBLE MATERIALS.


KEEP FLOOR IN FRONT OF EQUIPMENT CLEAN AND DRY.  IF 
SPILLS OCCUR, CLEAN IMMEDIATELY, TO AVOID THE DANGER OF 
SLIPS OR FALLS.

Operations

An understanding of how the griddle sections are controlled will be a valuable aid in loading product on 
your unit.
Each 12-inch section of your griddle is independently controlled by a temperature controller.  The 
temperature control sensor is mounted in the center of each cooking section under the griddle plate.
If the product is loaded directly over the temperature sensor, that section will turn on and the burner will 
heat the entire cooking section.  If the product is loaded to the side, front or back of the temperature 
sensor, the thermostat will react to the temperature change much slower.
During slow periods with minimal loads, do not load directly over the thermostat sensors as this will 
unnecessarily turn the burners on and overheat the remainder of the section not being utilized.

Turn the product and continue cooking 
until it has reached its desired degree 
of doneness.
Remove the product from the griddle.
When reloading the griddle, 

fi

 rst 

use the griddle surface on which a 
previous load was not placed.  This 
will help insure the proper griddle 
temperature.

SUGGESTED TIMES AND TEMPERATURES

PRODUCTS

TEMPERATURE 

F / C

TIME (MIN)

HAMBURGER

350°F / 176°C

2 patties per LB

6 to 8

4 patties per LB

4 to 6

6 patties per LB

3 to 4

STEAKS

1/2 to 3/4 inch thick, cooked medium

375°F / 190°C

5 to 7

3/4 to 1 inch thick, cooked medium

8 to 10

Lamb Chops

350°F / 176°C

6 to 8

Pork Chops

6 to 8

Salmon

350°F / 176°C

6 to 8

Halibut

325°F / 162°C

6 to 8

Snapper

6 to 8

Hash Brown Potatoes

375°F / 190°C

3 to 4

Bacon

350°F / 176°C

3 to 4

Sausage Links or Patties

3 to 4

Ham (Pre-cooked)

375°F / 190°C

2

Eggs

275°F / 135°C

2 to 4

Note:  The times and temperatures in this chart are intended as a general guide and starting point. 

Your actual times and temperatures may vary from this chart.

CAUTION

Summary of Contents for Lang 124S

Page 1: ...81 1 SELECTRONIC ELECTRIC GRIDDLE Commercial Marine 124S 124SHE 136S 136SHE 148S 148SHE 148SR 160S 160SHE 160SR 160S SC 172S 172SR 172SC Installation and Operation Instructions 2M W353 Rev G 10 13 08...

Page 2: ...SERVICE PERSONNEL ONLY NOTICE Using any part other than genuine Lang factory supplied parts relieves the manufacturer of all liability Star reserves the right to change speci cations and product desig...

Page 3: ...ptoms Possible Causes 13 Possible Causes Test 14 Wiring Diagram 208 240VAC 15 480VAC 16 380VM 17 Exploded View Parts List 18 26 PROBLEMS QUESTIONS or CONCERNS Before you proceed consult you authorized...

Page 4: ...0 x 24 0 x 28 2 243 lbs 280 lbs 85 381mm x 610mm x 717mm 110 kg 127 kg 136 15 0 x 36 0 x 28 2 368 lbs 410 lbs 381mm x 914mm x 717mm 167 kg 186 kg 148 15 0 x 48 0 x 28 2 Sides 2 483 lbs 515 lbs 381mm...

Page 5: ...22 22 22 12 160SC 208 240 60 1 3 12 58 4 50 29 29 6 18 87 2 50 50 50 6 160SHE 208 240 60 1 3 12 58 2 50 29 29 6 18 87 2 50 50 50 6 160SR 208 240 60 1 3 12 58 2 50 29 29 6 18 87 2 50 50 50 6 160S SC 2...

Page 6: ...elve inch section of the griddle is controlled by an area sensitive RTD probe which can sense and react to a temperature change of 4 F Each twelve inch section has a set of 6 K W elements for high eff...

Page 7: ...un crating move the oven as near to its intended location as practical The crating will help protect the unit from the physical damage normally associated with moving it through hallways and doorways...

Page 8: ...NEL AND OR DAMAGE TO EQUIPMENT UNIT MUST BE INSTALLED IN ACCORDANCE WITH ALL APPLICABLE CODES NOTICE The data plate is located behind access panel between controls and grease drawer The grill voltage...

Page 9: ...al voltage design Jumper wires on terminal strip next to the main power supply connection determine the griddle voltage For a 208 volt power supply leave the jumpers in place For a 240 volt power supp...

Page 10: ...50 F 10 C for another hour and repeat this until it is at 450 F 232 C for hour The unit may emit a small amount of smoke as the cooking surface passes the 300 F 148 C point Do not be alarmed as the s...

Page 11: ...front or back of the temperature sensor the thermostat will react to the temperature change much slower During slow periods with minimal loads do not load directly over the thermostat sensors as this...

Page 12: ...followed After each use scrape the griddle with a scraper or flexible spatula to remove excess grease and food A waste drawer is provided for the scrapings If there is an accumulation of burned on gr...

Page 13: ...then refer to test to identify test procedures SYMPTOM POSSIBLE CAUSE Whole Griddle will not heat No Power to Griddle Failed Power switch Failed Transformer One Section will not heat Failed Power swi...

Page 14: ...OF ANY REPLACEMENT PARTS OTHER THAN THOSE SUPPLIED BY LANG OR THEIR AUTHORIZED DISTRIBUTORS CAN CAUSE BODILY INJURY TO THE OPERATOR AND DAMAGE TO THE EQUIPMENT AND WILL VOID ALL WARRANTIES POSSIBLE CA...

Page 15: ...CONN 2 USE LG36 10 PROBE 9 TRANSFORMER 8 TOGGLE SWITCH 7 12 POSITION SWITCH 6 TEMP CONTROL BOARD 5 TERMINAL BLOCK 4 JUMPER 3 CONTACTOR 2 GRIDDLE PILOT LAMP 1 GRIDDLE ELEMENTS 5 L3 L2 L1 4 4 JUMPER JU...

Page 16: ...ION SWITCH 8 TOGGLE SWITCH 9 TRANSFORMER 10 PROBE 7 6 7 7 6 8 8 8 24V 480V NOTE SOME 48 AND ALL 60 72 GRIDDLES HAVE TWO POWER SUPPLY CONNECTIONS 48 CONN 1 USE LG24 CONN 2 USE LG24 60 CONN 1 USE LG36 C...

Page 17: ...17...

Page 18: ...ol 1 4 5 6 3 2 7 8 9 10 11 12 13 14 For individual parts SEE DETAIL A This drawing contains information confidential to Star Manufacturing International Inc No reproduction or disclosure of it s CERTA...

Page 19: ...GPS2 C 1 PNEL XL LG SEL 2 208 240V 124S K9 LGPS2 C W1 1 PNEL SEL 2 208 240V W CSE 124SHE K9 LGPS2 U 1 PNEL XL LG SEL 2 480V 124S 480V 7 K9 XL 235 1 1 GREASE BUCKET ASSY S S ALL 8 K9 XL 441 2 PROBE HOL...

Page 20: ...08 240V 136S K9 LGPS3 K 1 PANEL CL LG SEL 3 380V 136S 380VM K9 LGPS3 U 1 PANEL XL LG SEL 3 480V 136S 480V 7 K9 XL 235 1 1 GREASE BUCKET ASSY S S ALL 8 K9 XL 441 3 PROBE HOLDER SELECTRONIC ALL 9 K9 XL...

Page 21: ...2 208 240V WB 4 BDY 148S WB 148SR K9 LGPS4 C 1 PANEL XL LG SEL 4 208 240V 148S K9 LGPS4 U 1 PANEL XL LG SEL 4 480V 148S 480V 148S SC K9 LGPS4 U W1 1 PANEL XL ASSY LG SEL 4 148SHE 480V 7 K9 XL 235 1 1...

Page 22: ...G SEL 2 208 240V 160S 160S SC 160SHE K9 LGPS2 CWB 1 PANEL XL LG SEL 2 208 240V WB 160S WB 160SR K9 LGPS2 U 1 PANEL XL LG SEL 2 480V 160S 480V K9 LGPS3 C 1 PANEL XL LG SEL 3 208 240V 160S 160S SC K9 LG...

Page 23: ...ADJ MARINE 2A 72500 09 8 LEG 2 S S COUNTER EQ W O 172S SC 6 K9 LGPS3 C 2 PANEL XL LG SEL 3 208 240V 172S 172S SC K9 LGPS3 U 2 PANEL XL LG SEL 3 480V 172S 480V 7 K9 XL 235 1 2 GREASE BUCKET ASSY S S AL...

Page 24: ...24 1 2 3 8 5 10 11 2 12 1 13 14 15 16 16 20 9 7 6 18 19 17 2 4 Control Panel Assembly LPGS4 C shown SK2307 Rev B 7 7 08 DETAIL A...

Page 25: ...B 4 K9 XL 725 030 1 ELECT BOX ASY 4 LG SEL LGPS2 CWB 4 K9 XL 725 032 1 ELECT BOX ASY 2 LG SEL LGPS2 CWB K9 XL 725 03 W1 1 ELE BOX ASSY 2 SEL W CSE LGPS2 C W1 K9 XL 725 07 1 ELECT BOX ASY 3 LG SEL LGPS...

Page 26: ...40101 19 2 CIRBD SI TEMP CNTRL NO LGPS2 C LGPS2 U 2E 40101 19 3 CIRBD SI TEMP CNTRL NO LGPS3 C LGPS3 U LGPS3 K 2E 40101 19 4 CIRBD SI TEMP CNTRL NO LGPS4 C LGPS4 U LGPS4 U W1 14 2K 70801 07 6 SPACER S...

Reviews: