Technical Primer - Aurora
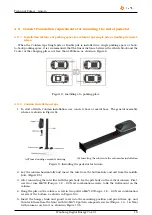
4. Use the drill template to mark the drill holes.
5. Drill the holes at the marked points.
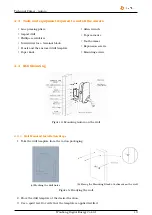
6. Verify the drill holes (Figure 5a).
Remark
Chargers use a same installation method between charger with charging cable (Case C) and
with socket (Case B).
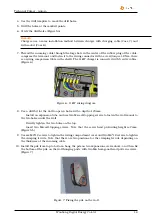
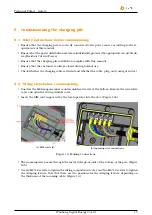
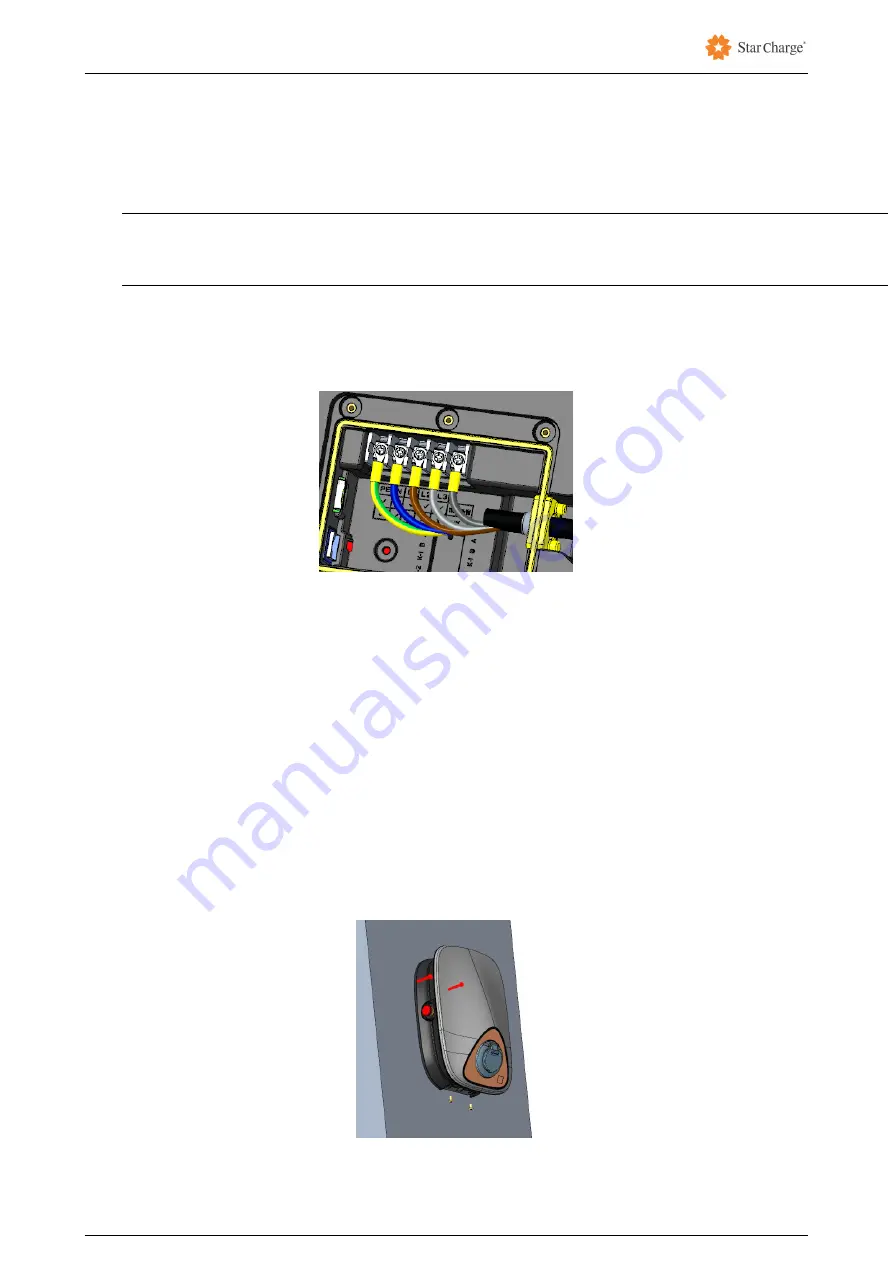
7. Thread the incoming cable through the large hole in the center of the rubber plug of the cable,
compress the terminal, and fasten it to the wiring connector with a screw (torque 1.8 Nm, there
is a wiring comparison table in the shell). The 11kW charger is connected with 5 entry cables.
(Figure 6)
Figure 6: 11kW wiring diagram
8. Use a drill bit for the wall to open 4 holes with a depth of 70mm.
Install an expansion tube and use two M6 self-tapping screws to fasten the wall mount to
the two holes under the wall .
Directly tighten the two holes on the top.
Insert two M6 self-tapping screws. Note that the screw head protruding height is 7mm.
(Figure 5b)
9. Use six M4*12 screws to tighten the wiring compartment cover and two M4*12 screws to tighten
the crimping ferrule. Note that there are two positions for the crimping ferrule depending on
the thickness of the incoming cable
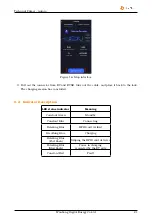
10. Install the pile from top to bottom, hang the pile on two expansion screws above, and then fix
the bottom of the pile on the wall hanging parts with two M6 hexagonal head pattern screws.
(Figure 7)
Figure 7: Fixing the pile on the wall
Wanbang Digital Energy Co.Ltd
14


