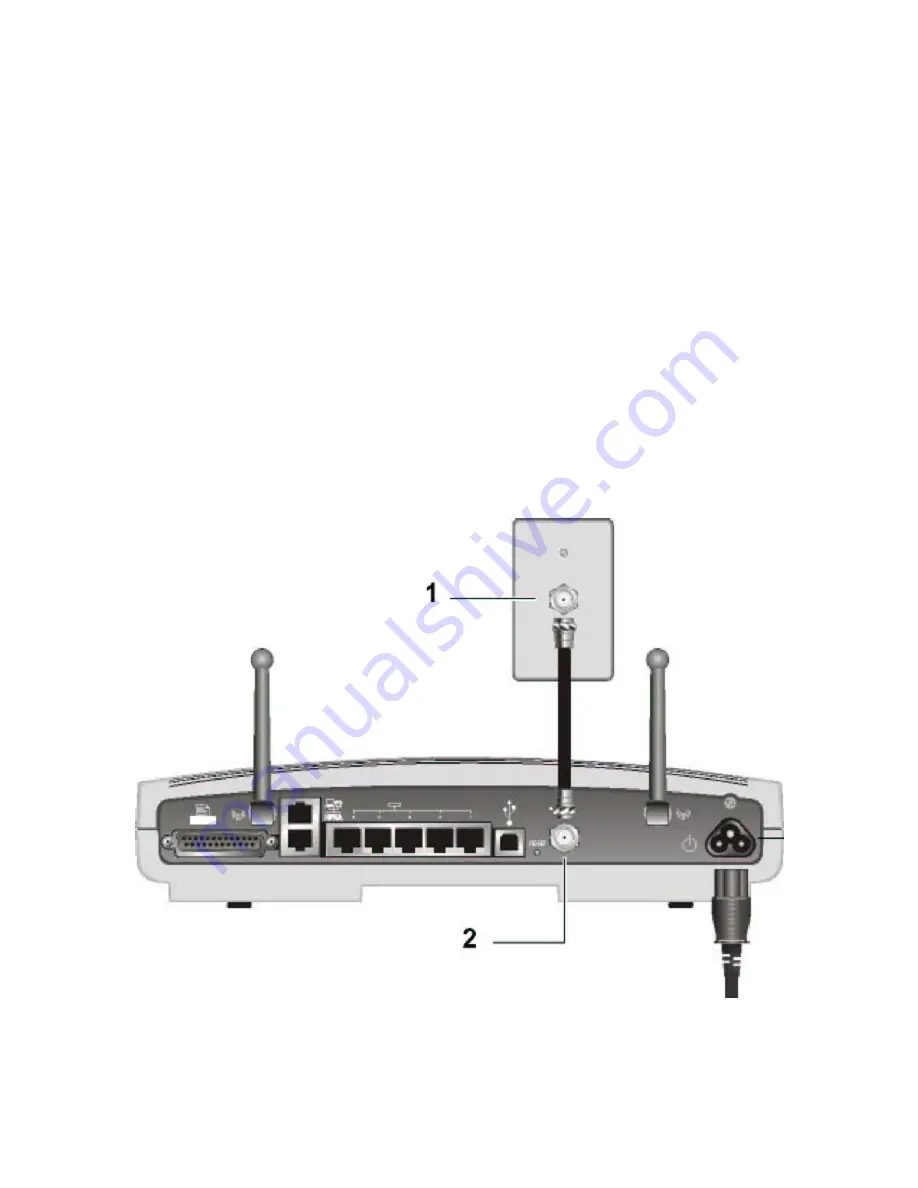
Connecting the SBG1000 to the Cable System
Allow 5 to 30 minutes the first time you turn on the SBG1000 to find and lock on the appropriate
communications channels.
1
Be sure the computer is on and the SBG1000 is unplugged.
2
Connect one end of the coaxial cable to the cable outlet or splitter.
3
Connect the other end of the coaxial cable to the cable connector on the SBG1000.
Hand-tighten the connectors to avoid damaging them.
4
Insert the
Motorola SBG1000 Wireless Cable Modem Gateway
CD-ROM into the CD-ROM drive.
6
Plug the power cord into the power connector on the SBG1000.
7
Plug the power cord into the electrical outlet.
This turns the Motorola SBG1000 Wireless Cable Modem
Gateway on. You do not need to unplug it when not in use.
8
Check that the lights on the
Front Panel
cycle through this sequence:
•
Power icon turns on when AC power is connected to the SBG1000 and indicates that the power supply is
working properly
.
•
RX (receive) light flashes while scanning for the receive channel and changes to solid green when the
receive channel is locked.
•
TX (transmit) light flashes while scanning for the send channel and changes to solid green when the
send channel is locked.
•
LNK (link) light flashes during SBG1000 registration and configuration and changes to solid green when
the cable modem wireless gateway is registered.
•
Globe icon flashes when the SBG1000 is transmitting or receiving data.
Connecting the SBG1000 to the cable system
12


