Oculus handbook Issue 2 January 2013
Imaging with the Starlight Xpress software
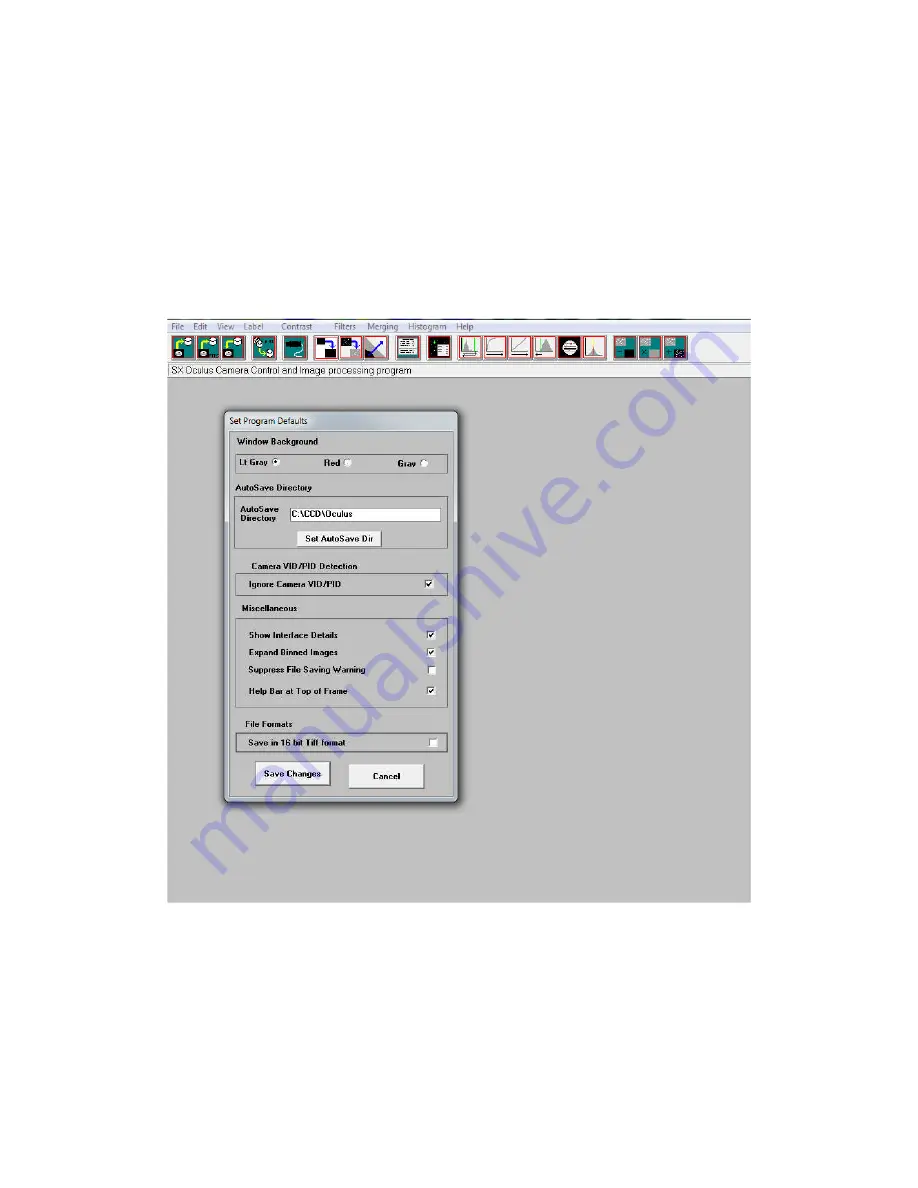
With the Oculus connected to the PC, open ‘Oculus_USB.exe’ and find the ‘Set program defaults’
menu under the ‘File’ heading. If this is the first run of the software, you will get a warning about the
‘ini file not found’, but ignore this and click on OK – then open ‘set program defaults’ from the text
icon . You should now see a screen similar to the one shown below:
The defaults shown above are a typical example, but you can change the settings to suit your
preferences. The main thing to do is to set up the address of the ‘Autosave’ folder, so that your images
will be saved to a defined location. The ‘Ignore VID/PID’ may be selected if the software fails to
recognise your Oculus camera, but is not normally necessary. Once the defaults have been set to values
which you think will be approximately correct, save the settings and open the camera interface by
pressing the camera icon in the top menu. You will see something like this:


