3-14
Expansion Board Installation
Chapter 3 - Installation
STARPLUS STSe - Installation Manual
August 2005
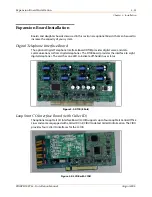
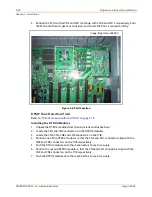
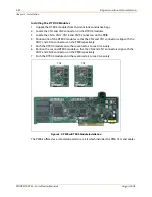
Installing CIDU Board to LCOB
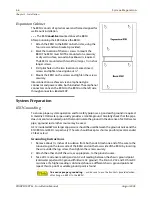
1. Unpack the CIDU from its antistatic conductive bag.
2. Locate the CN2 and CN3 connectors on the CIDU.
3. Locate the CN1 and CN2 connectors on the LCOB.
4. Position CN2 and CN3 on the CIDU to align with CN1 and CN2 on the LCOB, respectively.
5. Push the CIDU onto these connectors to seat it securely.
Single Line Interface Board - 4 Port
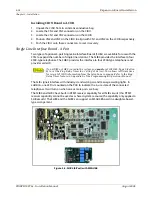
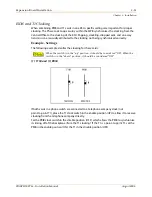
Two types of optional 4-port Single Line Interface Boards (SLIBs) are available for use with the
STSe
to expand the number of single lines stations. The SLIB4 provides the interface to four
2500-type telephones. The SLIBC provides the interface to four 2500-type telephones and
provides caller ID.
The SLIB signals interface with industry-standard ringers and message waiting lights. In
addition, one LED is mounted on the PCB to indicate the in use state of the connected
telephones. It will turn on when one or more ports are busy.
The SLIB4 and SLIBC have built-in DTMF receiver capability for all SLIB circuits (this DTMF
receiver capability cannot be used as a shared system resource; the capability only applies to
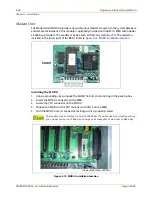
SLIB circuits). The SLIB4 and the SLIBC can support an MSGU48 board in a daughter-board-
type arrangement.
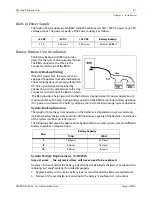
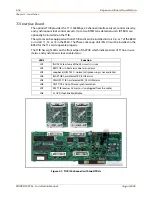
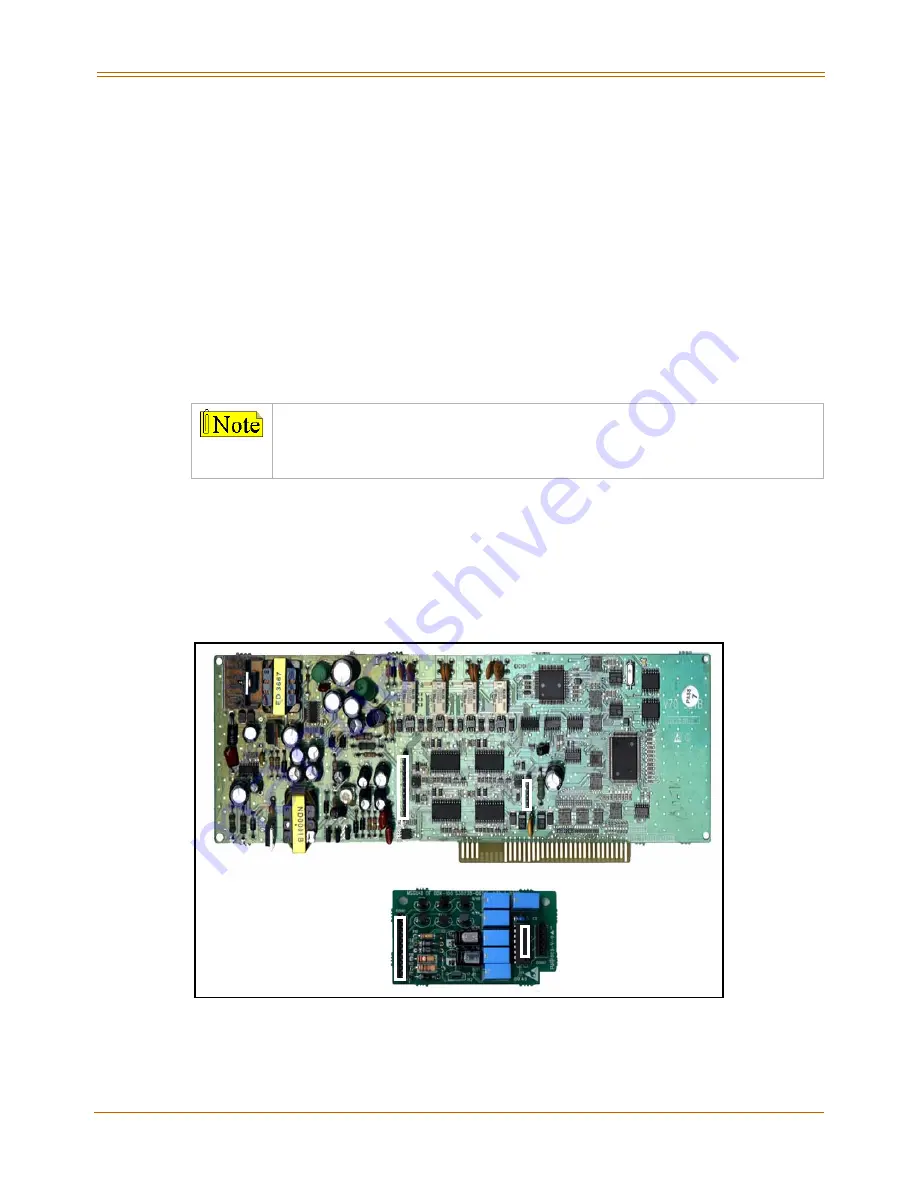
Figure 3-5: SLIB4 (4-Port) with MSGU48
If an LCOBC or SLIBC is used in the system, you
must
use FLASH 40, Page C, Button
#2 to set the Ring Delay Timer to a setting of 05 (sec). This allows sufficient time
for receipt of ICLID information from the telephone company. Refer to the Ring
Delay Timer feature in Appendix A of the Programming & Operations Manual.
CN1
CN2
CONN2
CONN1
Summary of Contents for STSe Key System
Page 1: ...August 2005 Issue 1 0 STARPLUS STSe Key Systems Installation Manual TM...
Page 4: ......
Page 10: ...vi Figures STARPLUS STSe Installation Manual August 2005...
Page 12: ...viii Tables STARPLUS STSe Installation Manual August 2005...
Page 14: ...N O T E S...
Page 22: ...N O T E S...
Page 30: ...N O T E S...
Page 68: ...3 40 Door Box Chapter 3 Installation STARPLUS STSe Installation Manual August 2005...
Page 70: ...N O T E S...
Page 94: ...iv Index STARPLUS STSe Installation Manual August 2005...

