background image

1.

  1.8m Spirit level

2.

  0.6m Spirit level

3.

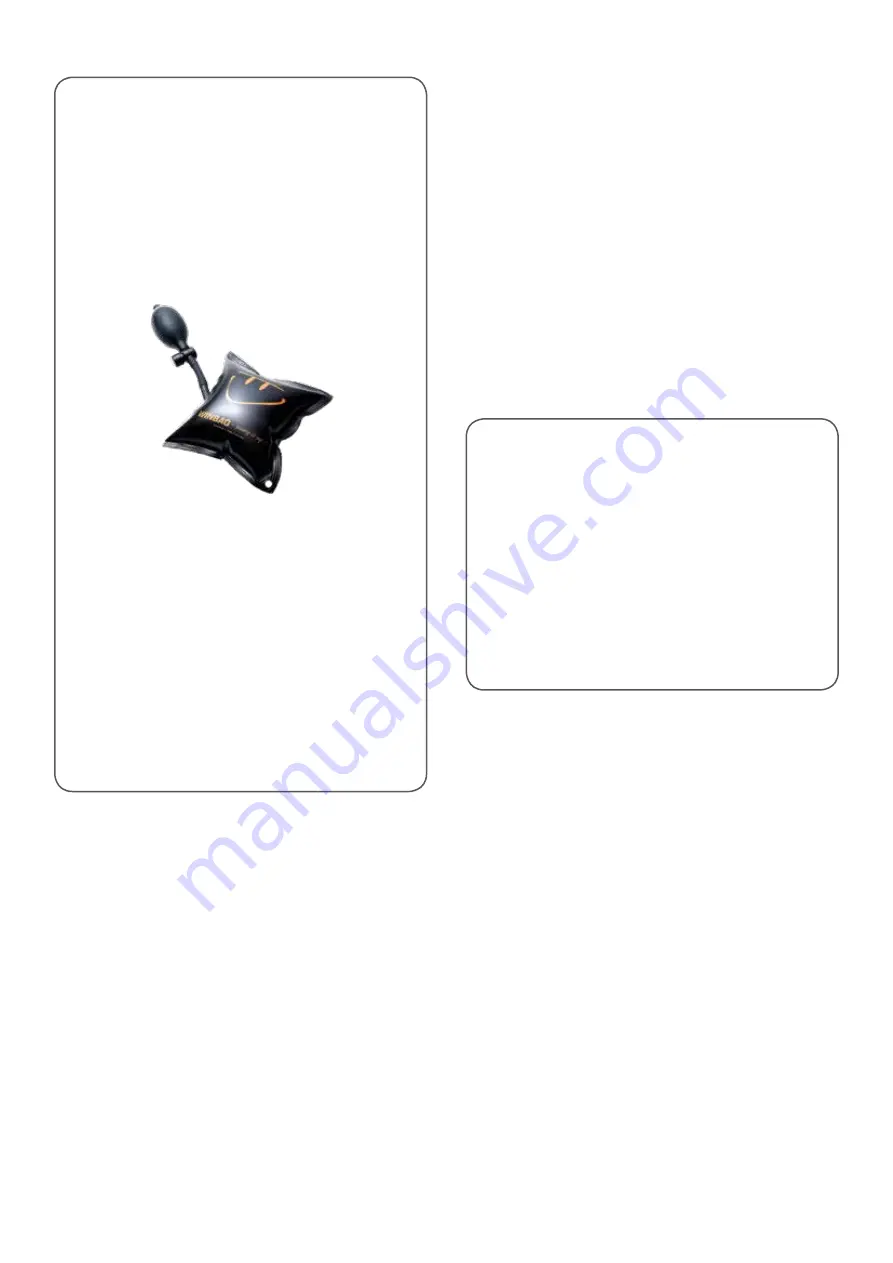
  8 Winbags or similar inflatable fixing aids

4.

  Timber wedges

5.

  Percussion drill and 6mm SDS drill bits

6.

  Extra Long 300mm Flat Head Screwdriver

7.

   PH2 and PZ2 screwdriver bits

8.

  Starfix direct-fix masonry anchors  

minimum 150mm long

9.

  Gun grade expanding polyurethane foam  

and applicator

SUGGESTED 

TOOLS REQUIRED

Installation 

Preparation

Installing an S-700 door, requires 3-4 people to lift the  

door into place and to hold it in position whilst adjusting, 

during installation.

Carefully unwrap your S-700 pivot door and dispose of the 

timber sub-frame. 

It would be a good idea to protect your door with a blanket  

or dust sheet prior to installing, as conditions on site are 

seldom perfect. 

Keep your door and all components away from hazardous 

materials like lime, cement or paint.

Cleaning door 

after installation

•  Surfaces should be only cleaned with neutral  

cleaning agents. 

•  Spitfire sells specialist aluminium cleaner in  

aerosol form. 

•  Use warm soapy water in a ratio of 5% liquid soap 

and 95% water and simply wipe down with a damp 

cloth. Do not use abrasive or aggressive cleaners, 

bleach or other chlorine based cleaners. 

Summary of Contents for S-700 Series

Page 1: ... fits before removing the old door and make sure that the threshold height and or cill and packers allow enough clearance to open the new door when fitted 2 Please store your new door in a clean and obstacle free area before installing 3 Make sure the aperture is level and as plumb as possible before starting to install 4 REMEMBER A SINGLE S 700 SERIES DOOR WILL WEIGH AT LEAST 120KG AND IS A MULTI...

Page 2: ...n whilst adjusting during installation Carefully unwrap your S 700 pivot door and dispose of the timber sub frame It would be a good idea to protect your door with a blanket or dust sheet prior to installing as conditions on site are seldom perfect Keep your door and all components away from hazardous materials like lime cement or paint Cleaning door after installation Surfaces should be only clea...

Page 3: ...uare then check vertical is plumb and fix the brackets to the adjoining walling As a general rule we recommend fixing 150mm in from each corner and then at 400mm intervals Please peel back the frame gaskets and fix behind them We suggest you remove the lock keep and fix behind the keep Please always fix your door through the frame and do not use fixing brackets On the threshold remove the rubber c...

Page 4: ... with the levelling screw that is located on the pivot side of the sash underneath the gasket You will need to insert an extra long flat head screw driver into the side of the door sash to reach this screw Image 7 PLEASE BE AWARE You MUST remove unwind the top pin and tilt the sash onto its side when making the levelling adjustment Otherwise the full weight of the sash will have to be moved by the...

Reviews: