Driver installation
Once the computer is fully booted following the physical installation of the card, Windows
will install the necessary support files in order for the added ports to function. To
maximize the performance of the card, please install the software from the PCI Express
card Driver CD:
1. Insert the Driver CD into your CD/DVD-ROM drive.
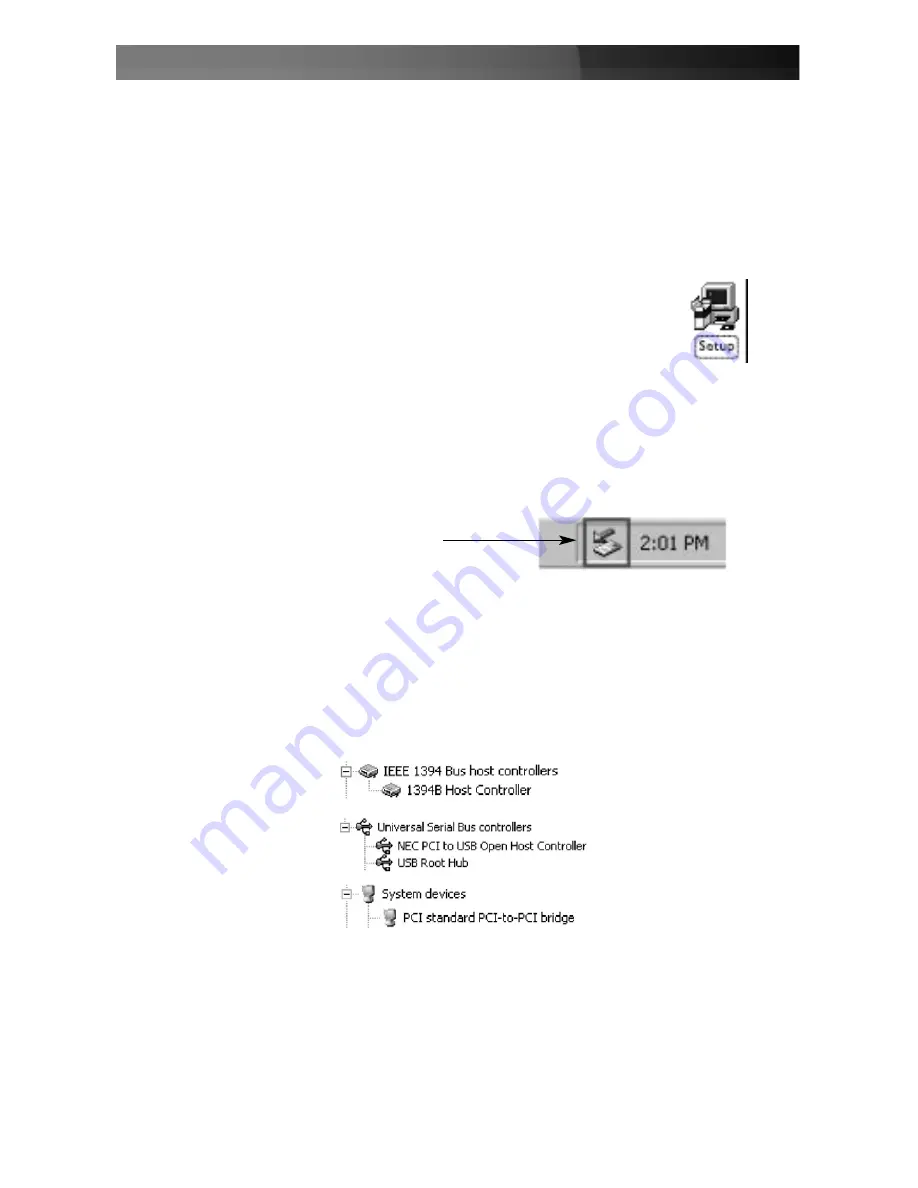
2. Browse to, and execute the Setup.exe file:
D:\USB\USB2.0-NEC\Windows\Setup.exe
, where D:\ designates
your CD/DVD-ROM drive. This will install the necessary software
for the added USB ports. Similarly, please locate and execute the
Setup.exe
file located in
D:\1394\
, which will install the necessary
software for the newly added FireWire ports.
3. The driver will install automatically. To ensure optimal functionality, please do not break
off the installation, once it is in progress. Please note that unplugging a device
without first stopping operation can cause the computer to crash, risking any unsaved
data. Please ensure that any devices being removed are not operating when detached
from the computer. One way to ensure that the device(s) are safely unplugged would
be to locate the following icon on the taskbar (if available):
Please click on the icon to launch the
hardware removal wizard.
Verifying installation
Once the PCI Express card has been installed, browse to the
Device Manager
(
Start >
Control Panel > System >Hardware > Device Manager
) to verify that the card has
been successfully installed. Once the
Device Manager
has loaded, please click on the
[+]
symbols located next to
Universal Serial Bus controllers
,
IEEE 1394 Bus host
controllers
, and
System devices
which will look like the following, if correctly installed:
Following this, your card will be ready for use.
Instruction Manual
3


