background image


For more detail SPEC and Operation video please check our Web site at http://www.sunnywill.com.tw


Offline CLONE: 


Warning: all the data in the TARGET HDD will be erased after the clone operation

 
Please note the below conditions before clone: 

-


Bay ‘1’ = SOURCE HDD, 

-


Bay ’2’ = TARGET HDD 

-


TARGET HDD‘s capacity 

MUST

 be larger than or equal to SOURCE HDD, otherwise the CLONE cannot 

be started. 

-


Before CLONE function starts, make sure the information in 

TARGET

  HDD is not important; once 

CLONE started, all information from the SOURCE HDD will be 

covered into TARGET HDD

.. 

-


Once the docking is connected to USB interface, the offline Clone will be invalid. Clone can only process 
via software “CloneDrive” 


a

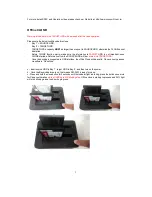
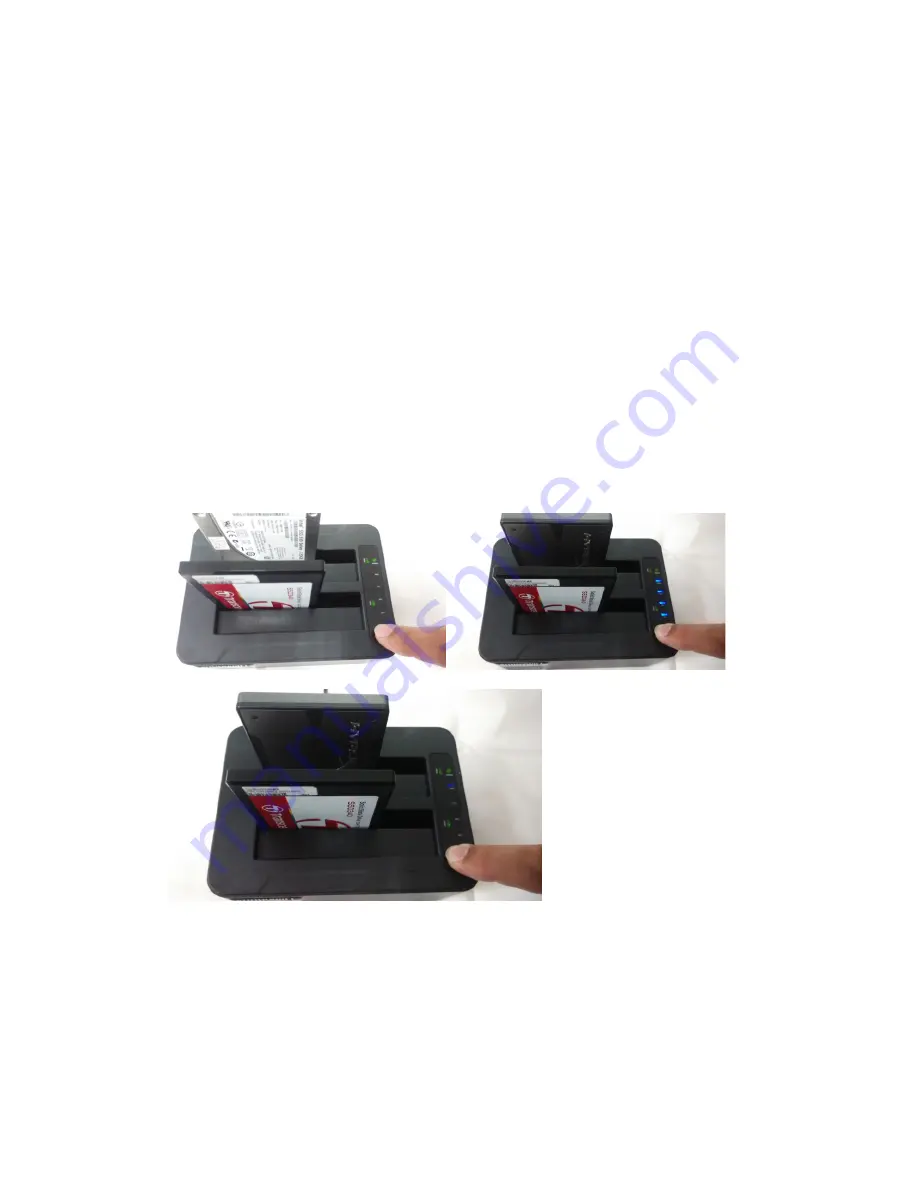
Insert source HDD to Bay ‘1’; target HDD to Bay ‘2’, and then turn on the power 

b

Once the Bays indicators are on, that means SW-3023 is ready for clone. 

c

Press and hold the clone button for 3 seconds until the indicator light is blinking, press the button once more 

for Clone confirmation 

while all LEDs are still blinking blue

. Offline clone is starting to process and 25% light 

will start blinking alone to show its progress. 


Summary of Contents for SW-3023

Page 1: ...orage capacity high data transfer rate and best data protection Function Chart 8 9 10 6 7 5 1 3 2 4 1 Power indicator 2 Bay 1 HDD read write access indicator 3 Bay 2 HDD read write access indicator 4...

Page 2: ...2 Easy to Install and Set up Design for Win2000 WinXP WinVista Win7 Win8 MAC 9 2 or later version...

Page 3: ...ot important once CLONE started all information from the SOURCE HDD will be covered into TARGET HDD Once the docking is connected to USB interface the offline Clone will be invalid Clone can only proc...

Page 4: ...m HDD to SSD https www youtube com watch v kV9QP9RMo2A SW3023 transfer notebook system to external SSD https www youtube com watch v 22Bg4xToP1g Software CloneDrive Installation a Please download the...

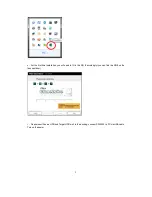
Page 5: ...me installation you will need to fill in the S N accordingly you can find the S N on the license sticker f Please insert Source HDD and Target HDD well to the docking connect SW 3023 to PC via USB cab...

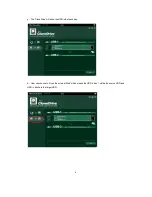
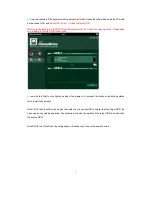
Page 6: ...6 g The CloneDrive will show the HDD info of each bay h User can choose to clone the external Disk which means the HDD in bay 1 will be the source HDD and HDD in bay2 are the target HDD...

Page 7: ...the data in TARGET HDD is backuped j Just click the Start on the right down side of the program Or just push the button on the docking station twice to start the operation Note1 With the CloneDrive as...

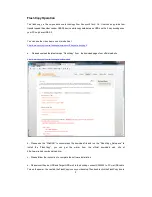
Page 8: ...sion FlashCopy from the download page of our official web site http www sunnywill com tw index php en download b Please use the WinRAR to uncompress the download file and run the FlashCopy_Setup exe t...

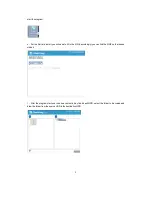
Page 9: ...ou will need to fill in the S N accordingly you can find the S N on the license sticker f After the program start user can see content in bay1 and bay2 HDD select the folder to be copied and draw the...

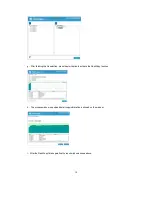
Page 10: ...file selection press the start button to activate the FlashCopy function h The process window pop up and detail copy information is showed on the window i After the FlashCopy finish operation the rep...

Page 11: ...Enhanced 12 Navso P 5329 26 RL 13 Navso P 5329 26 MFM 14 NCSC TG 025 15 NSA 130 2 16 Bruce Schneier 17 Gutmann 35 times 18 Schneier s 7 pass 7 times a Please download the latest version DiskErase fro...

Page 12: ...12 e Choose the HDD on docking to be erased f Choose the algorithm to be used for data wipe out...

Page 13: ...Please enter the verification code to be sure you want to start the data erase Warning Once the data is erased there is no way to bring it back i The data erase status is show on the screen The data...

Reviews: