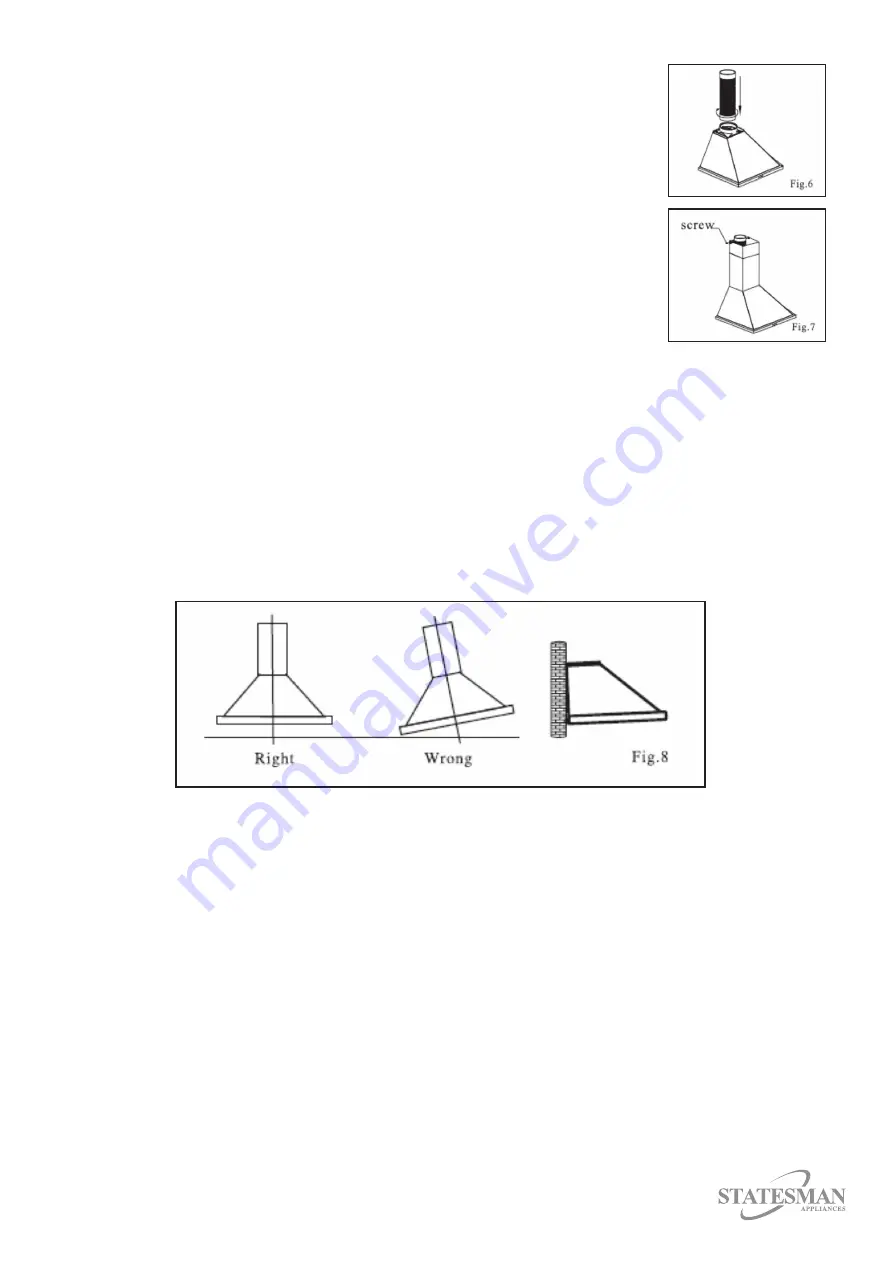
• Fix the external vent to the outlet, then feed it through to
the external wall. See Fig 6
• Put the U-shaped section on the suction. See Fig.7
• Adjustable decorating hood can be used to adjust the height.
If necessary, please insert it into the U-shaped section and
pull upward to a suitable height.
• Fix the grease filter at the bottom of the cooker hood.
(If removed at the beginning.)
Notice of Installation
• It can not share the same air ventilation tube with other appliances such as gas tube,
warmer tube, and hot wind tube. There will be a hazard of pressure, combustion,
impaired and harmful gases drawn back.
• The bending of ventilation tube should be ≥120°, parallel or above the start point/ should
be connected to the external wall.
• Please make sure the bracket is placed horizontally.
• After installation, make sure that the extractor is placed horizontally to avoid grease
collection at one end. See Fig 8.
• After installation, make sure that the plug can be accessed if necessary
Safety Warning
• This appliance is not intended for use by young children or infirm persons
without supervision.
• Plug the power chord into the power socket outlet with earthing continuity terminal.
• The cooker hood is for home use only, not suitable for barbecue commercial purposes.
• The cooker hood and its filter mesh should be cleaned regularly according to
the instructions.
• Do not use open flame, or allow oil to go beneath the appliance.
• If any fault occurs with the appliance, please call after-sale service department.
• Please keep the kitchen well ventilated when in use.
• Prior to any maintenance or cleaning, ensure the power is off.


