background image

7

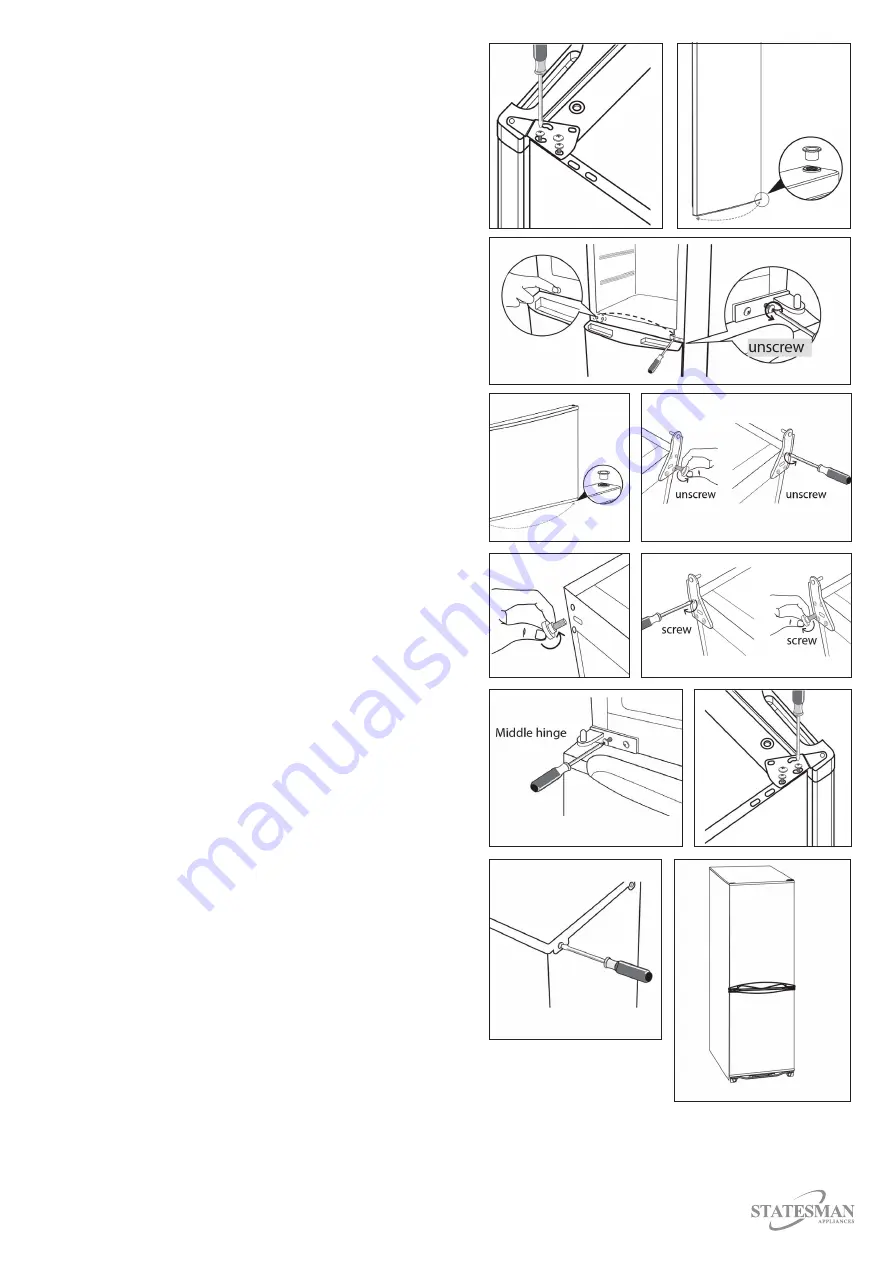
4.  Remove the 3 screws from the top hinge, then lift  

  the hinge to remove. The top door can now be  

  removed and stored safely. 

5.  Remove the door block from the underside of  

  the top door.

6.  Remove the 2 screws from the middle hinge and  

  remove hinge, the lower door can now be  

  removed and stored safely. 

7.  Remove and swap the blanking pins from the  

  opposite side to the middle hinge screw holes.

8.  Gently lean the appliance back but no more than  

  45°, remove the lower hinge screws and hinge  

  then transfer to the opposite side. 

9.  Fit the levelling foot to the other side of the  

 cabinet.

10. Remove the lower door block from the bottom  

  of the lower door and then transfer to the  

  opposite side 

11. Replace the lower door onto the lower hinge.

12. Re-install and secure the middle hinge on the  

  opposite side.

13. Fit and screw the new door block in the kit  

  pack to the underside of the top door.

14. The upper door can now be replaced on  

  the hinge. 

15. Replace top hinge with the 3 screws. 

16. Adjust the upper door via adjustment of the  

  top hinge position to ensure that they are  

  vertically aligned and all sides are sealed  

 correctly.

17. Replace the lid and the 2 screws at the rear.

18. Check that the door is aligned horizontally and 

  vertically and that the seals are closed on all  

  sides before tightening the bottom hinge. 

4.

5.

6.

7.

8.

9.

10.

12.

14.

17.

18.

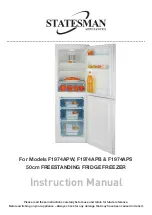
Summary of Contents for F1974AP

Page 1: ...lly before use and retain for future reference Before switching on your appliance Always check for any damage that may have been caused in transit For Models F1974APW F1974APB F1974APS 50cm FREESTANDI...

Page 2: ...Important Safety Instructions 3 Specification 4 Appliance Overview 5 Installation 6 8 Operating Instructions 8 Cleaning and Maintenance 8 10 Fuse Replacement 10 Trouble Shooting Guide 11 Disposal Info...

Page 3: ...made by children Keep the appliance and its cord out of reach of children Children shall not play with the appliance The appliance can be used by persons with reduced physical sensory or mental capab...

Page 4: ...efrigeration System Frost Free Static Totally No Frost Static Temperature Rise Time 18 C to 9 C 600 minutes Climate Class ST N This appliance is intended to be used at an ambient temperature between 1...

Page 5: ...5 APPLIANCE OVERVIEW 1 Refrigerator Lamp 2 Glass Shelf 3 Drain Port 4 Crisper 5 Freezer Drawer 6 Adjustable Foot 7 Thermostat 8 Door Shelves 9 Bottle Shelf 1 2 3 4 5 6 7 8 9...

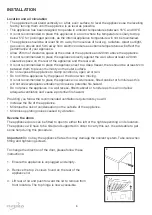
Page 6: ...the appliance to damp conditions open air or rain Do not lift the appliance by the pipes or the door when moving It is not recommended to place the appliance in a wall recess fitted cabinet or furnit...

Page 7: ...the cabinet 10 Remove the lower door block from the bottom of the lower door and then transfer to the opposite side 11 Replace the lower door onto the lower hinge 12 Re install and secure the middle h...

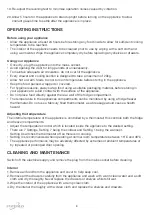
Page 8: ...food directly against the rear wall of the fridge compartment The temperature in the appliances compartments can be monitored by using a fridge freezer thermometer Do not use a Mercury filled thermome...

Page 9: ...o raise the temperature 4 Place a shallow bowl or pan below the freezer compartment to catch dripping water 5 Remove the ice with a plastic ice scrapper DO NOT use pointed or sharp edged objects such...

Page 10: ...e bubbling sound even when the compressor is not running Do not worry this is quite normal If these sounds are different check that The appliance is well levelled Nothing is touching the rear The cont...

Page 11: ...all or other objects Move the appliance slightly Water drain hole is blocked See the Cleaning and Maintenance section It s normal Heat exchange parts are in the sides Use gloves to touch sides A compo...

Page 12: ...0844 848 5861 38 Bluestem Road Ransomes Europark Ipswich IP3 9RR...

Reviews: