background image

6

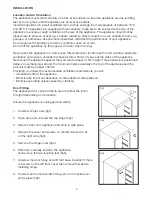
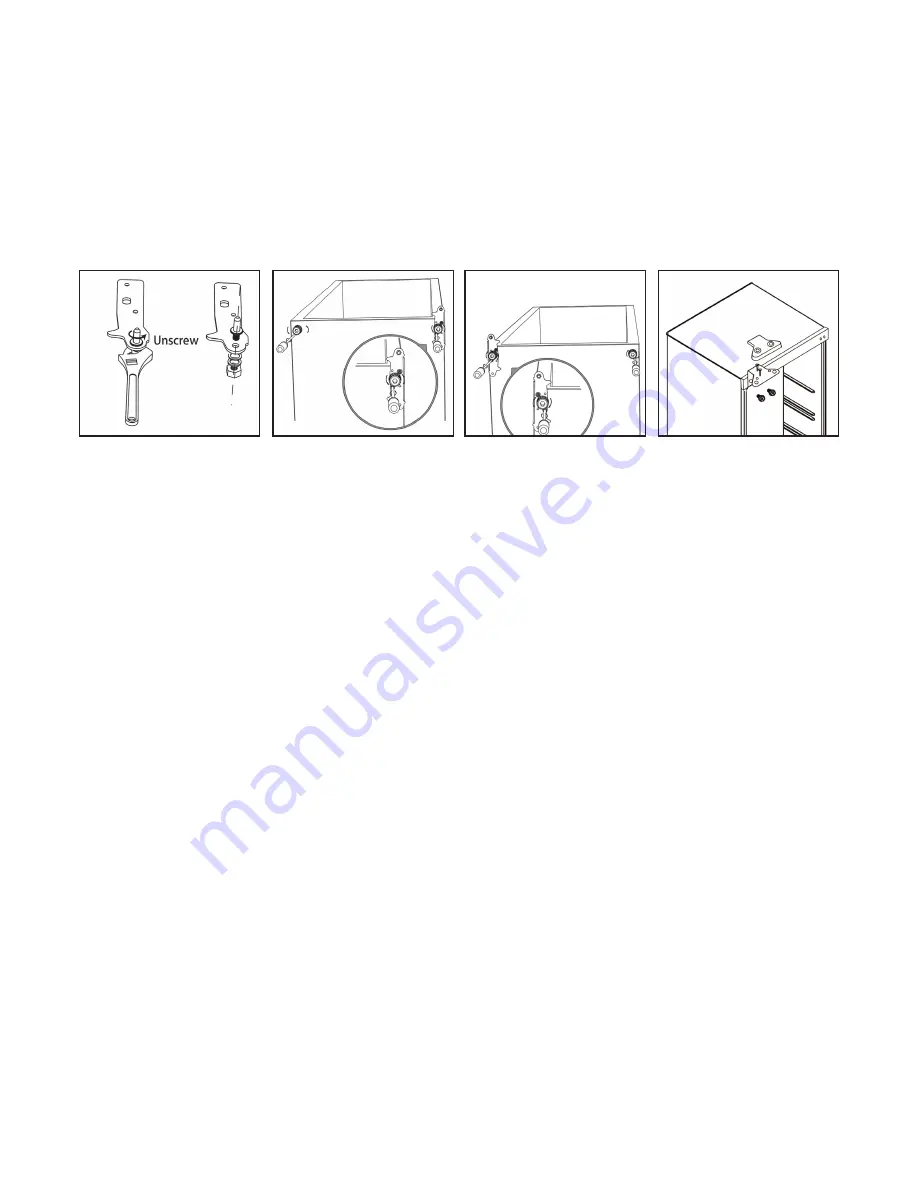
9.   Install hinge on left side and foot base on the right side. Refit the levelling feet with  


their original parts (fig6).

10.  Unscrew top hinge pin and re-fit on the left side (fig7).

11.  Stand the appliance up and put the door on the bottom hinge. Re-fit the upper hinge with the 


door. Before tightening check all the seals, if all sealed properly then the hinge screws can  


be tightened.

Note: Check that the door is aligned horizontally and vertically and that the seals are closed on all 

sides before tightening the bottom hinge. Re-adjust the levelling feet to minimise operation noises 

caused by vibration.

OPERATING INSTRUCTIONS

Before using your Appliance 

•  Allow 12 hours before turning on the appliance to allow coolant gases time to settle after the  

  appliance is in place. Failure to do this may result in damage to the appliance and such damage is 

  not covered by the guarantee. 

•  Before placing food in the appliance turn on and wait 24 hours, this is to make sure it is working 

  correctly and also to allow for the optimal internal temperature to be reached.  

  The interior of the appliance needs to be cleaned prior to use by wiping with a soft cloth and using 

  warm water. Wipe the appliance completely dry before replacing any shelves or salad drawers.

Using your Appliance 

•  Once dry, plug the appliance into the mains socket. 

•  Adjust the temperature control which is located inside the appliance to 4, this is the correct  

  setting to use in a room with an average ambient temperature of 20°C. 

•  Allow the appliance at least 24 hours before storing any food inside to allow for sufficient  

  cooling temperature to be reached.

Adjusting the Temperature 

The ideal internal temperature of your appliance should be between 0°C to 5°C. This is regulated 

by the temperature control located internally at the top of the appliance. There are 6 settings on the 

temperature control, with position 6 being the coldest setting, position 1 being the warmest setting 

and 0 being the off position. 

The temperature control should be set to position 4 when operating at normal room temperature 

(between 16°C and 38°C). Avoid setting the thermostat too high, as this may reduce the temperature 

to a point where some foods begins to freeze. If this happens turn down the thermostat slightly. 

Reverse Door

Fig4.

Fig5.

Fig6.

Fig6.

Summary of Contents for TL335LW

Page 1: ...e instructions carefully before use and retain for future reference Before switching on your appliance Always check for any damage that may have been caused in transit TL335LW UPRIGHT LARDER FRIDGE In...

Page 2: ...ions 3 Specification 4 Appliance Overview 4 Installation 5 6 Operating Instructions 6 7 Cleaning and Maintenance 7 8 Fuse Replacement 8 Trouble Shooting Guide 9 Disposal Information 9 Terms and Condit...

Page 3: ...children 8 Children shall not play with the appliance 9 Appliances can be used by persons with reduced physical sensory or mental capabilities or lack of experience and knowledge if they have been giv...

Page 4: ...Rating Compartment N A Refrigeration System Frost Free Static Totally No Frost Static Temperature Rise Time N A Climate Class ST This appliance is intended to be used at an ambient temperature betwee...

Page 5: ...pace at the sides of the appliance Never push the appliance against the wall leave at least a 15mm gap If the appliance is positioned below an overhanging wall unit the minimum distance between the to...

Page 6: ...o be reached The interior of the appliance needs to be cleaned prior to use by wiping with a soft cloth and using warm water Wipe the appliance completely dry before replacing any shelves or salad dra...

Page 7: ...the plug from the mains socket before cleaning Interior 1 Remove all food from the appliance and cover to help keep cool 2 Remove all the shelves and salad crisper carefully from the appliance and wa...

Page 8: ...e door closed to maintain the temperature inside Bulb Replacement The internal Light is LED it is advised to contact a qualified electrician to replace the bulb Operating Sounds You may notice some un...

Page 9: ...s touching the wall or other objects Move the appliance slightly Water drain hole is blocked See the Cleaning and care section It s normal Heat exchange parts are in the sides Use gloves to touch side...

Page 10: ...y does not cover accessories or consumable parts that require replacement under normal use This includes shelving dials filters belts and trays etc In the unlikely event of a breakdown please refer to...

Page 11: ...co uk To register your product please complete all sections of the form below and return to us at the following address Statesman Appliances Pik a Pak Electrical Distributors 38 Bluestem Road Ransome...

Page 12: ......

Reviews: