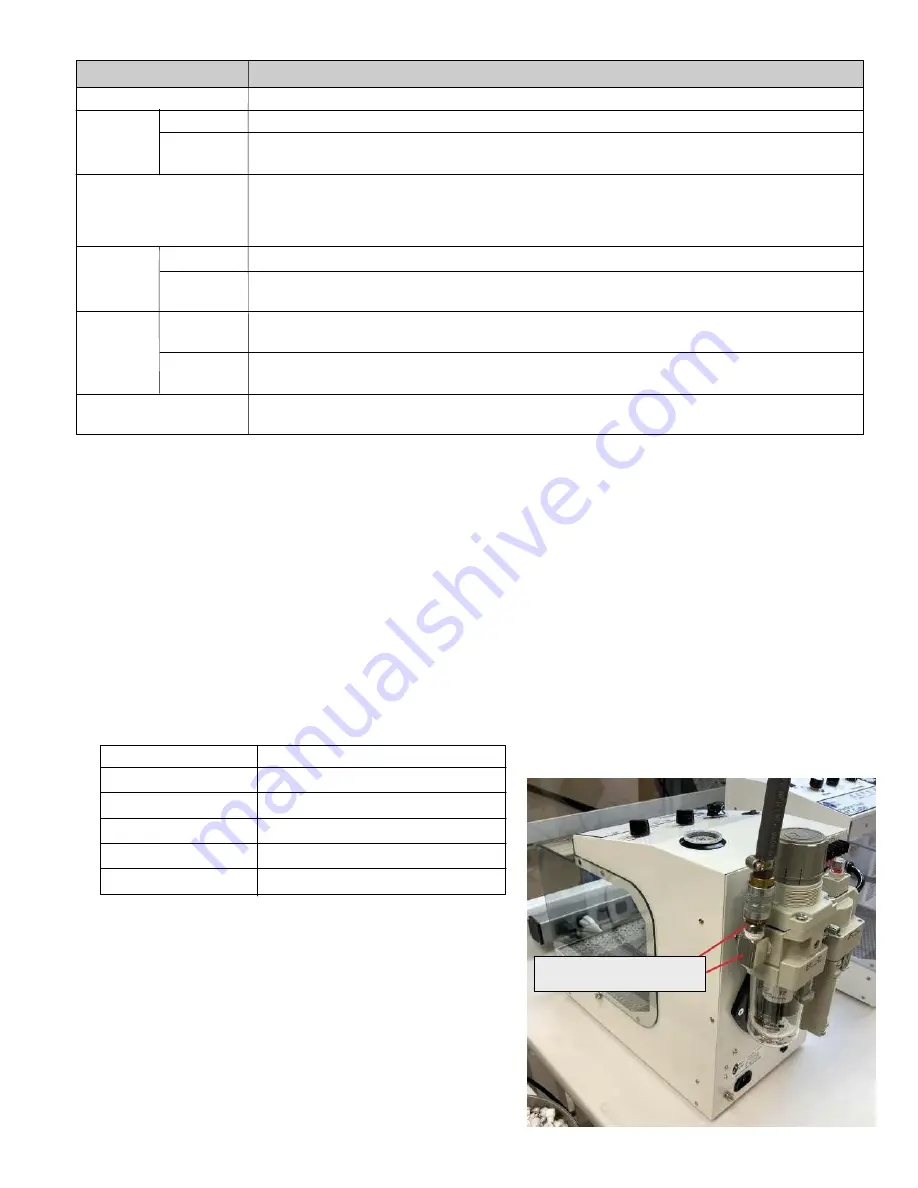
5-2 Setting/Display Panel
Component
Description
Power switch
The main switch of this device.
Sets the pulse of the air blow. You can select 1Hz, 3Hz, 5Hz, 10Hz, or continuous air blow (‘Cont’).
Sets the air blow time. Set ‘Real’ mode to turn the blow on and off by means of a sensor; OR set to
3 sec, 5 sec, 10 sec, or 15 sec continuous air blow from when sensor first detects (sees) a part
You can adjust the rotational speed of the suction fan. When setting toward MIN, speed decreases,
and when setting toward MAX, speed increases. The higher the fan speed the stronger the suction
capability, but operating noise increases proportionally. Recommended adjustment position is
within the blue zone.
This is illuminated when static charge and particle elimination preparation is complete.
This is illuminated when the ionizer is running. The ionizer operates in conjunction with the air
blow and runs until 3 seconds after the air blow finishes.
This is illuminated when an irregularity occurs in the ionizer. When this is illuminated the device will
not operate until reset.
This is illuminated when an irregularity occurs in the fan. When this is illuminated the device will
not operate until reset.
This is illuminated when a work piece is detected and air is blowing. It blinks at the pulse speed
when the ‘Blow Mode’ setting is set to ‘Pulse.’
Blow mode
setting
Pulse
Time
Fan speed
Ionizer
Ready lamp
Run lamp
Alarm
Ion lamp
Fan lamp
Working lamp
6. Installation, Wiring, and Air Ducting
6-1 Before Installing
• Install the device in a rigid flat location such as a work bench etc. Avoid installing it in unstable
locations.
• Be sure to connect the ground terminal of the power cord or the ground terminal of the main unit
to ground.
• Use the device indoors only. Do not use it in oily or wet locations, locations where flammable gases
and solvents are handled or locations with such atmospheres, or hot or humid locations.
• Check that the power of the main unit is turned off or the regulator is closed when connecting the
power supply and connecting the air line.
6-2 Wiring
Supply 100 to 240 VAC (50/60 Hz) to the device with the supplied power cord.
6-3 Air Ducting
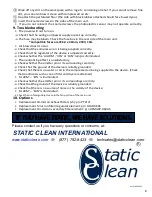
(1) 3/8" NPT MALE X 1/4" QUICK DISCONNECT
FITTING AND (1) 3/8" NPT MALE FEMALE
ELBOW SHIPPED LOOSE
4
Air pressure gauge reading
Max. air flow during operation
29psi
6.4 cfm (180l/min ANR)
43.5psi
9.5 cfm (270l/min ANR)
58psi
11.5 cfm (325l/min ANR)
72.5psi
13.1 cfm (370l/min ANR)
87psi
15.0 cfm (425l/min ANR)


