6 Operation
Machine for cutting ring pre-assembly and final assembly
50 / 72
How to assembly cutting rings in automatic mode:
1. Ensure that the correct tool is set up
2. Ensure that manual mode is set chapter 6.8.4, p. 44.
3. Ensure that the job has been set up chapter 6.8, p. 41.
4. Ensure that the workpiece has been prepared chapter 6.9, p. 46.
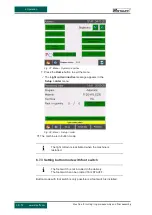
The
Insert tube, push tube
button is displayed in the
Processing
order
menu.
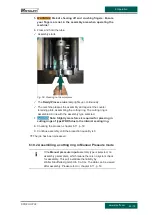
5.
WARNING! Risk of shearing off and crushing fingers: Ensure
your fingers are not in the assembly area when operating the
machine!
6. Assembly is started by pressing and holding the tube.
The
Ready/Process runs
lamp is on continuously.
The machine presses the assembly stud against the counter
retaining plate, assembling the cutting ring. The cutting ring is
assembled in line with the assembly type selected.
7. Check the product chapter 6.11, p. 53.
8. Continue assembly until the production quantity is 0.
The job has been processed.
6.10.3 Assembling a cutting ring in button mode
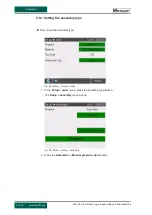
If the
Manual pressure input
assembly type is selected, no
assembly parameters, which means there is no system check
for assembly. This will invalidate the liability by
Walter Stauffenberg GmbH & Co. KG. The data can be
viewed after assembly. Please refer to
How to assemble cutting rings in button mode:
1. Ensure that the correct tool is set up
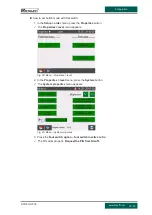
2. Ensure that button mode is set
3. Ensure that the job is set up chapter 6.8, p. 41.
4. Ensure that the workpiece has been prepared chapter 6.9, p. 46.
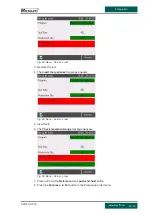
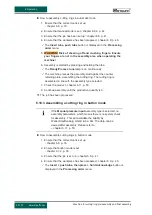
The
push tube, then press + hold Acknowledge
button is
displayed in the
Processing order
menu.


