

2
Contents
PROPER AND SAFE USE OF THE DLC CONTROLLER
DLC CONTROLLER OPERATIONS
MAINTENANCE, CLEANING AND SERVICING
PART REPLACEMENT AND SERVICING
FREQUENTLY ASKED QUESTIONS
11
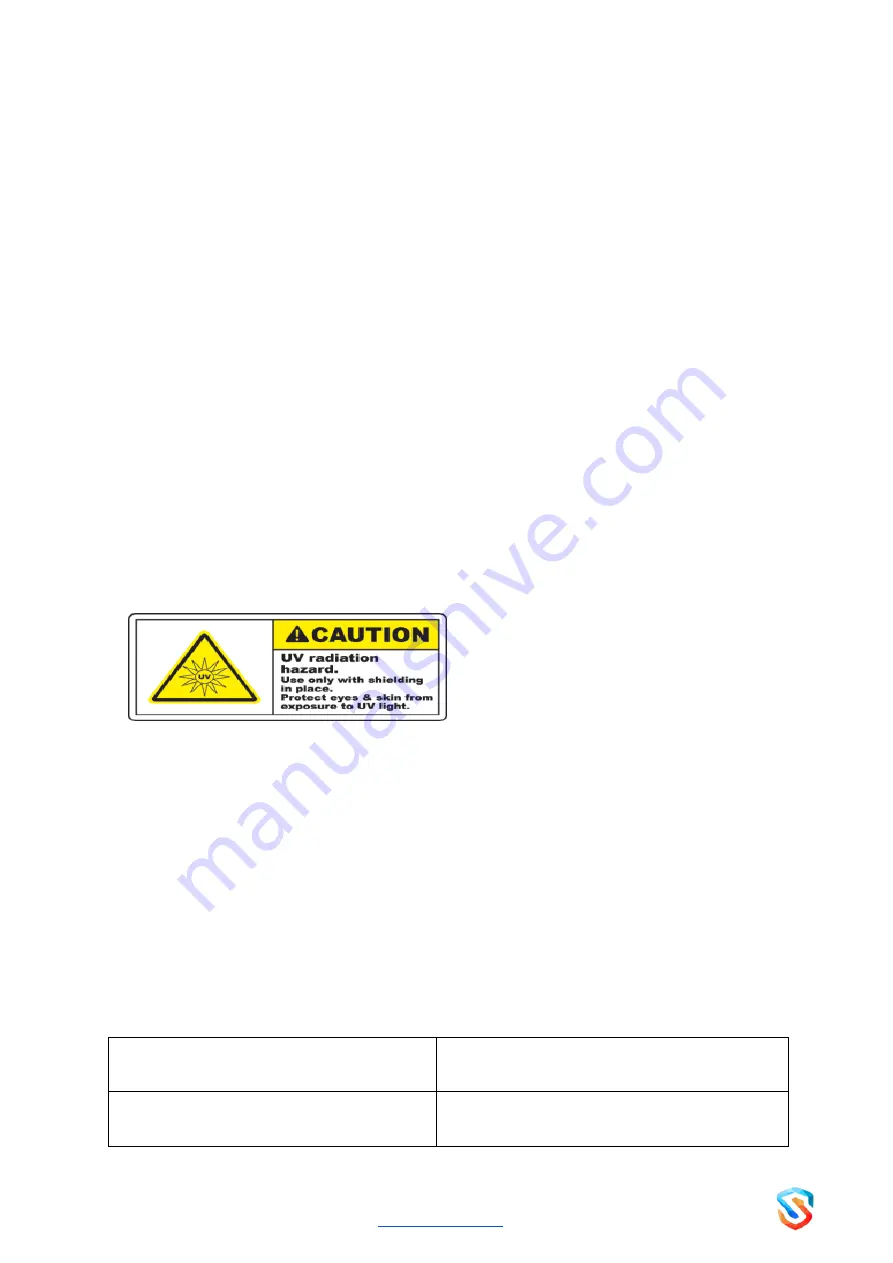
⨻
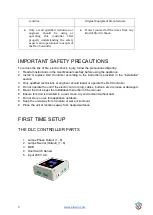
UV Radiation hazard!
To prevent
possible injury, read the instructions
carefully and pay attention to all the
warnings before using the Sterilizer.
PROPER AND SAFE USE OF THE DLC CONTROLLER
The appliance is designed with built-
in safety features, but it’s important to follow all safety
precautions prior to using the equipment. Make the safety instructions available to everyone who
has access to the unit. This controller must be used in conjunction with the UVC-HAS Series
Modules.
●
Never Open the DLC Controller
●
Do not disassemble the product as there
are no user serviceable parts inside.
●
Handle the DLC Controller gently and
carefully as the equipment is
●
Any fault or malfunction of the DLC
Controller should be reported to the


