ENGLISH | 15
Storage & Care
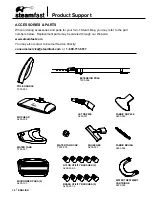
PROPER STORAGE
Preparing your 3-in-1 Steam Mop for storage is quick and simple. When you have completed your tasks,
follow the steps listed below.
1.
Press Power Button to Off (the red Power Indicator Light will turn off), and unplug power cord.
2.
Allow unit time to cool (at least 5 minutes).
3.
Remove all attachments and accessories from unit.
4.
Remove Water Tank Cap and drain any remaining water from Water Tank into a sink or tub to minimize
potential mineral build-up. Replace Water Tank Cap when done.
5.
Collapse Extension Pole to shortest length and wrap power cord around Cord Brackets.
6.
Store 3-in-1 Steam Mop in a cool, dry location, along with all included accessories.
WATER TREATMENT CARTRIDGE
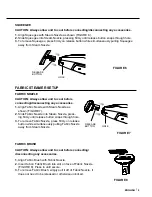
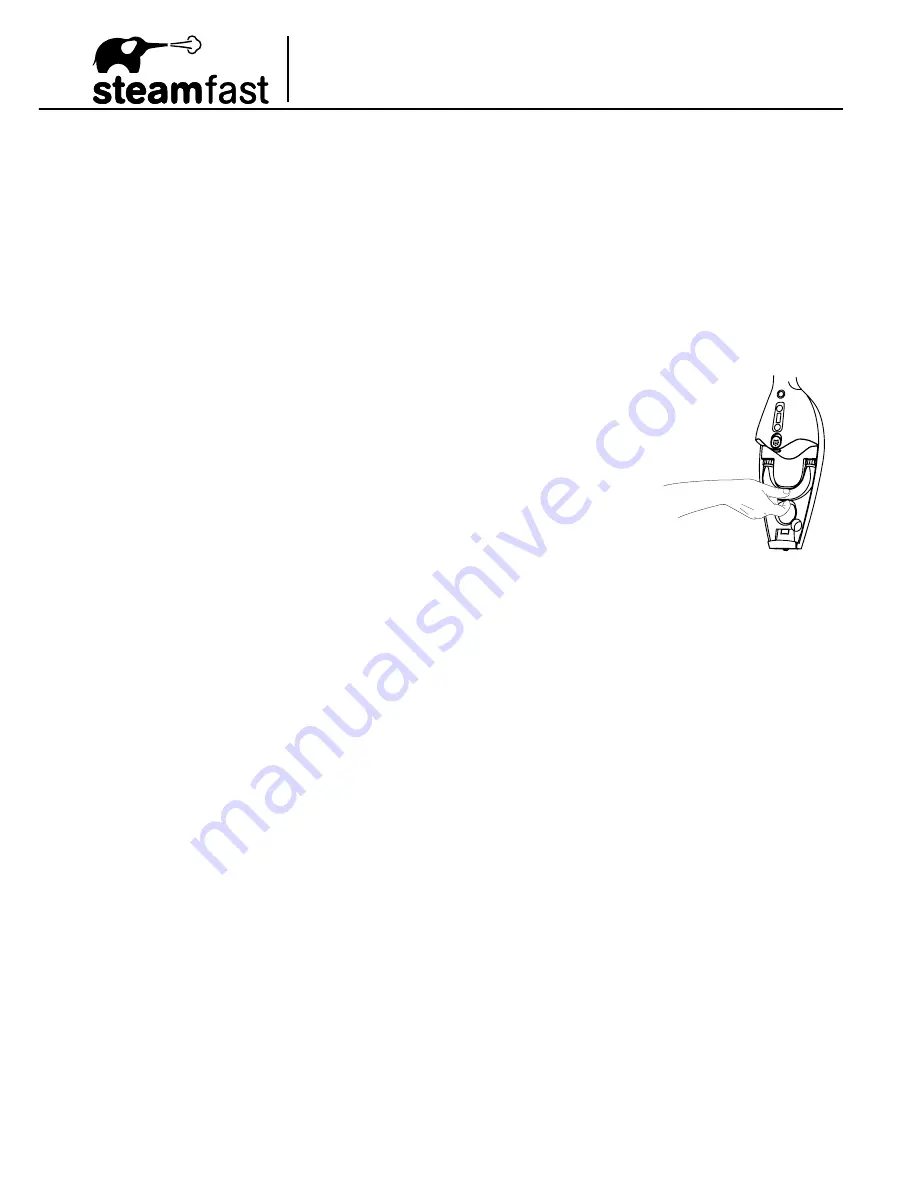
Your 3-in-1 Steam Mop includes a removable Water Treatment Cartridge, which
removes impurities from water to prolong the life of the unit. To keep the Water
Treatment Cartridge functioning at its maximum potential, it is recommended that it
be removed and replaced after 40 hours of use. To do this:
1.
Remove Water Tank.
2.
Grasp Water Treatment Cartridge handle and pull towards you to remove.
3.
Replace with a new Water Treatment Cartridge (Figure 1) and replace Water
Tank.
MINERAL BUILD-UP
A common maintenance need for steam appliances is the removal of build-up caused by high mineral content
in many municipal water supplies. This mineral build-up may limit the effectiveness and reduce the life of your
3-in-1 Steam Mop.
The best way to minimize mineral build-up is to use distilled or de-mineralized water when using your
3-in-1 Steam Mop.
In addition, it is recommended that the cleaning procedure below be followed at least
once a month in order to remove any deposits that form. This will help to extend the life of your 3-in-1 Steam
Mop and keep it functioning at its maximum potential.
To remove mineral build-up:
1.
Follow STEPS 1-4 under
Proper Storage
section above. However, do not replace Water Tank
Cap at the end of STEP 4.
2.
Fill Measuring Cup
(not included)
with 3.5 oz. (103 ml.) distilled water and 1.5 oz. (44 ml.) vinegar.
3.
Slowly pour water-vinegar solution into Water Tank through Fill Hole, then replace Water Tank Cap.
4.
Plug in power cord and press Power Button to “ON” and increase steam setting to Level 7 “HIGH”. Allow unit
to steam for 1 minute, then press Power Button to “OFF”.
5.
Allow unit to sit for approximately 30 minutes, then press Power Button to “ON” and increase steam setting to
Level 7 “HIGH” and allow the remainder of the Water Tank’s contents to be steamed out.
6.
Once Water Tank is drained, turn unit off and refill Tank with 15 oz. (444 ml.) of fresh distilled water. Press
Power Button to “ON” and increase steam setting to Level 7 “HIGH,” and allow unit to steam until Water Tank
is empty. Repeat as necessary until vinegar odor dissipates.
7.
Press Power Button to “OFF”, unplug power cord and store 3-in-1 Steam Mop as usual.
IMPORTANT: On average, it is recommended that you follow the mineral build-up removal procedure
once per month (if unit is used once every week). More frequent use may require following the proce-
dure more often in order to keep your 3-in-1 Steam Mop operating at full potential. Do not exceed 20
hours of use without cleaning out mineral build-up.
FIGURE 1


