40
749.082 | Z02 | 2015-02-03
EN
5.2.2 Type B controller
Danger
Risk of death by electrocution!
Disconnect the controller from the mains power before opening. Make sure that the mains
power cannot be unintentionally reconnected.
1. Disconnect the controller from the mains power.
2. Remove the terminal cover of the controller; see the controller operating instructions.
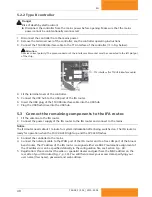
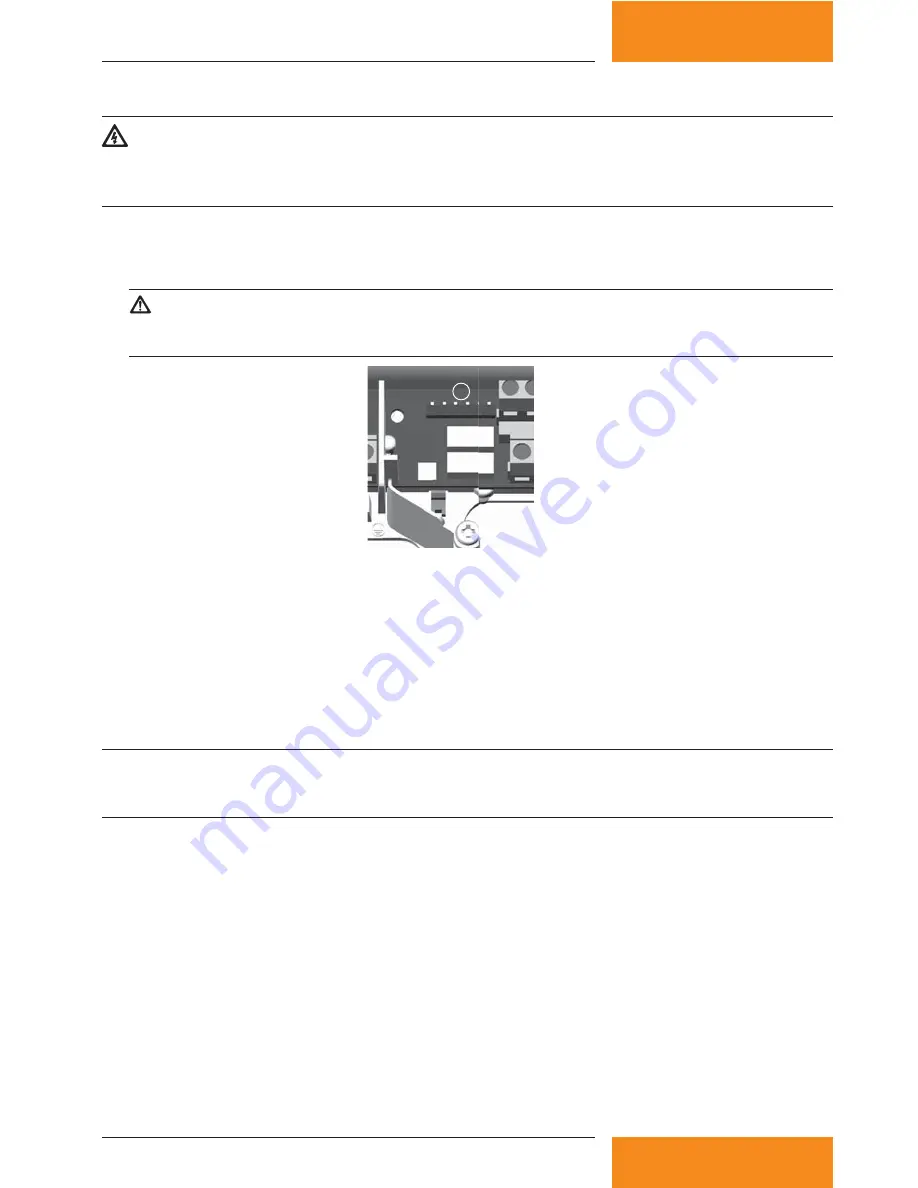
3. Connect the TTL/USB interface cable to the TTL interface of the controller (
in Fig. below).
Attention
:
Observe correct polarity! The green conductor of the interface cable socket must be connected to the left pin (gn)
of the strip.
1
: TTL interface (for TTL/USB interface cable)
4. Fit the terminal cover of the controller.
5. Connect the USB hub to the USB port of the IFA router.
6. Insert the USB plug of the TTL/USB interface cable into the USB hub.
7. Plug the USB flash drive into the USB hub.
5.3 Connect the remaining components to the IFA router.
1. Fit the antenna to the IFA router.
2. Connect the power supply of the IFA router to the IFA router and connect to the mains.
Notice
The IFA router needs about 1 minute for system initialisation after being switched on. The IFA router is
ready for operation when the
POWER
LED lights up and the
SYS
LED flashes.
3. Connect the controller to the mains.
4. Connect the network cable to the WAN port of the IFA router and to a free LAN port of the broad-
band router. The IP address of the IFA router is assigned either via DHCP (automatic assignment of
the IP address) or can be specified statically in the configuration file, see Section 9, p. 49.
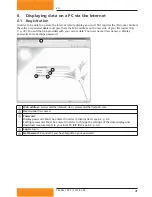
5. Registration: Please contact the seller or specialist dealer and give them the MAC address on the
rear side of your IFA router (Fig. 7, p. 39). You will then receive your access data specifying your
user name (
Username
), password and web address.


