Page 13
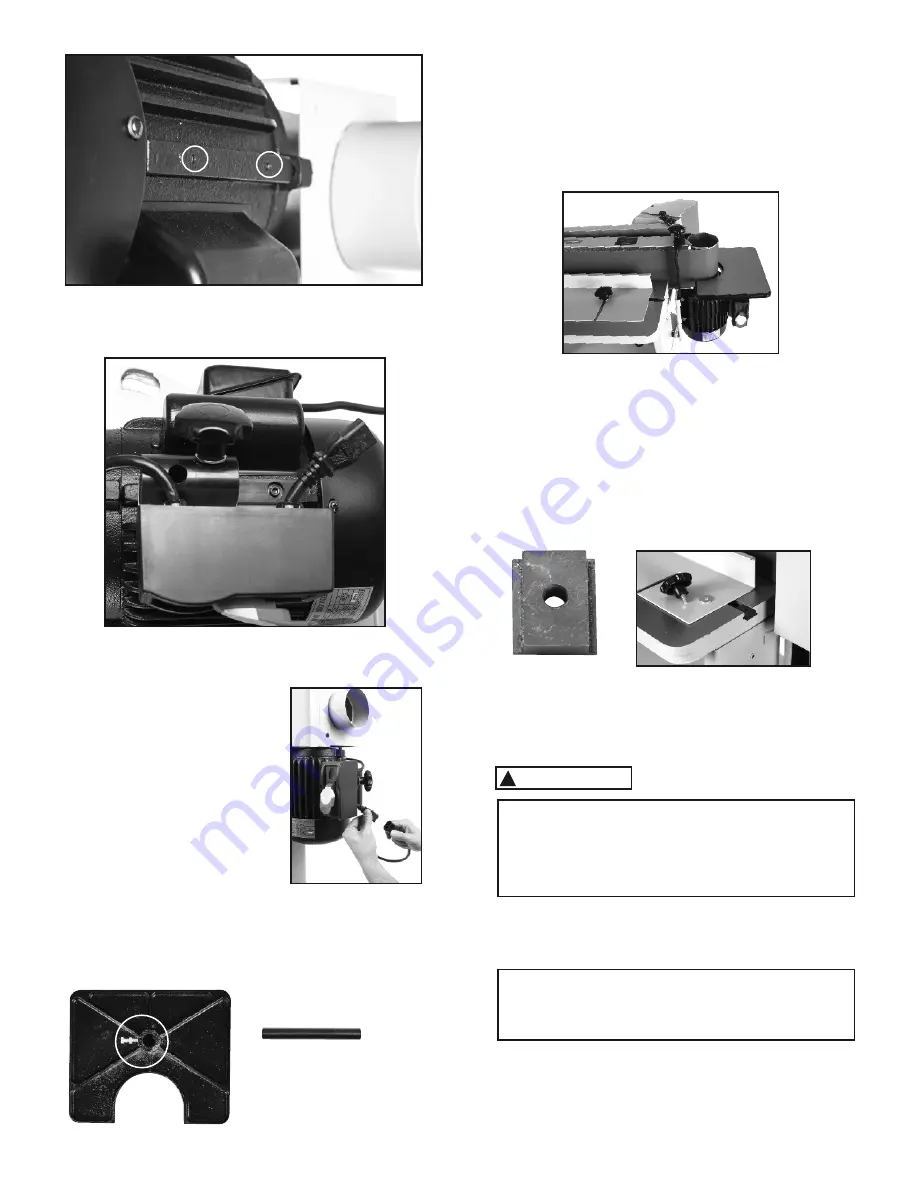
4. Unscrew the hex screw under the auxiliary table until
the hole is completely cleared.
PArALLeL FenCe
In the T groove are two T nuts.
1. Put the fence on the front table and align the T nuts with
the two grooves fo the fence.
2. Secure the fence with two handle
1
⁄
2
” rod and two large
washers
Écrou en T
5. Insert the shaft in the hole of the arm and direct the
flat to the lock handle. Lock the shaft in place..
6. 5. Insert the table on its shaft and lock it with the screw
of the 3
th
step. Lock the lock nut.
2. Thread the
3
⁄
4
” handle in the hole of the table support.
3. Connect the switch and the
motor.
DUsT CoLLeCTIon
Minimum recommended dust collection CFM require-
ments for this sander is 1100 CFM.
operating this sander without an adequate col-
lection can lead to equipment malfunction or
dangerous situations for the operator or other
individuals in the workshop.
wArnInG
!
noTe:
run: start the collector before the machine
stop: stop the machine before the collector
Summary of Contents for 50-310
Page 17: ...Page 17 DIAGrAM ...


