Steelcase
90
Appendix 2: ēno one Projector Control Application
In rooms where multiple PolyVision projectors are connected to the same
computer each projector responds to a unique “A,” “B,” or “C” magnetic
projector control icon strip for on/off, video mute, brightness, and input
source, so that any stylus can control any projector’s settings. Refer to
“Projector control icons (for ēno one models)” on page 89.
To configure a PolyVision projector to respond to the “A,” “B,” or “C”
magnetic projector control icon strip on the whiteboard:
1. Click the ēno App icon in the system tray (Windows) or menu extras
(Macintosh).
2. Choose “Configure Projectors” from the menu.
3. Click a projector.
4. Move the cursor over the active link under “Icon strip” and select
from “A,” “B,” or “C” to correspond to the magnetic projector control
icon strip labeled “A,” “B,” or “C” that is fastened to the whiteboard
for that projector. Choose “All” when you are using one projector.
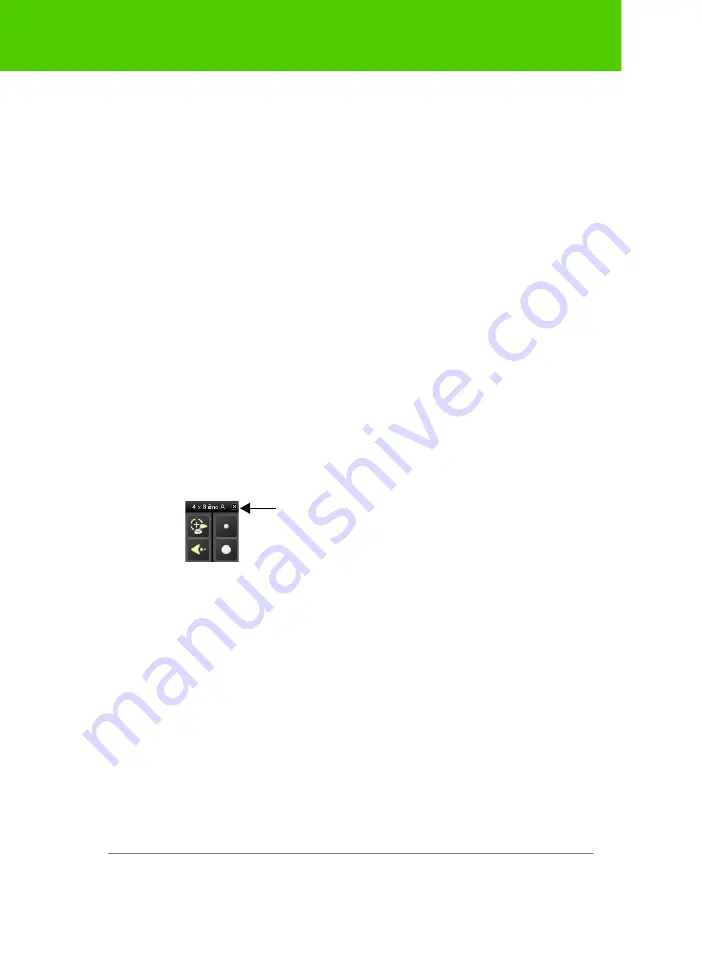
In addition, in rooms where multiple PolyVision projectors are connected to
the same computer, each projector is associated with an added computer
monitor that includes a unique “A,” “B,” or “C” on-screen icon strip. Refer
to “Using the on-screen icon strip” on page 72.
To change the monitor and on-screen icon strip that appear on a
whiteboard:
1. Click the ēno App icon in the system tray (Windows) or menu extras
(Macintosh).
2. Choose “Configure Projectors” from the menu.
3. Click a projector.
4. Move the cursor over the active link under “Monitor” and select from
the available monitors. The projector now displays the monitor and
on-screen icon strip you selected.
“A” on-screen icon strip


