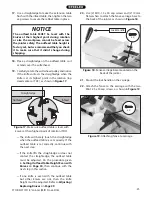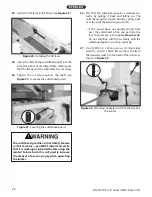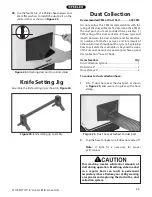
-8-
ST1006/ST1011 8" Jointer (Mfd. Since 3/16)
Controls &
Components
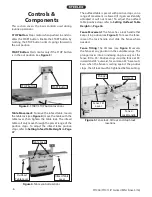
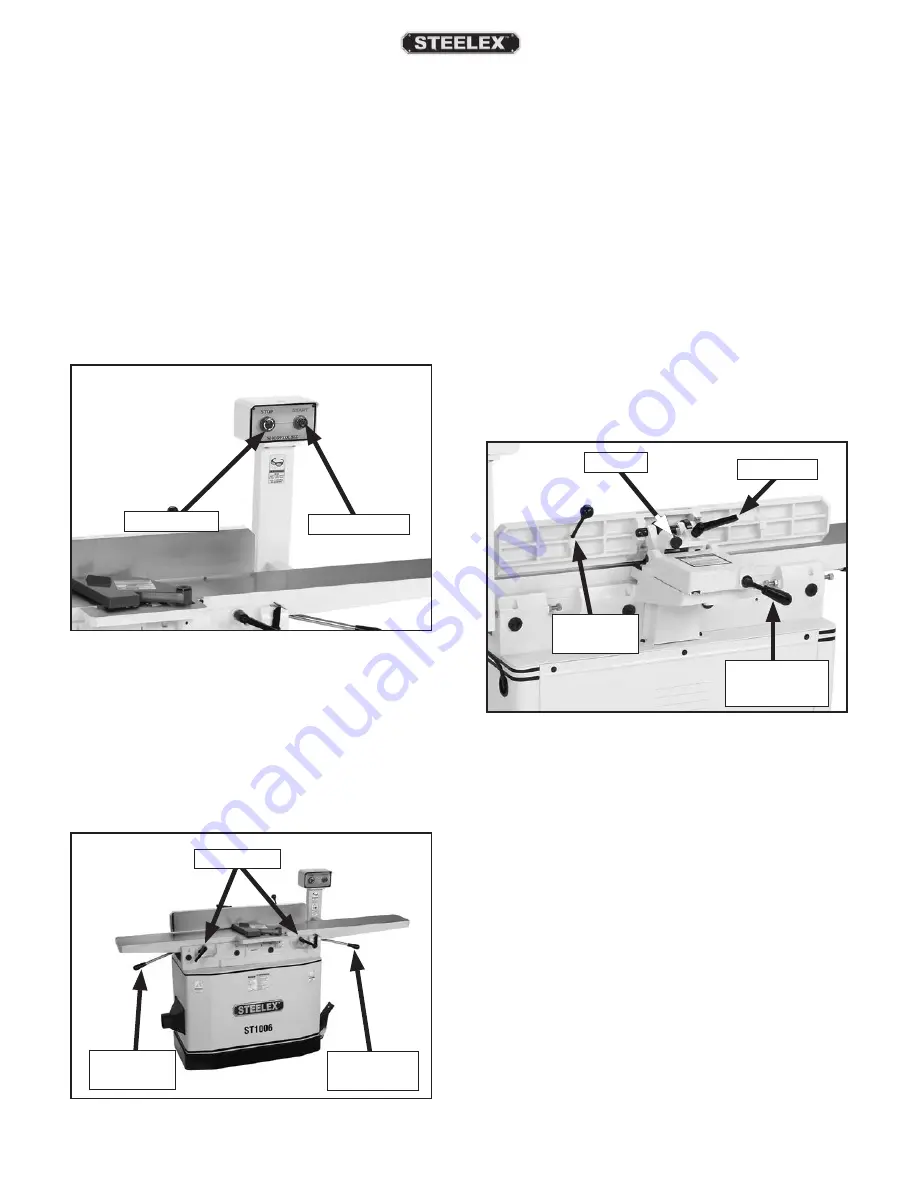
Figure 5. Fence lock, tilt lock and stop block
locations.
Fence
Lock Handle
Fence Tilt
Lever
Tilt Lock
Plunger
This section covers the basic controls used during
routine operations.
STOP Button: Stops motor when pushed in and dis-
ables the START button. Enable the START button by
twisting the STOP button until it springs forward in
the out position.
START Button: Starts motor only if the STOP button
is in the out position (see Figure 3).
Figure 3. START/STOP button locations.
STOP Button
START Button
Figure 4. Table control locations.
Outfeed
Table Lever
Table Locks
Infeed Table
Lever
Table Movement: To move the infeed table, loosen
the table lock (see Figure 4), move the table with the
table lever, then tighten the table lock. The infeed
table will only move through the preset range of the
positive stops. To adjust the infeed table positive
stops, refer to Setting Infeed Table Height on Page
47.
The outfeed table is preset with positive stops, so no
range of movement is allowed (if it gets accidentally
unlocked it will not move). To adjust the outfeed
table positive stops refer to Setting Outfeed Table
Height on Page 46.
Fence Movement: The fence has a lock handle that
keeps it in position (see Figure 5). To move the fence,
loosen the lock handle and slide the fence where
needed.
Fence Tilting: The tilt lock (see Figure 5) secures
the fence at any position in the available range. The
plunger locks into an indexing ring to easily set the
fence tilt to 90°. Positive stops stop the fence at 45°
inward and 45° outward, for common 45° bevel cuts.
Even when the fence is resting against the positive
stops, the tilt lock must be tightened before cutting.


