ST1006/ST1011 8" Jointer (Mfd. Since 3/16)
-21-
17. Use a straightedge to make the extension table
flush with the infeed table, then tighten the two
cap screws to secure the rabbet table in place.
NOTICE
The outfeed table MUST be level with the
knives at their highest point during rotation
or else the workpiece cannot be feed across
the jointer safely. The outfeed table height is
factory set, but we recommend that you check
it to make sure that it didn't change during
shipping.
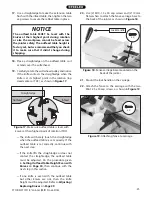
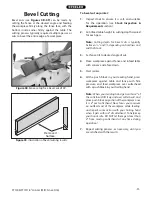
18. Place a straightedge on the outfeed table so it
extends over the cutterhead.
19. Carefully rotate the cutterhead pulley and notice
if the knife contacts the straightedge when the
knife is at its highest point in the rotation (top
dead center or TDC), as shown in Figure 17.
—The knife will barely touch the straightedge
when the outfeed table is set correctly. If the
outfeed table is set correctly, continue with
the next step.
— If the knife lifts the straightedge or does not
contact the straightedge, the outfeed table
must be adjusted. Do the procedure given
in Setting Outfeed Table Height Even with
Knives on Page 30, then continue with the
next step in this section.
— If one knife is even with the outfeed table
but other knives are not, then the knife
height must be adjusted. Refer to Adjusting/
Replacing Knives on Page 39.
Figure 17. Make sure outfeed table is level with
knives at their highest point of rotation (TDC).
Straightedge
Outfeed
Infeed
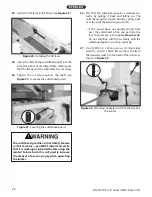
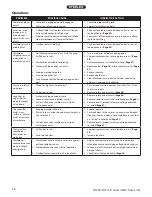
20. Use (2) M10-1.5 x 30 cap screws and (2) 10mm
flat washers to attach the fence carriage base to
the back of the jointer, as shown in Figure 18.
Figure 18. Fence carriage base mounted on the
back of the jointer.
Lock Handle
x 2
21. Mount the lock handle on the carriage.
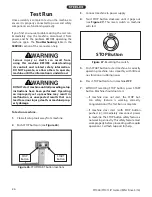
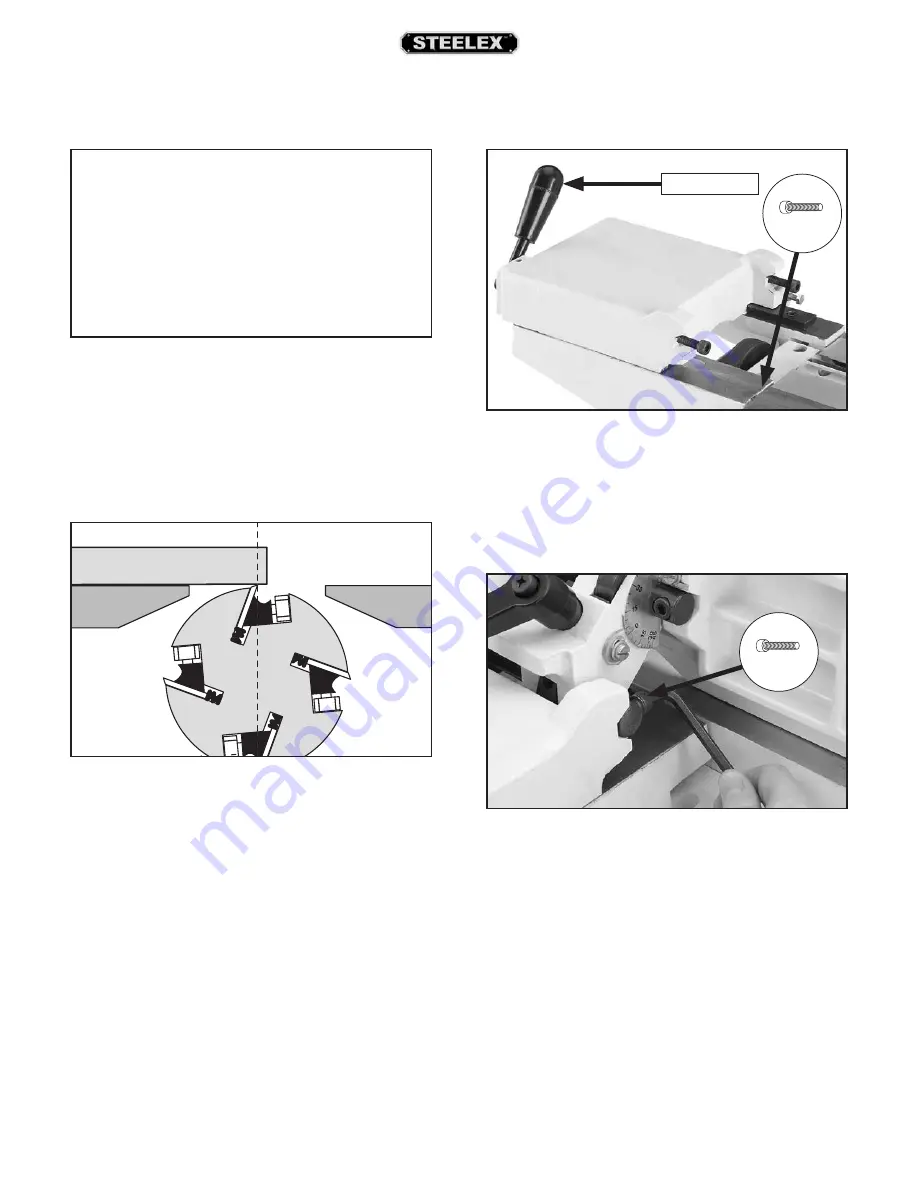
22. Attach the fence to the carriage with the two
M8-1.25 x 30 cap screws, as shown in Figure 19.
Figure 19. Attaching fence to carriage.
x 2

